health and wellbeing · recipes

Shortcut

Orange cake

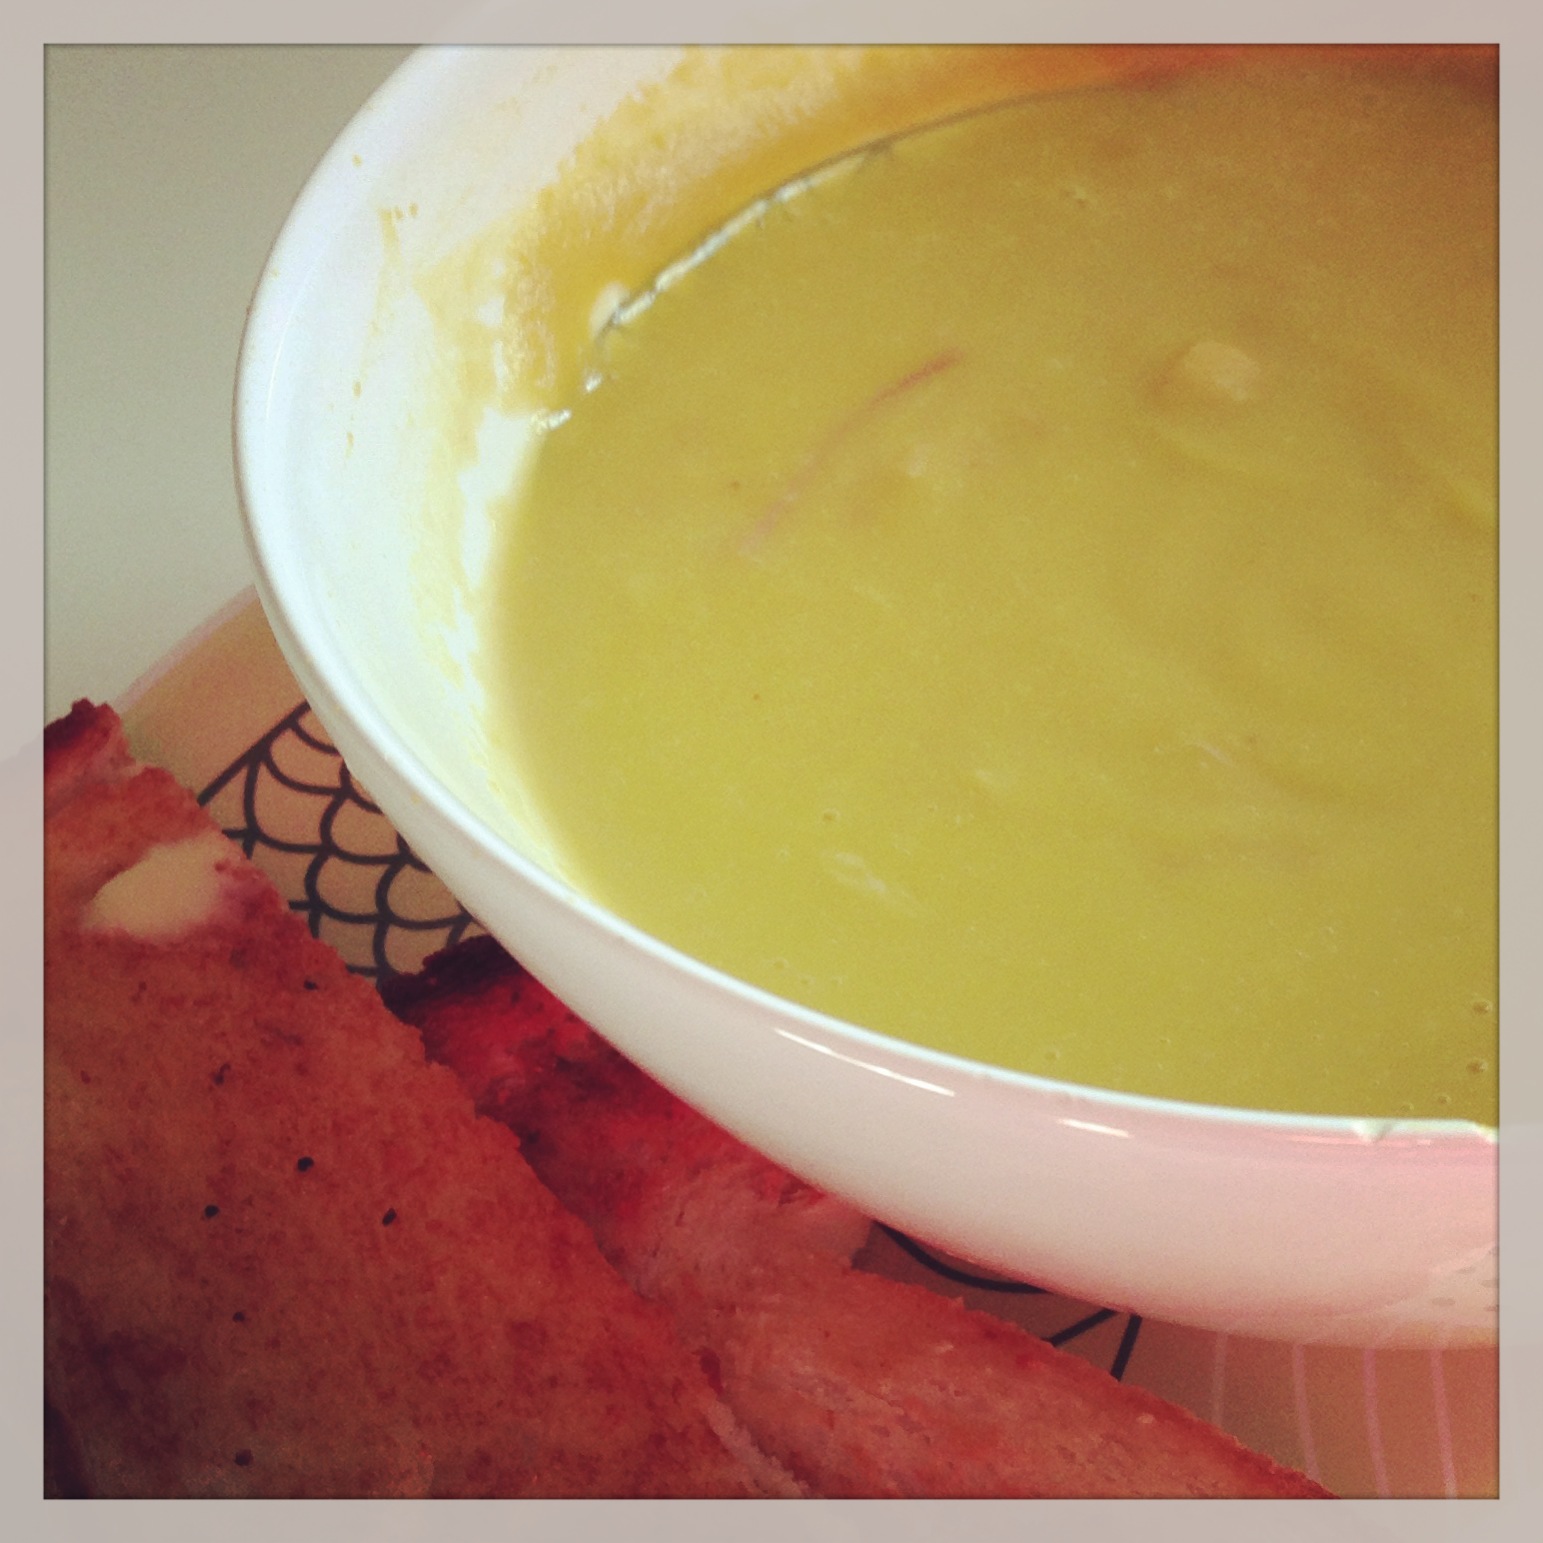
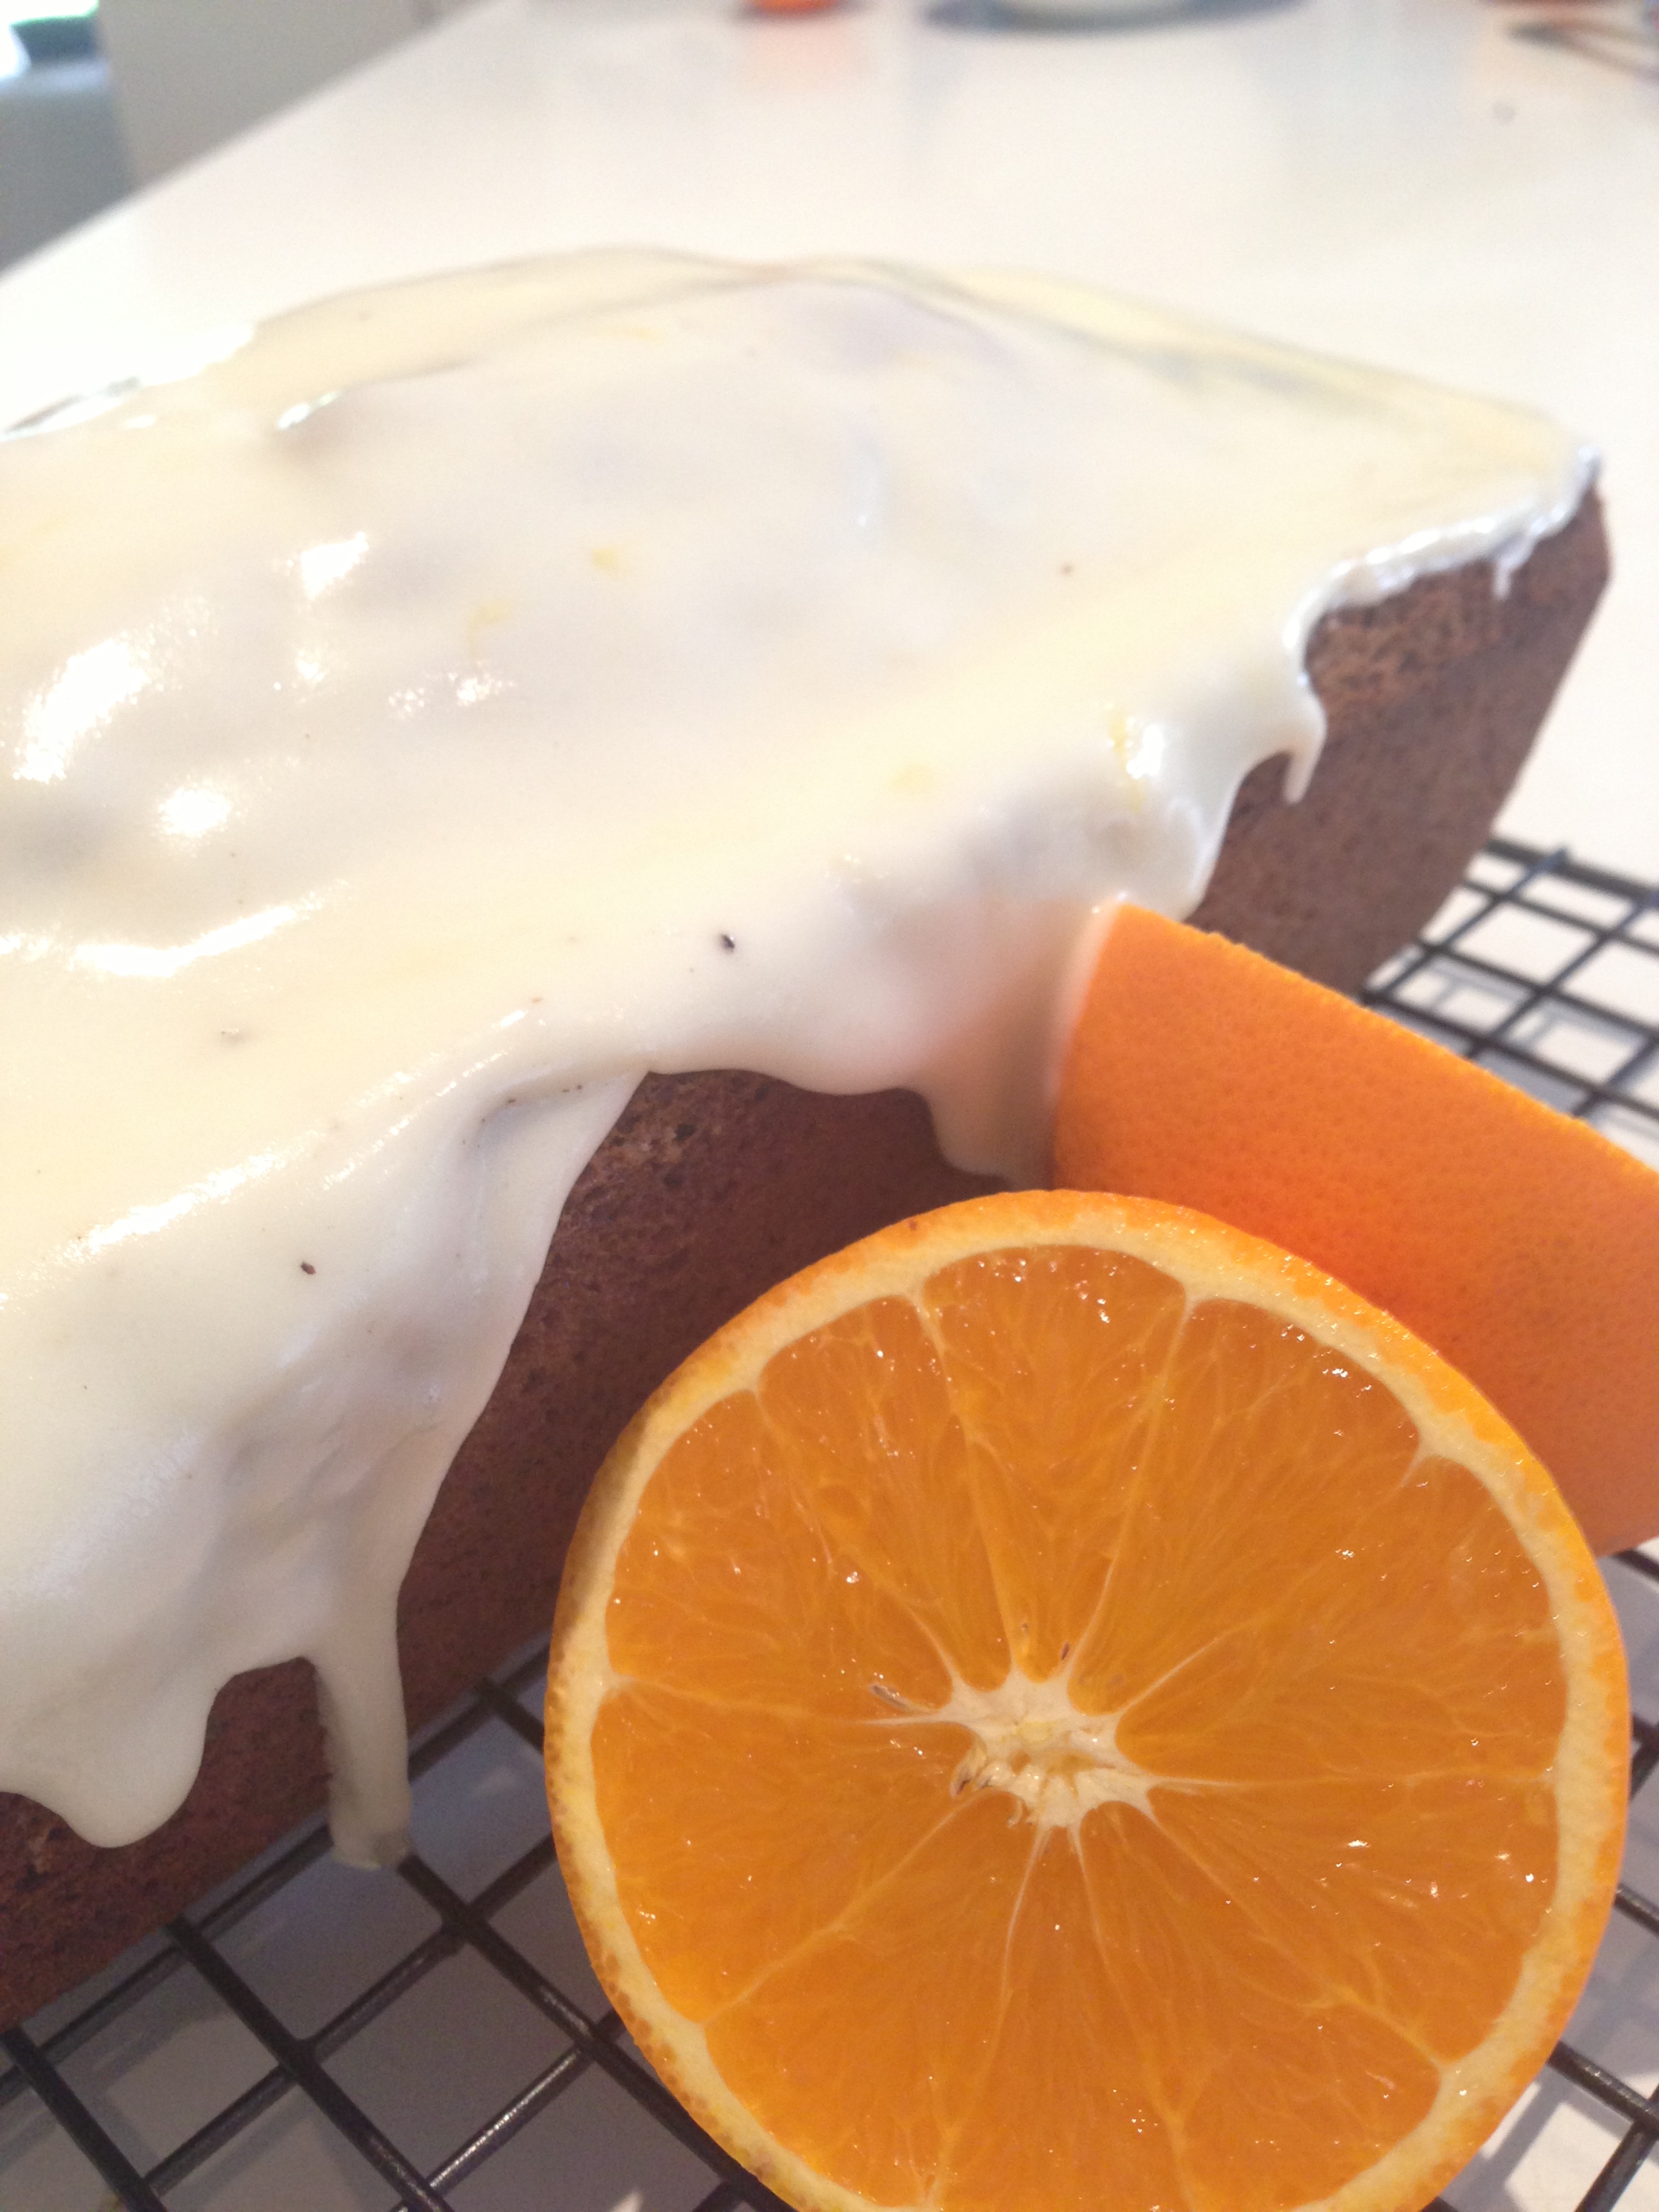
‘The best-laid plans of mice and men often go awry.’ I’m sure we all relate on a weekly, if not daily, basis to this translation of a line from Robert Burns’ immortal work. And so it was here, when the day’s to do list was shredded – not by the gnawing of rodent teeth, but rather a domestic chain of events leaving little time for the planned bake. In a circumstance such as this, with afternoon tea far closer than the horizon, a shortcut is the only option. Today’s shortcut presented as an ‘all-in-and-process’ orange cake.

For some inexplicable reason, if we opt for a shortcut our perception of the outcome is often one of below par. When we follow a quicker alternate route rather than the long and (regularly convoluted) well-trod path through a task, some deeply imbedded inner wiring seems to illuminate the mental ‘inferior’ warning symbol. Put simply, a shortcut often triggers self-reproach.

Whether it be a quick wipe across the bathroom rather than the usual deep clean, vegemite rather than multi-ingredient salad in the school lunch sandwich or a pony-tail rather than the full blow-dry, shortcuts are essential to daily living. While it is very rewarding to see a task through its entirety with the theme song ‘A job worth doing is worth doing well’, playing in the background, it is equally satisfying to address priorities. And sometimes there are more important events in life than clean bathrooms, nutritional sandwiches, hairstyles and labour-intensive cakes.
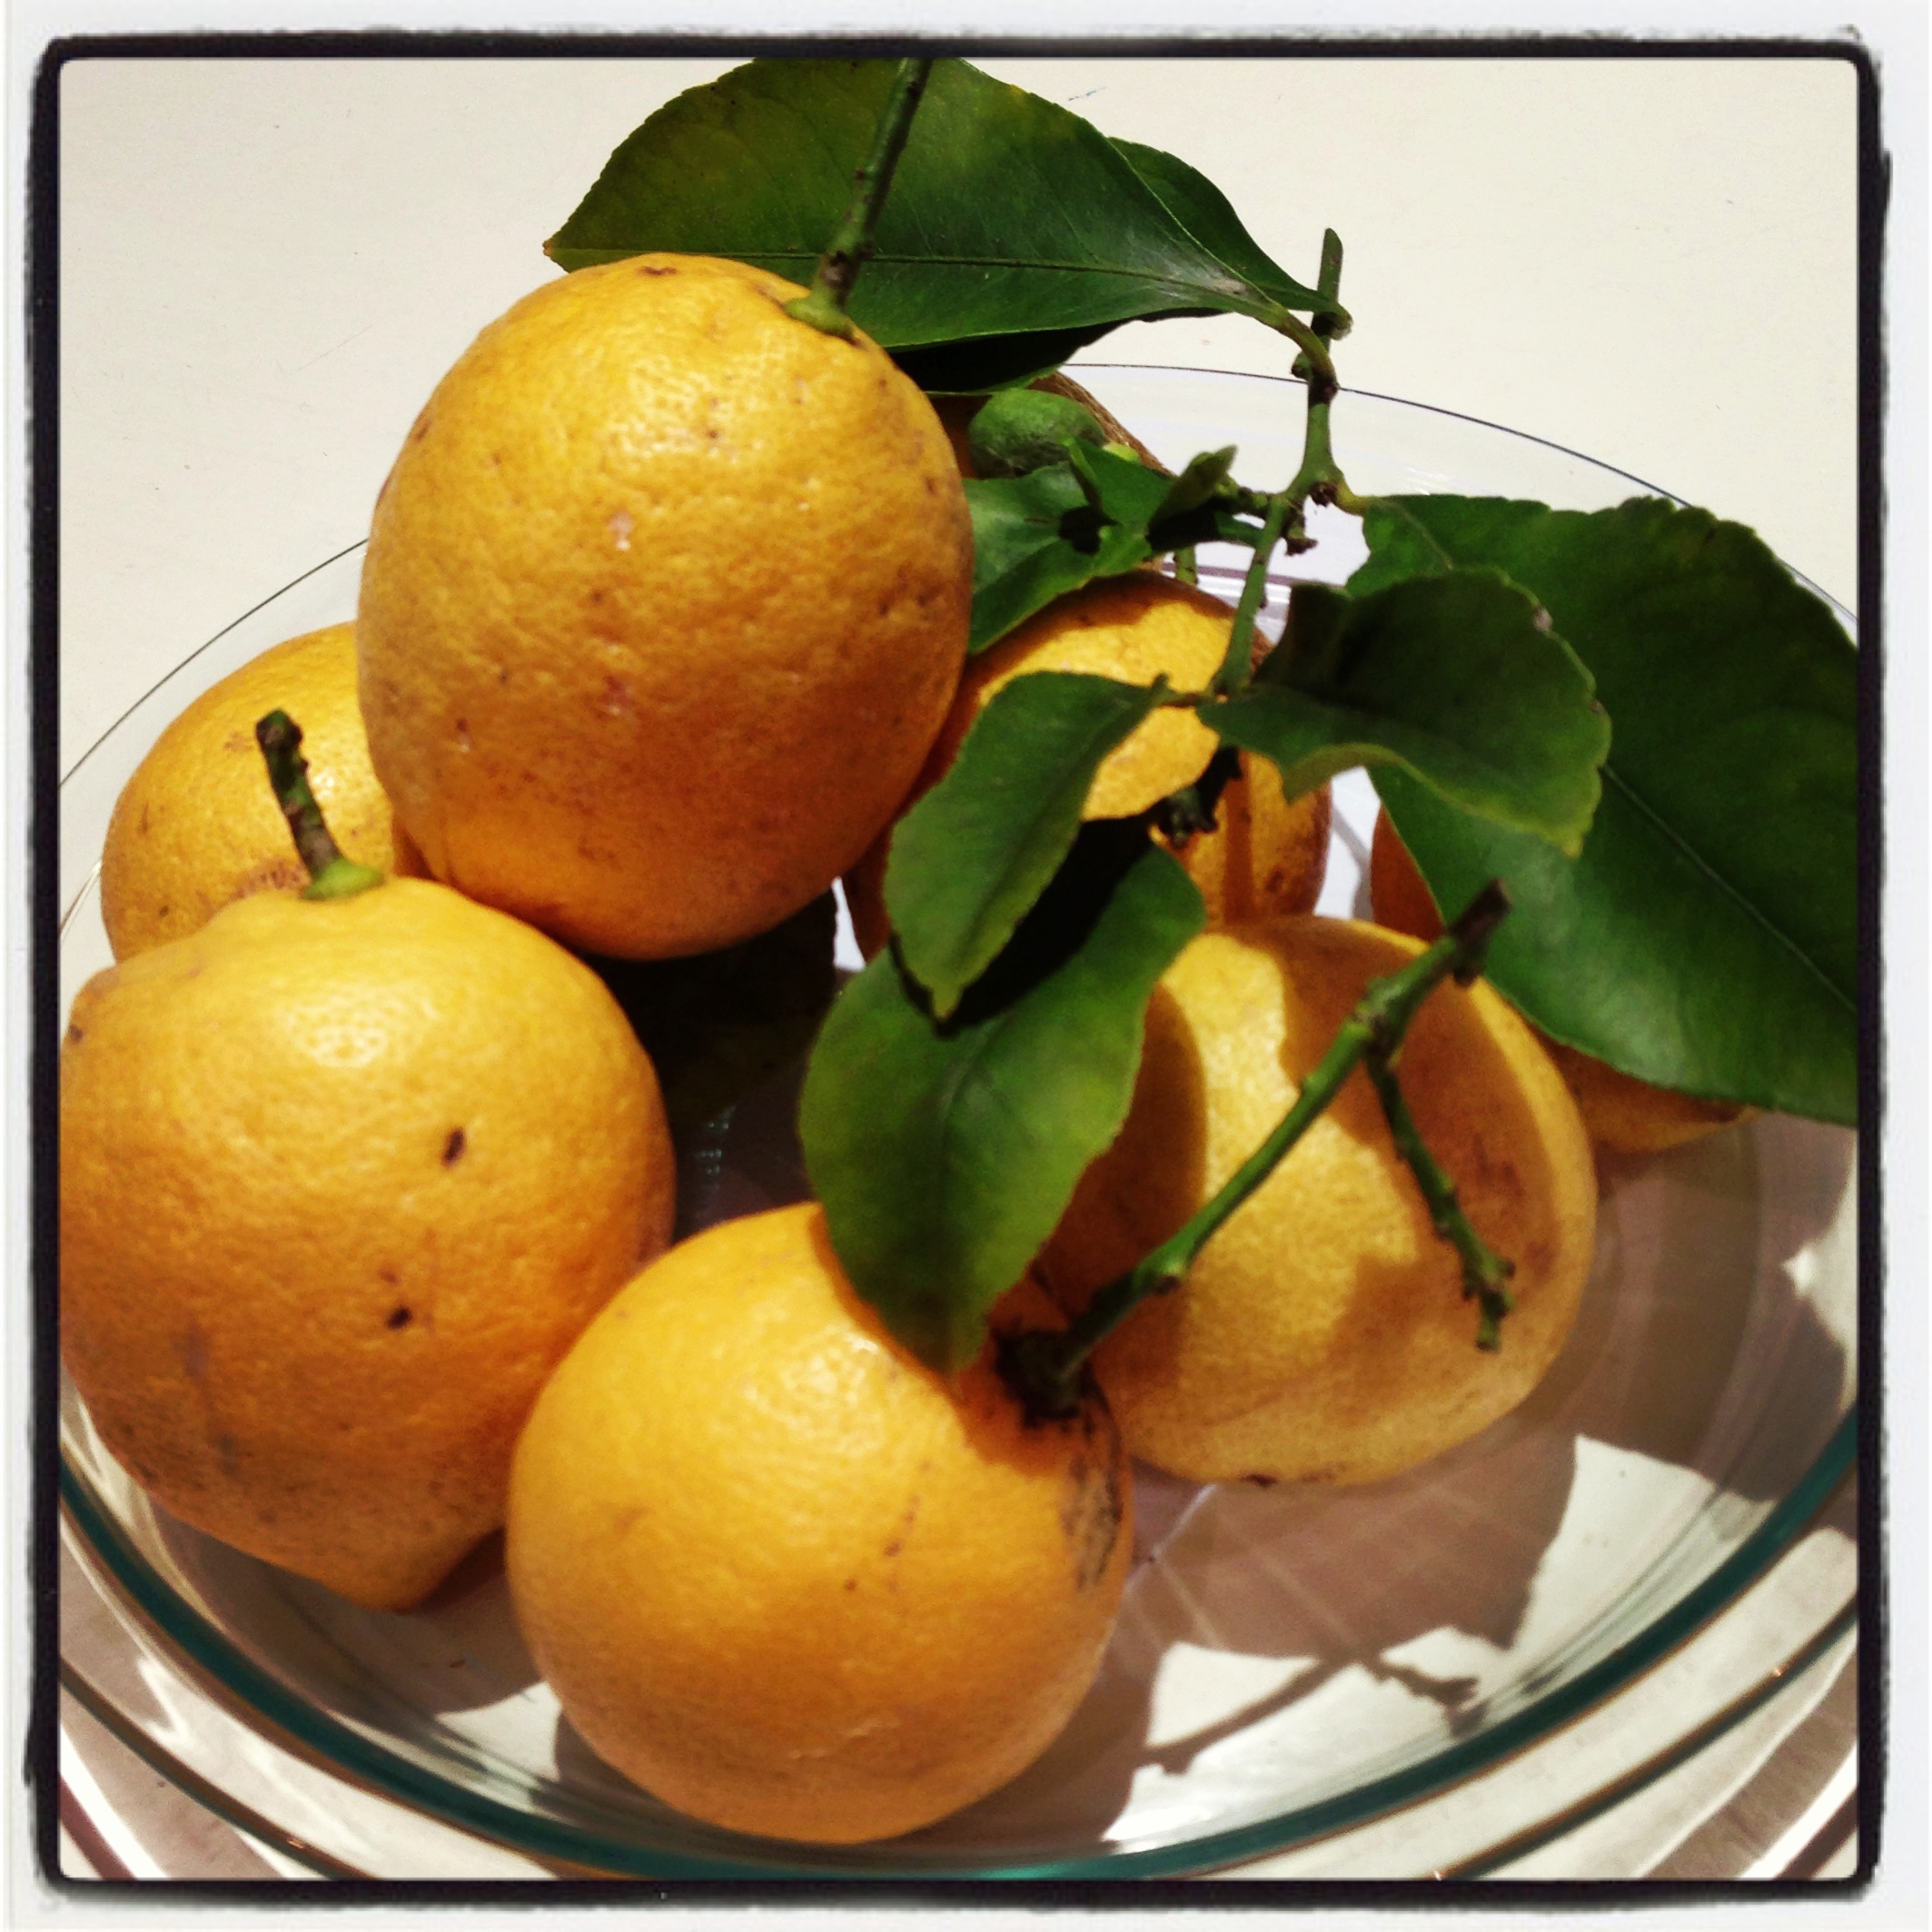
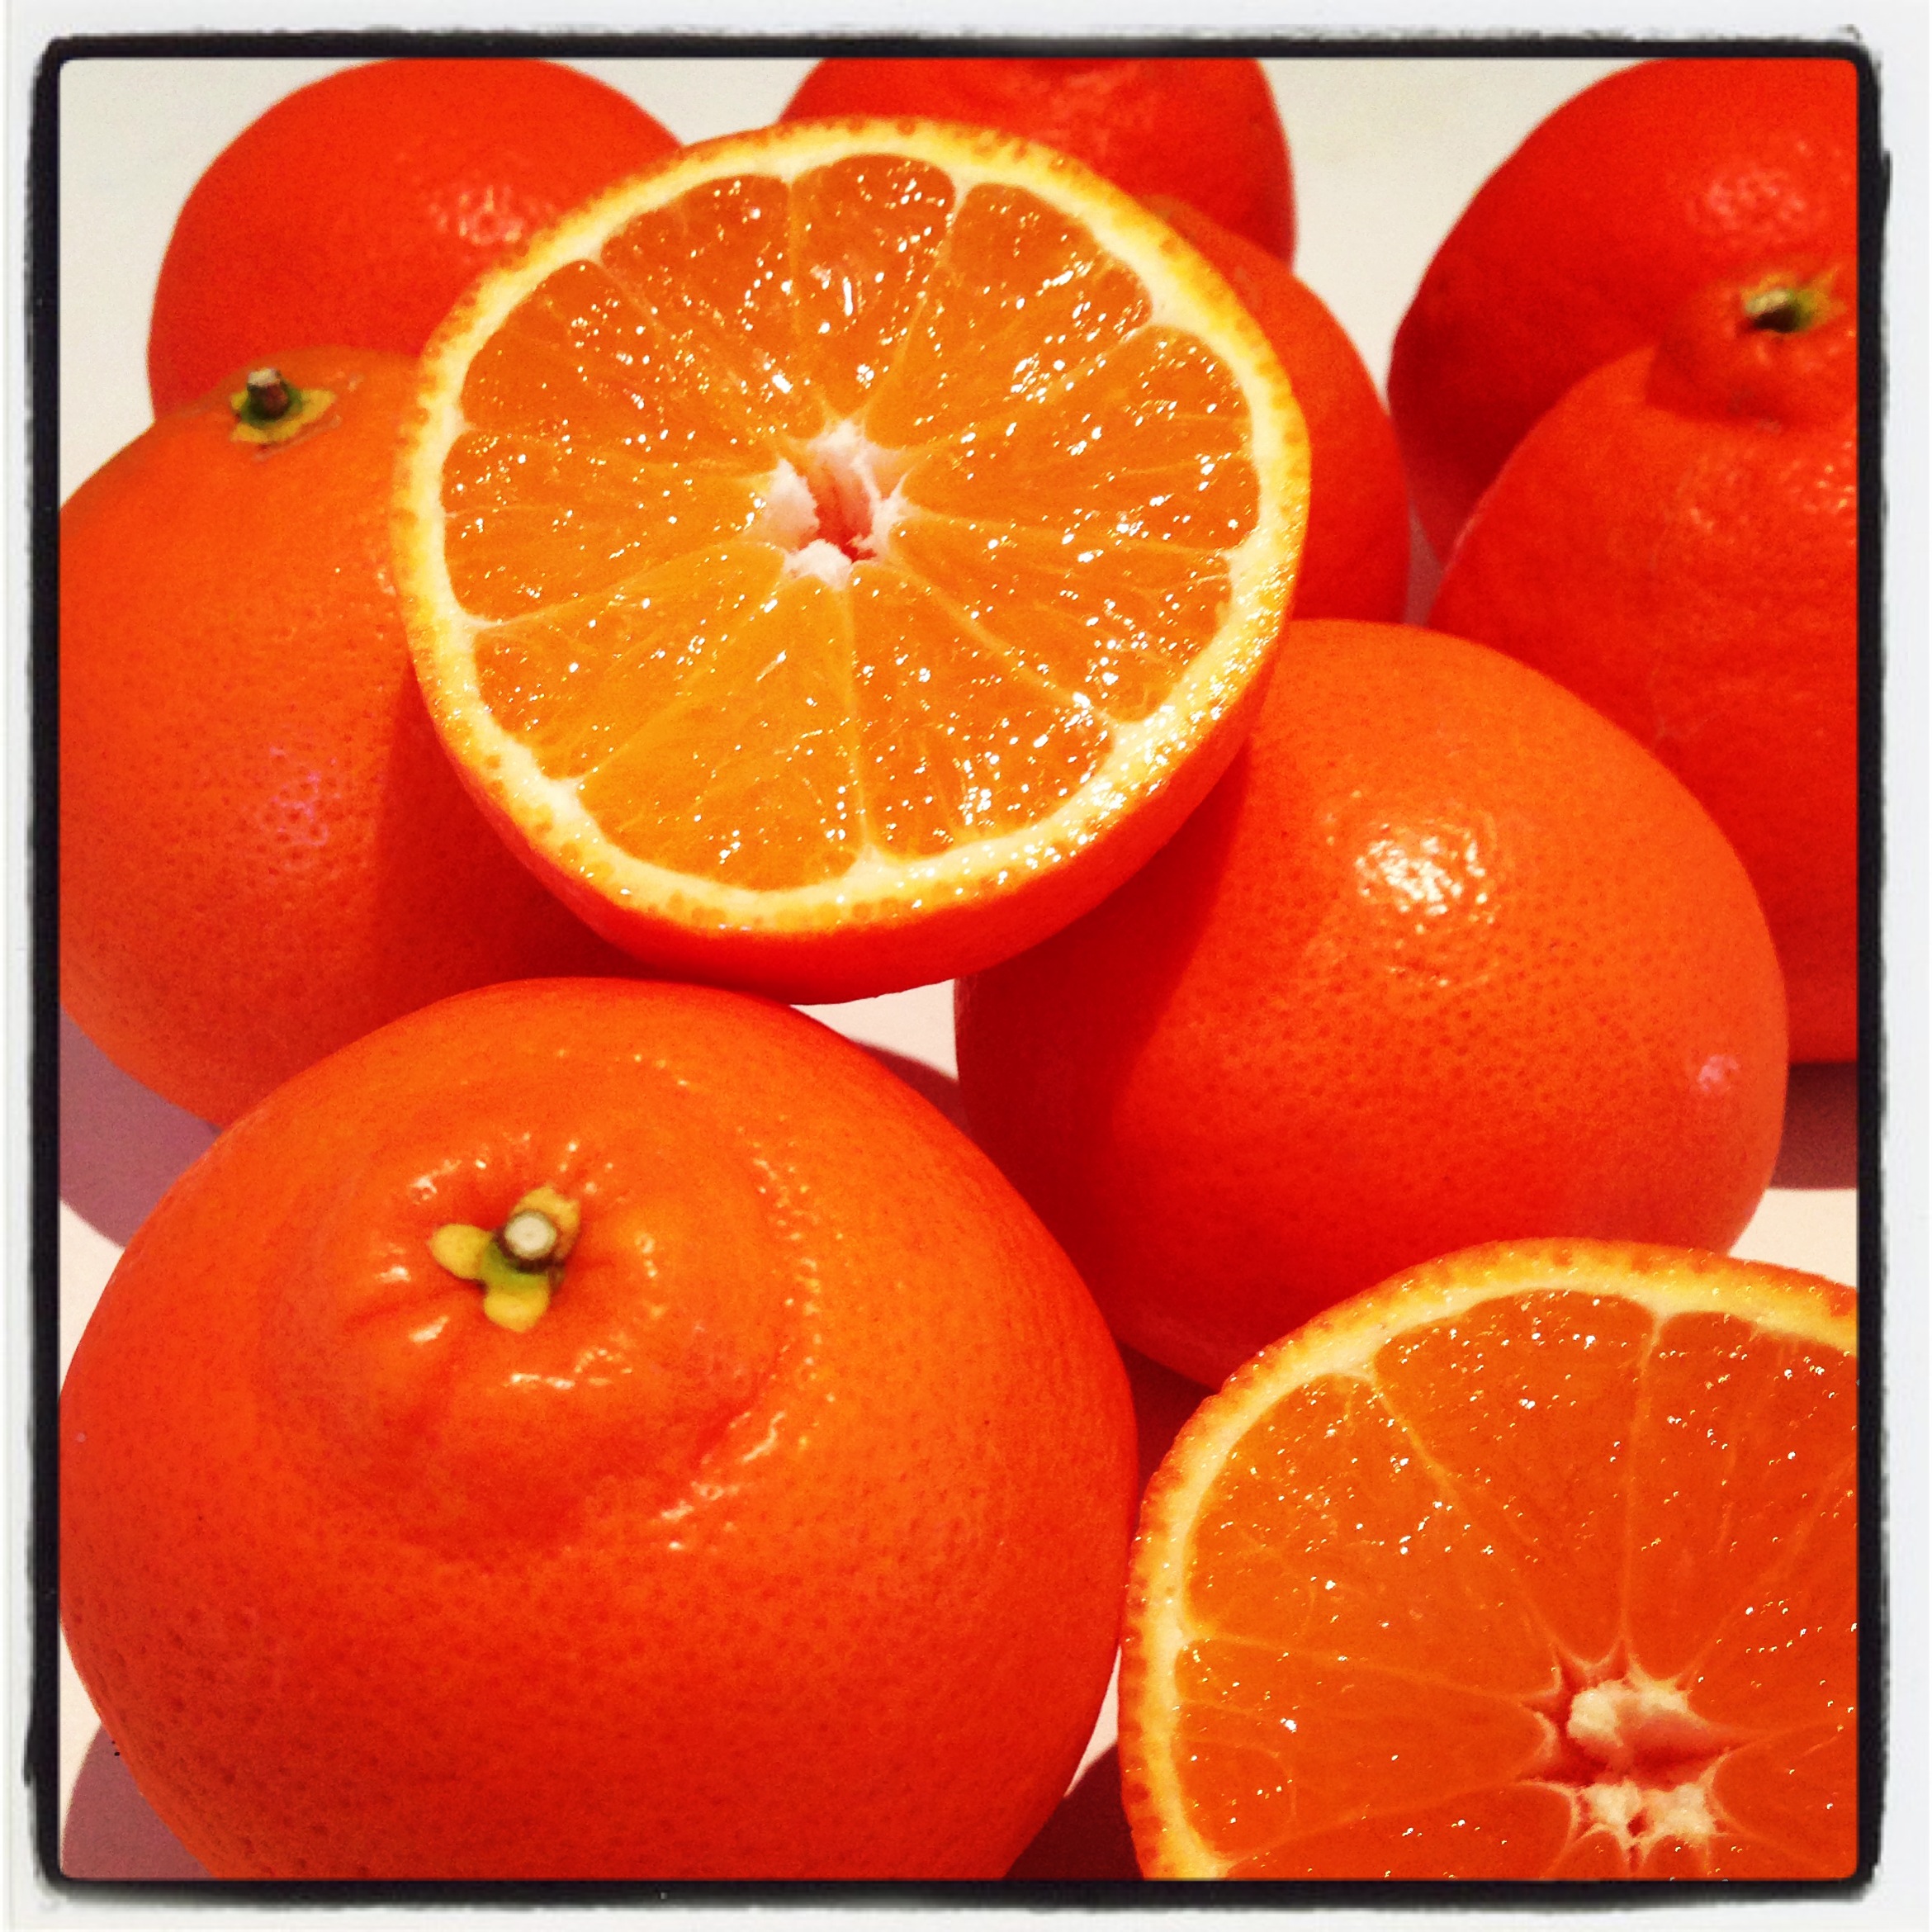
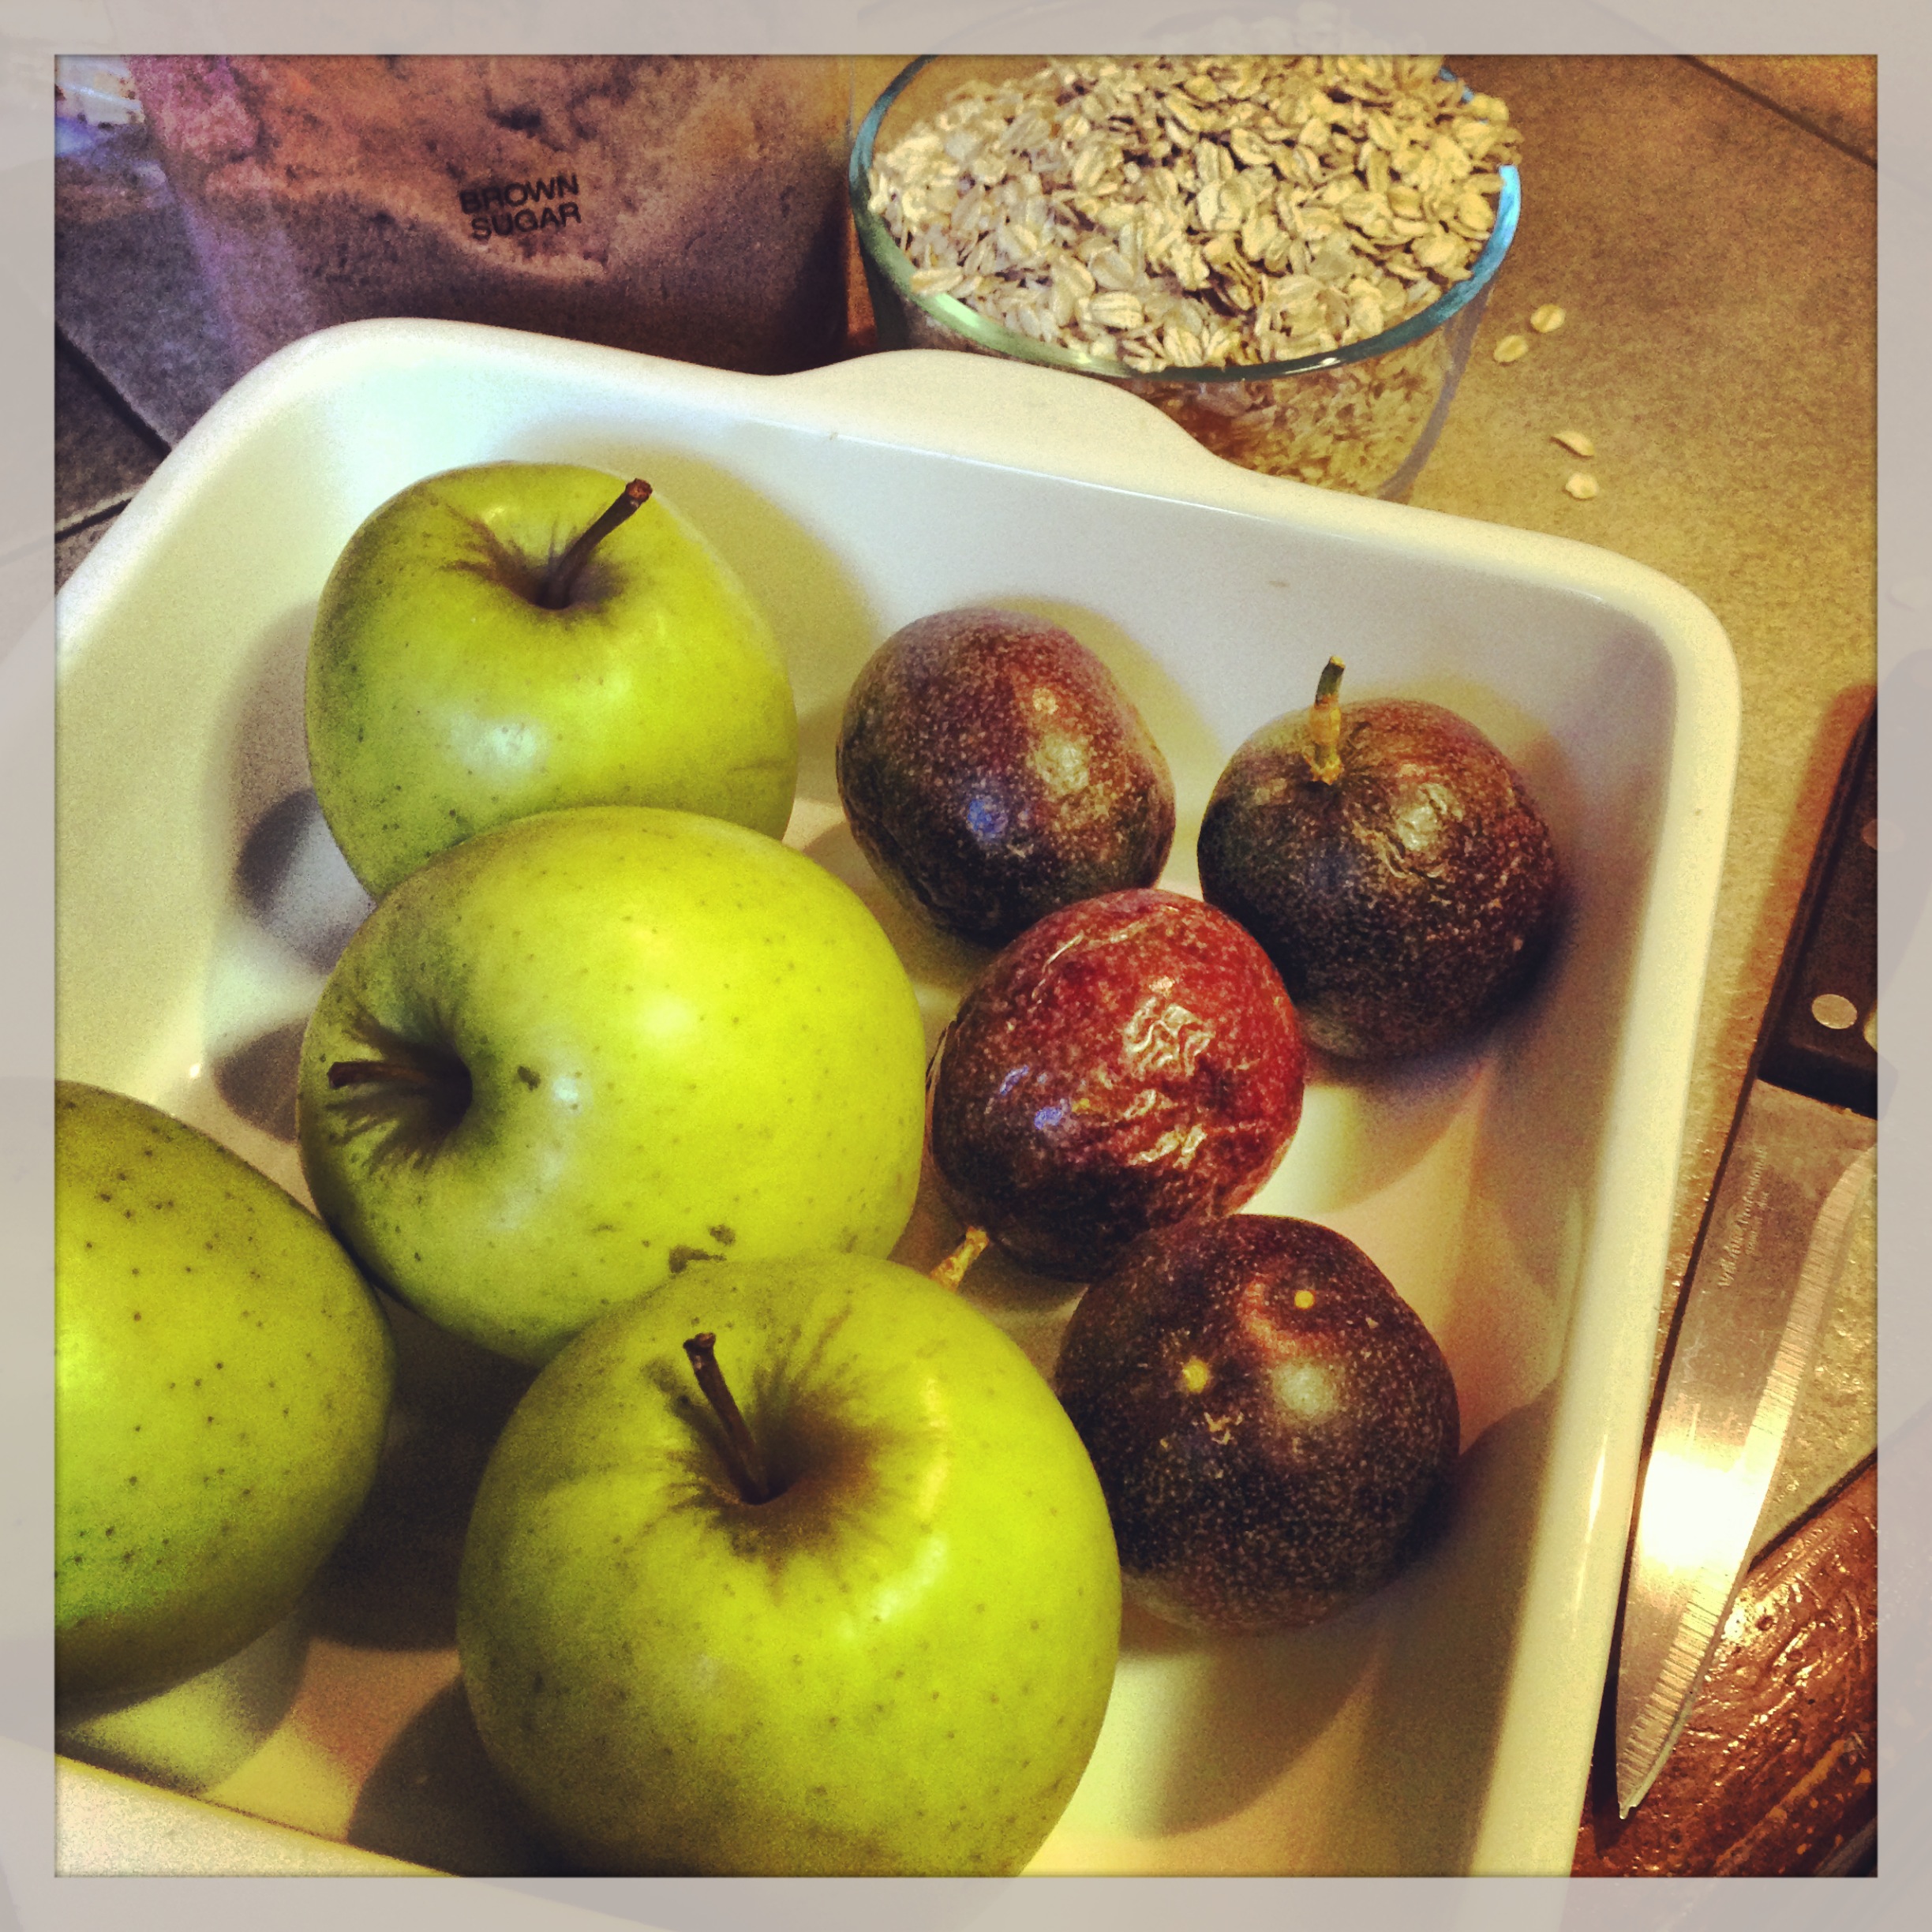
1 orange (any size)
180g melted butter
1 cup sugar
3 eggs
1 1/2 cups SR Flour
juice from a second orange and icing sugar

  1. Pre-heat oven to 180 degrees celsius and grease a loaf tin.
  2. Place roughly chopped orange in food processor and blend until finely processed.
  3. Add the remaining ingredients and process briefly (approx. 30 seconds until mixture is smooth).
  4. Spoon batter into tin and bake for 40 minutes or until a skewer inserted into the centre of the cake comes out clean.
  5. Make up a generous portion of icing (icing sugar and orange juice) and pour over the cooled cake.

orange cake with orange glace icing

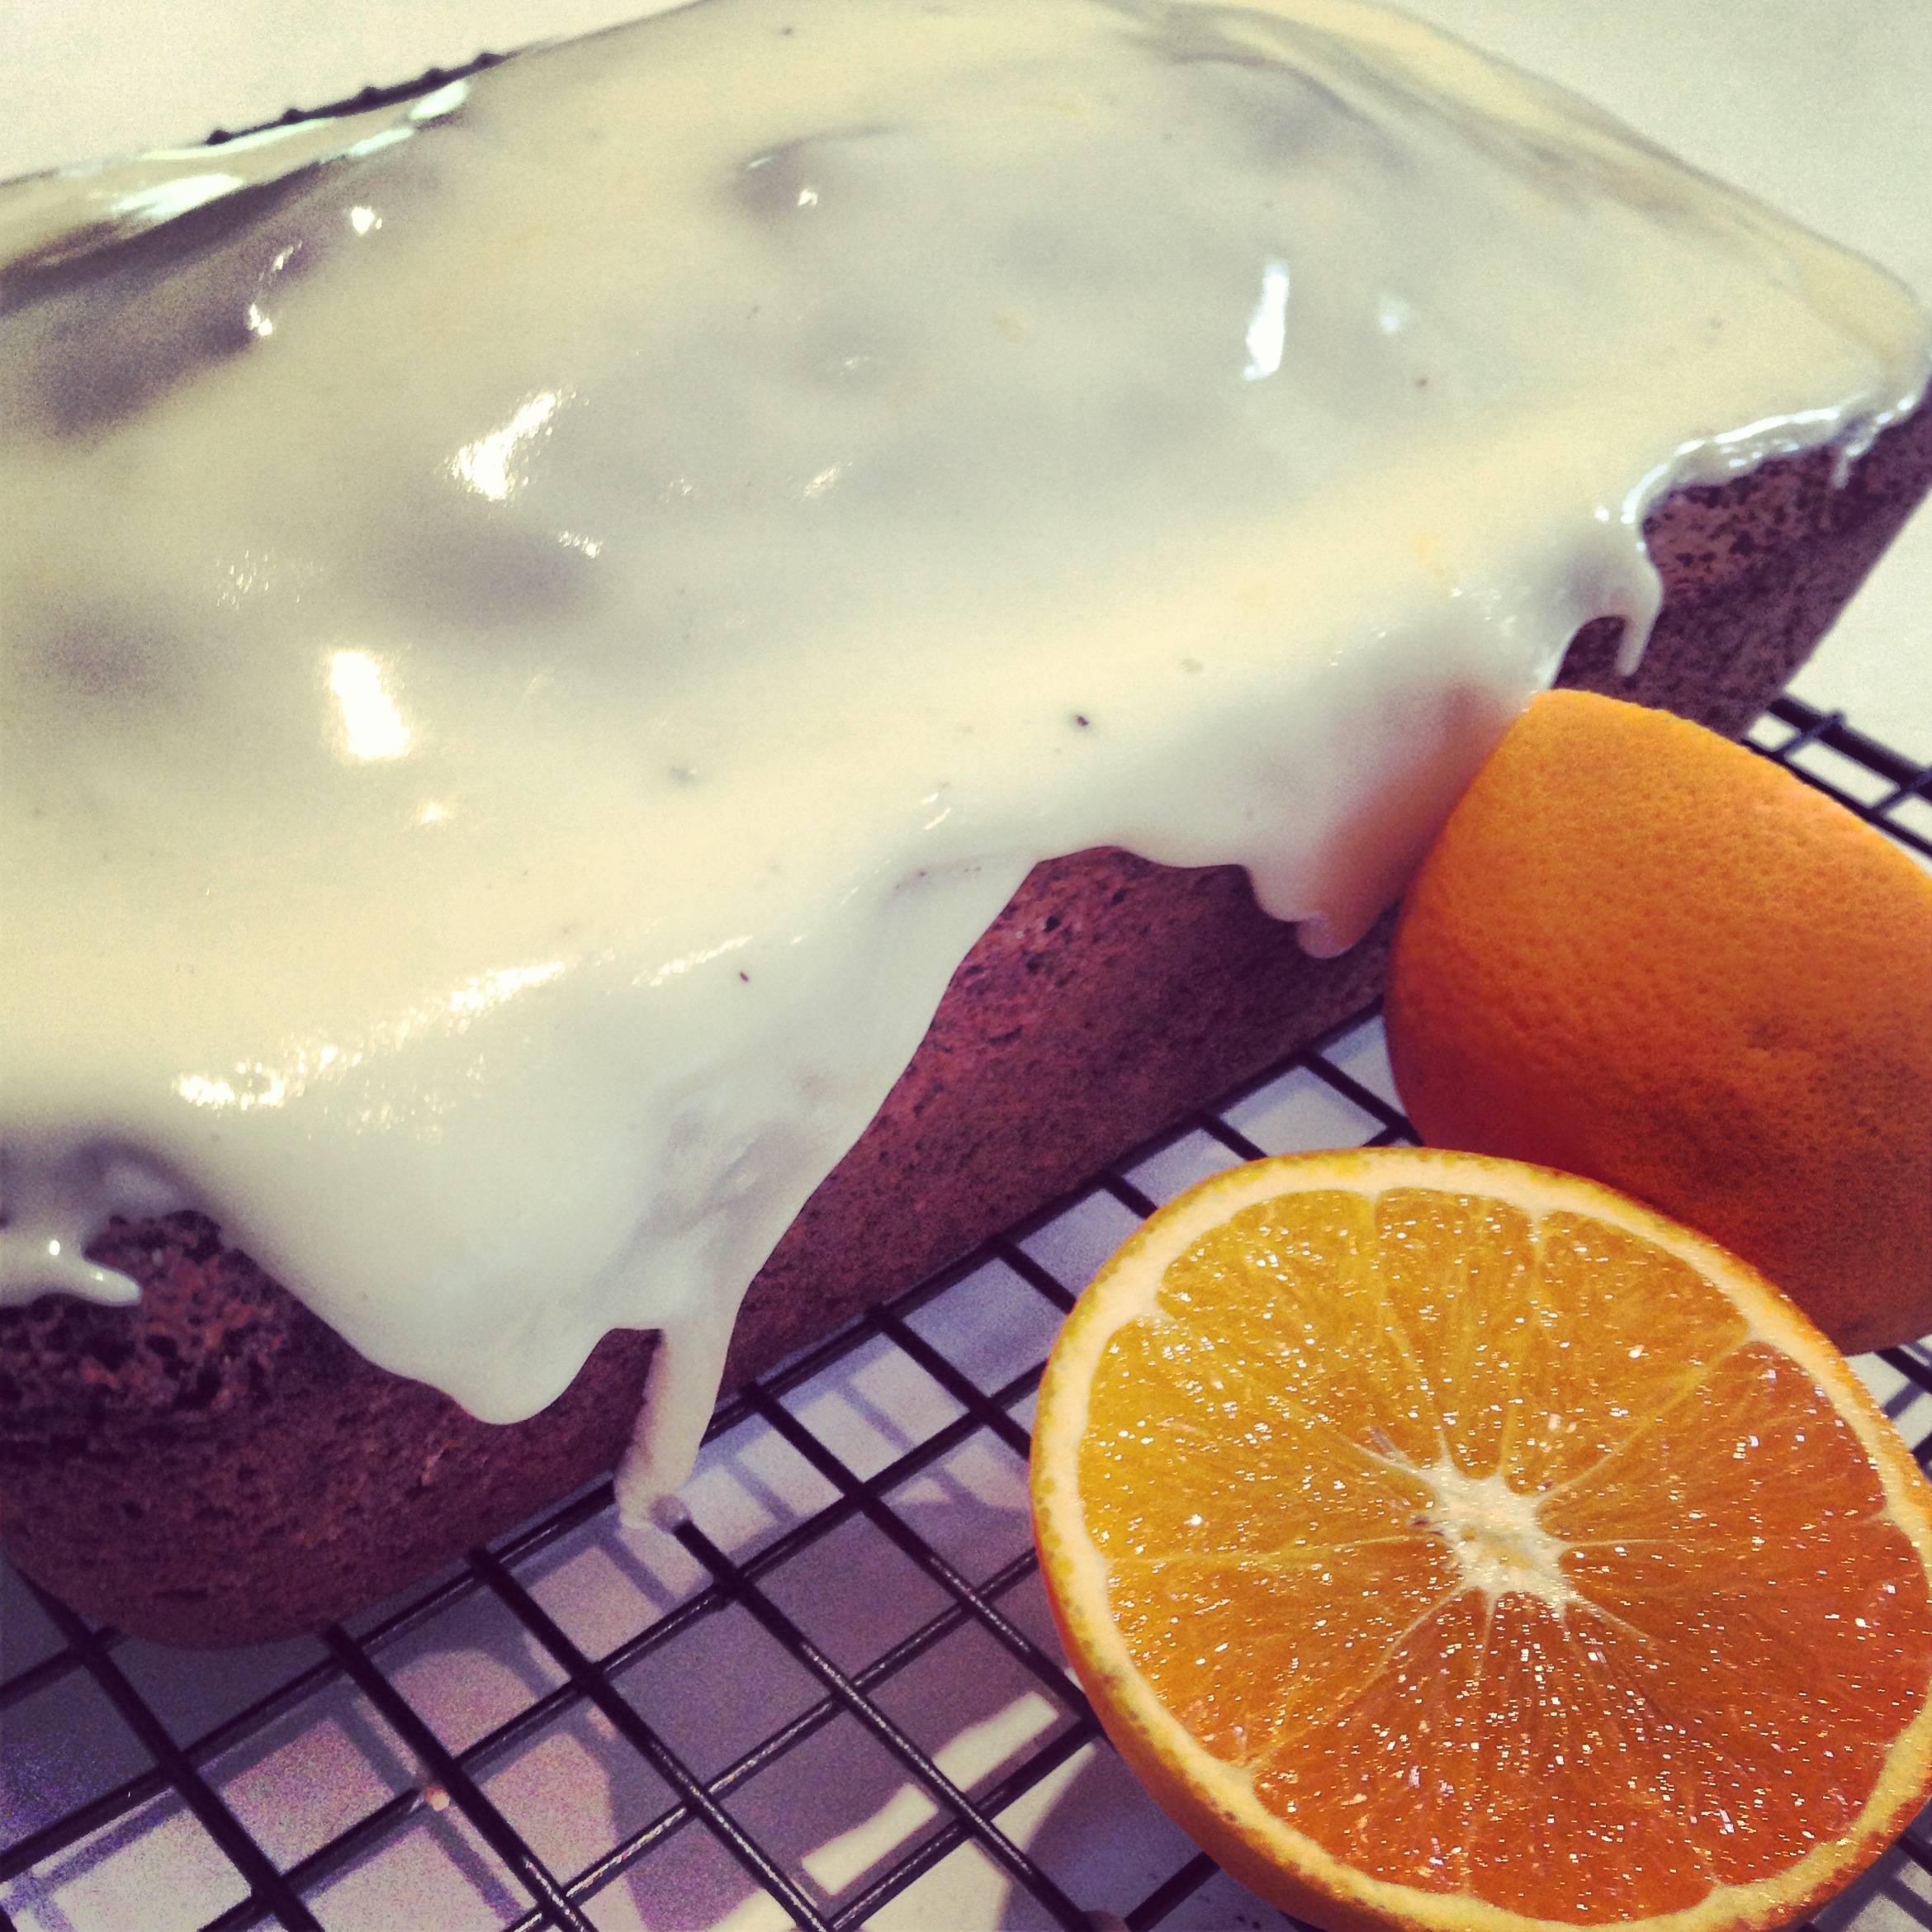
Postscript: and incredibly, this shortcut cake is well above par.

book reviews · recipes

Petite

Rachel Khoo

On occasion I have succumbed to kitchen envy. Lamenting lack of space, aged appliances and pokey cupboards, it was easy for my eye to travel in an emerald fashion over magazine splashes of the latest designs. If anything was to cure me of this, it was Rachel Khoo and her Little Paris Kitchen. It was and she has.

Have you not yet become acquainted with Rachel, then let me introduce you. Rachel Khoo, an English girl at a tender age, travelled to Paris,without a word of French and enrolled in and graduated from Le Cordon Bleu cookery school. She lives in a tiny apartment in Paris, from which she runs an even tinier restaurant (one table) and cooks for her guests whatever she feels is most seasonally delightful on the day. From this eventually flowed the BBC2 series The Little Paris Kitchen, where many of us have come to know her well.

The essence of Rachel’s cooking is French at its simplest. Through her series and book, she inspires us to close over the Larousse Gastronomique, and gather a handful of fresh ingredients to turn out delightful French classics – simply. And what snared my interest above all, is that she does it in a space far from cat swinging. A little two burner cooktop and an (almost) camp style oven, along with her basic utensils suspended on a rail above, Rachel’s lovely dishes appear without complication or stress. No imported stone bench tops or European appliances within coo-wee.

Rachel’s book is a beautiful adjunct to the series and is a great place to delve into when it’s time to be reminded of the beauty of the basic. My first LPK recipe was Quiche Lorraine, because I had quite forgotten the charm of eggs, cream and bacon on buttery pastry. Quiches have been overloaded in recent years and it was lovely to enjoy one in its simplest form tonight.

Quiche Lorraine

I’m guessing you’re also keen to relive the memory, so here is Rachel talking you through the Quiche Lorraine recipe from pastry to filling. If you have a little space on the bookshelf and need a bit of a nudge to remember how wonderful simple food really is, then this publication will be a valued acquisition.

The Little Paris Kitchen

Postscript: and I haven’t even begun to tell you about the gorgeous vintage dresses and the smashing red lipstick!

recipes

Citron

Lemon and Walnut Loaf

It’s a quick stride from the kitchen door and an easy scramble over the aging side fence into our neighbour’s backyard to collect an apron or shirt-full of fresh lemons. An errand that appeals and is never met with a long sigh from the nominated individual that a requested visit to the washing line or rubbish bins would generally elicit. This welcome task usually includes a friendly greeting from the resident terrier and a chance to observe first-hand, territory normally restricted to retrieving over zealously kicked balls or delivery of messages. The object of the assignment, a rangy old lemon tree (similar vintage to its owners), provides an abundance of lemons, far more than the senior couple who planted it or their fortunate neighbours could ever consume in a season.

With no end to the uses of lemons in our kitchen, visits to this tree are regular. The lemons that arrive home are not the waxy, uniformly shaped specimens that are available year round in our local supermarket, but rather ones that are pitted, marked and are regularly accompanied by a partial branch (depending on the harvester’s age) and some bird ‘matter’. However, following a quick scrub, they zest and grate like billy-o, and juice like the Watsons (whoever they may be).

Crisp, sunny Melbourne winter days, are well paired with tangy lemon loaves and hot coffee. Should you spy a laden citrus in your district, use this as an opportunity to pay a visit and make your introductions. In my experience, lemon tree owners are generous folk who are always looking for homes for their crops. Make it your business to bake two of these Lemon and Walnut loaves and return one to the citrus producer. A sure guarantee of friendship – and lemons for life.

1 1/2 cups plain flour
1 cup caster sugar
1 tsp baking powder
1/4 tsp salt
125g butter, chopped
2 eggs, beaten
1/2 cup milk
grated rind of a lemon
1/2 cup chopped walnuts

  1. Preheat the oven to 180 degrees celsius and grease and line a loaf tin.
  2. Sift the flour, sugar, baking powder and salt into a bow.
  3. Rub in the butter.
  4. Combine the eggs and milk and stir them into the flour mixture.
  5. Fold in the lemon rind and walnuts.
  6. Spoon into the tin and bake for 60-70 minutes, or until a skewer inserted into the centre of the loaf comes out clean.
  7. Ice with and icing sugar and lemon juice mix.

This really is a loaf rather than a fine cake, so is best served and eaten on the day.

Backyard lemons

Postscript: and if you have never smelt a citrus blossom or broken a leaf and inhaled, I suggest you do so at your next opportunity.

recipes

Tangelo

Tangelos

Making their brief seasonal appearance as we speak, the impossibly orange tangelo is ready to fill your kitchen with citrusy overtones and your empty jars with delicious jam.

I’m sure it is no coincidence that citrus fruit peaks in mid-winter, its colour pop and tang bolsters us through the insipid range of coolstore/gas ripened produce alternatives. Tangelos make a huge effort – juice laden and vibrant, a bowlful in the kitchen veritably radiates goodwill.

My pantry shelves did not require further stocking, but with such enticing colour and shape, I could not resist purchasing a couple of kilos of these lads. With an interstate road trip imminent and a number of pressing household issues to deal with, they really had to jam themselves. Fortunately they cooperated, so the holiday hosts, the neighbourhood and the pantry shelves all have jars of sunshine to see them through winter.

Tangelo jam

Tangelos are still catching my eye at the local fruiterer, so it’s not too late to wash out those stored jars and boil up a pot for yourself. Not as bitter as marmalade, but far from the syrupy sweet berry preserves, tangelo jam sits brightly in between.

1.5 kg tangelos (about 8 or 9)
3 litres (12 cups) water
1 tbsp tartaric acid (cream of tartar)
2 lemons halved
1.4 kg sugar, or the same weight of liquid to sugar
1 packet of Jamsetta (optional – I always keep one on hand in case jam is not setting. Simply stir a sachet through the mix and boil)

  1. Remove the zest (picture below) from the tangelos using a zester, and wrap in muslin cloth or a clean chux cloth.
  2. Cut the tangelos into quarters and process in a food processor until finely chopped – a little roughly if you like chunky jam.
  3. Place tangelo mixture into a saucepan, with the wrapped zest, water, cream of tartar and lemons. Cook for 30 minutes or until zest is soft. Remove zest from bag and set aside.
  4. Continue to cook the mixture for a further 1 1/2 hours. Strain mixture and reserve liquid.
  5. Return liquid to the heat and add the zest and sugar. Cook the jam for 40 – 50 minutes.
  6. Test for setting by spooning a little on a chilled saucer – it should wrinkle if set.
  7. Pour into sterilized jars and seal.

zesting tangelos

Postscript: do invest in a zester – it makes short work of tangelo rind (which is crucial when you have a car to pack, a house to close down and a 9 hour drive on the horizon….)

recipes

Upcycle

baked glazed ham

It’s heartening to observe the recent trend of repurposing old goods into workable, worthwhile objects of value and especially so, if you were the one responsible for the transformation. We have had the pleasure of watching Kirstie pick up furniture orphans from junk yards and resourcefully transform them into prized family members on her weekly program. Clothing, toys and linens have all been fair game for the passionate upcycler, with vintage and charity shopping now a popular pastime. So after a beautifully baked leg of ham had served its dinnertime purpose, but still boasted a plentiful supply of succulent meat to carve, it was time for some upcycling in our kitchen.

Being well out of the festive season, purchasing a leg of ham is very affordable – in fact quite a canny choice. Simple to prepare and quick to bake, this is an overlooked roasted ‘joint’ with the potential to be so many other meals.

When you bring your ham home, carefully run the knife around the narrow end and gently work off the outer skin, leaving the fat underneath in place. Once the skin is peeled away, score the fat in a cross-hatch fashion. Warm a small jar of marmalade and brush this over the ham generously. Poke a whole clove into the centre of each diamond shape. Sit your decorated leg in a large baking tray and bake in a moderate oven (ie 180 degrees celsius) for 45 minutes or until it is nicely browned. Your ham is ready to carve.

My carnivorous family barely makes a dent on a baked ham in one sitting, so throughout the week rolls are filled, grills are served and finally I unwrap a calico covered shape that begins to resemble a bone. Still well covered, this joint is upcycled once again – pea and ham soup.

Traditional Pea and Ham soup

A plentiful soup can be produced by plonking the bone holus-bolus into the pot and using this recipe  (which I discovered on the back of my McKenzie’s Green Split Peas packet). Put your ham bone in, follow McKenzie’s steps and lunch/after school feeding frenzies are covered for the rest of the week.

As your ham leg makes its way through all of its various mealtime identities, it can be stored very effectively in the refrigerator in a calico ham bag. No ham bag? No problem – because you too are a resourceful upcycler, a dampened tea towel repurposes wonderfully.

Traditional Pea and Ham soup

Postscript: and just when you thought the upcycling was complete, the long simmered soup bone, after cooling on the bench, became a happy dog’s chew on a sunny afternoon.

personal style

Lippy

Red Lipstick

There’s not a lot that cannot be faced in life once your lipstick has been applied. Meetings with teachers, financiers, supervisors, in fact anyone you’ve designated a mental tag of authority, can all be met with confidence after a swift application of the gloss. One can speak with authority to another through carefully outlined lips.

Having descended from a grandmother who would not garden in the front yard without lipstick for threat of being seen by a passer-by and a mother who equates lipstick-free with ‘washed-out’,  it would not surprise me that should our family tree be given a firm shake, that hundreds of empty tubes would rain down.

And although I have been lured by the advances of magazine advertising and impulsively bought wands and crayons in peaches and lilacs, I always return, cap-in-hand to the ever reliable swivel up tubes in russets and reds.

Psychological war paint or the finishing touch to grooming, whatever the perception, lipstick firmly escorts us through the gamut of life’s adventures. In fact, most of the journeys in my life have begun with the phrase “Just let me get my lippy on before I go.” Thus, the complexity of life’s experiences can therefore be measured by the number of lipstick applications required to see them through.

Hem lines may rise and fall, jeans flare and taper whilst heels expand and contract, but remaining unshakably through all of these fashionable incarnations is the tube of lipstick – the coloured signature, that signs off the completion of every outfit.

chanel calypso lipstick

Postscript: and a solid tube of wicked red is the perfect foil for Winter days ahead.

recipes

Crumble

Apple crumble basics

Each of us carries through life a mental collection of recipes (size of which depends on age, experience or inclination) that can be executed by heart without reference to text or screen. These are the dietary life-lines that we draw upon in times of pantry shortage, time paucity or sheer lack of energy and inspiration. Normally consisting of a handful of basic ingredients, these dishes come together quickly and are reliably enjoyed by all and sundry. When a dessert situation such as this arises in our kitchen, and I need to draw on my cerebral spirax, my only requirements are an apple tree and a passionfruit vine….

Fruit crumbles are the simplest and most cost-effective way of getting a hot caramelised sweet onto the winter table. Throughout the coldest months, the fruit selection pales beside it’s summer sisters, but the offerings are perfect for baked puddings. Apples, pears, rhubarb and frozen berries stew beautifully under the crisp, oaty crumble blankets.

The topping constituents will already be in your pantry and I daresay your fruit bowl or crisper will contain the rest. So toss it all together before dinner and as you sit down to eat, slide it into the oven. By the time you are ready to land for the evening with that well-earned cup of tea, the crumble will have cooled just nicely to scoop and devour.

This apple and passionfruit crumble is a great one to commit to memory, for your next kitchen question mark.

apple and passionfruit crumble

5 – 6 medium apples, peeled, cored and thinly sliced
4-5 passionfruit
1/2 cup white sugar

topping
1/2 cup rolled oats
1/2 cup brown sugar
1/2 cup plain flour
60g chilled butter, chopped

  1. Preheat oven to 180 degrees celsius.
  2. In a mixing bowl combine apples, passionfruit, and white sugar. Spoon this combination into a baking dish.
  3. To make topping, combine topping ingredients in a bowl and rub butter into the mix until it all resembles the consistency of breadcrumbs.
  4. Sprinkle the topping mix over the apple mix and bake for 30-35 minutes or until topping is crisp and browned and the fruit is bubbling.
  5. Serve with cream or vanilla ice-cream.

apple crumble and ice cream

Postscript: passionfruit are at a premium right now, so subtracted, you will enjoy a lovely apple crumble, but added, it will be superb!

gardening · recipes

Caps

Backyard mushrooms

Without prior notice and seemingly from nowhere, a small community of field mushrooms made their recent appearance near the mailbox. When spied by the offspring, topics of discussion ranging from magical creatures (the youngest) to poisonous death (male teen) were triggered. The eldest, who has wisdom (and botanical knowledge) beyond her years, cancelled out both with evidence-based biological explanation and species definition. As the merits of all theories were staunchly argued, my thoughts were galloping in an entirely different direction, one that was leading directly to a beef and mushroom pie.

I’ve never yet met a child who will voluntarily eat a mushroom, and if you know of one this rare phenomenon should be donated to science for DNA cloning, then all further issue would be appreciative of their mother’s cooking. I was one from the genetic masses and could never bear the smell or the taste of the fleshy fungus, yet the mention of a day out ‘mushrooming’ would fill me with excitement. Running along with a bucket or basket and being first to spot a patch was pure delight. Flipping the caps over and waiting for adult confirmation of edibility before cutting and collecting was all part of the process. Sunny days, with a chill in the air, meant coats and red cheeks. Boots of course, as the recent rains responsible for coaxing up those crops had left the paddocks moist and spongy. Happy and weary at the end of it all, but not remotely interested in the catch that some poor individual (my mum) had to clean and slice later that night.

Now I am that cleaning and slicing individual. An individual with an adult palate who adores mushrooms in pies.

A close inspection of your garden or neighbourhood may reveal similar treasures and if they do, here is a wonderful place to stow them:

beef and mushroom pie

2 tbsp olive oil
1kg blade or chuck steak trimmed of fat and cut into 4cm cubes
1 large onion, chopped
2 cloves garlic, finely chopped
1 tbsp plain flour seasoned with salt and pepper
250 ml beef stock
400g can crushed tomatoes
250g mushrooms, trimmed and sliced thickly
2 sheets ready rolled puff pastry
1 lightly beaten egg to glaze

  1. Heat 1 tablespoon of the oil in a large pan over medium to high heat. Brown meat in batches. Transfer cooked meat to a plate and set aside.
  2. Add remaining oil to pan over medium heat and add onion, stirring until softened. Add garlic and cook for 1 minute. Sprinkle flour over and cook for a further minute.
  3. Add the stock and mix in any residue from the base of the pan. Return beef to pan and add tomatoes. Cover and simmer over low heat, stirring occasionally, for 1 hour.
  4. Stir in the mushrooms and simmer, uncovered for 45 minutes until beef is tender and sauce has thickened.
  5. Transfer mixture to ovenproof pie dish(es) and leave to cool for 10 to 15 minutes.
  6. Preheat oven to 200 degrees celsius. Cover the pie(s) with pastry sheets and trim and press edges together. Brush with beaten egg and cut slits in the top to allow steam (and some gravy to escape).
  7. Bake for 25 to 30 minutes, or until pastry is golden. (Depending on the size of your pie dish of course, this recipe will produce up to two family pies)

field mushrooms

Postscript: and should your garden or your botanical confidence be lacking, it’s a quick, even magical, trip to the local supermarket….

recipes

Succor

Chocolate self-saucing pudding

As Winter bares its ugly teeth there is little other recourse than to seek refuge in a huge helping of chocolate self-saucing pudding. Rising from a deep pool of steaming rich sauce, this robust pudding is so densely fortified with chocolate, cocoa and goodwill, it can ward off any biting chill in a single serve.

 To beat wolves from our door, we unleash this devilish dark pudding. As the rain beats against glass and wind buffets the external, all members of the clan dig in (and often two or three times). So, if ever there is a time to unearth the cherished pudding manuals, is doesn’t get any better than this.

And to flood your heavily shrouded home with the smell of baked chocolate, well after darkness has descended, is the very essence of how treasured olfactory memories begin.

If you have similar villainous elements that need to be kept at bay, this pudding is a magnificent way to armour your troops.

50g dark chocolate (I used Lindt 70% cocoa), chopped
50g butter, chopped
2 tbsp cocoa powder
2/3 cup milk
1 cup SR flour
1/2 cup caster sugar
1/2 cup brown sugar
1 egg, beaten

fudge sauce
1 1/2 cups water
50g butter chopped
1/2 cup brown sugar
1/4 cup cocoa

icing sugar to dust the top

  1. Preheat oven to 180 degrees celsius and grease a 6 cup capacity oven proof dish.
  2. Combine chocolate, butter, sifted cocoa and milk in a saucepan and stir over low heat until chocolate has melted.
  3. Sift flour into a large bowl and stir in the sugars. Add the chocolate mixture and egg – mix well.
  4. Pour mixture into baking dish.
  5. To make the sauce, combine the water, butter, sugar and sifted cocoa in a saucepan and stir over low heat until combined.
  6. Pour the sauce over the back of a spoon across the surface of the pudding mix.
  7. Bake for approximately 45 minutes or until firm.
  8. Serve dusted with icing sugar and cream or vanilla ice cream on the side.

dusted chocolate pudding

Postscript: and perhaps had the Starks (of Game of Thrones notoriety) been aware of the properties of the humble chocolate pudding,  the threat that ”Winter is Coming” may have been nullified.

recipes

PS

Warm potato salad

If you roamed earth at the same time as Marcia Brady, fondue and teak veneer, then you would not be blamed for recoiling in horror at the mere mention of potato salad. Often appearing as unrecognisable dice submerged in mayonnaise or impossibly white cubes hailing straight from the can, early potato salads loomed large in glass bowls on buffets and at barbeques alike. Thankfully there was always a plethora of buttered bread-stick from which to extract ones ‘carbs’ allowing the menacing PS to be skilfully avoided.

Fortunately as we grew up, so did potato salad. In latter years it has been permitted to appear at the table wearing its skin and now dressed rather than drowned in mayonnaise. It now invites its friend texture along – so the salami crisps herself up for the occasion. And to ensure the two do not become so visually entangled as to merge into one, fresh aunt parsley attends in her contrasting manner as a wonderful chaperone for the dish.

Like us, ps has improved tremendously with age, so this weekend, build a giant bowl and treat everyone to some grown-up fare.

red-skinned potatoes (eg Desiree) – enough to fill a large bowl
a 250g whole pepperoni salami
1/2 a 235g jar of Thomy mayonnaise
juice of a lemon
cracked sea salt and black pepper
1/2 bunch continental parsley, roughly chopped

  1. Put unpeeled potatoes in a large pot of boiling salted water and cook until tender (but not falling apart).
  2. Drain and cut into small chunks and place in large serving bowl.
  3. Thinly slice the salami and cut these slices in half (you may only need half of the salami).
  4. Pan fry the salami until crisp. Drain on paper towel and then add to potatoes.
  5. Mix together mayonnaise, lemon juice and salt and pepper and stir this dressing through the potato and salami mix.
  6. Stir through the parsley and serve warm.

potato salad makings

Postscript: serve your ps with the grill or barbeque of your choice but if you can rid your home of occupants, it’s the perfect solo fork and bowl couch meal.