craft · family · health and wellbeing

Comfort


And so once again, it is all about to change.

Autumn is packing away its leaves to make way for Winter to unfurl its blanket of chill. It’s now with haste that laundry is whipped in before the early afternoon crispness descends and cats position themselves in ever diminishing wedges of sunlight. It’s not going to be the same as we have become accustomed to over previous months, we must now prepare for difference.

We all vary in our response to change – either shunning and resisting or welcoming and adapting. Either way it does present as a challenge and usually it is underlying fear of the unknown that creates the difficulty. These are the times when as humans we seek out comfort, immersing ourselves in rituals and activities that bring about a feeling of good.

Comfort of course is quite intangible, as the very thing that makes one feel good may not have any appeal to another. You do need to establish what constitutes yours, as it will serve as your armory in times of uncertainty. Defining your sources of comfort is a highly individualised exercise, but the time spent consciously and deliberately identifying these sources is time exceptionally well spent.

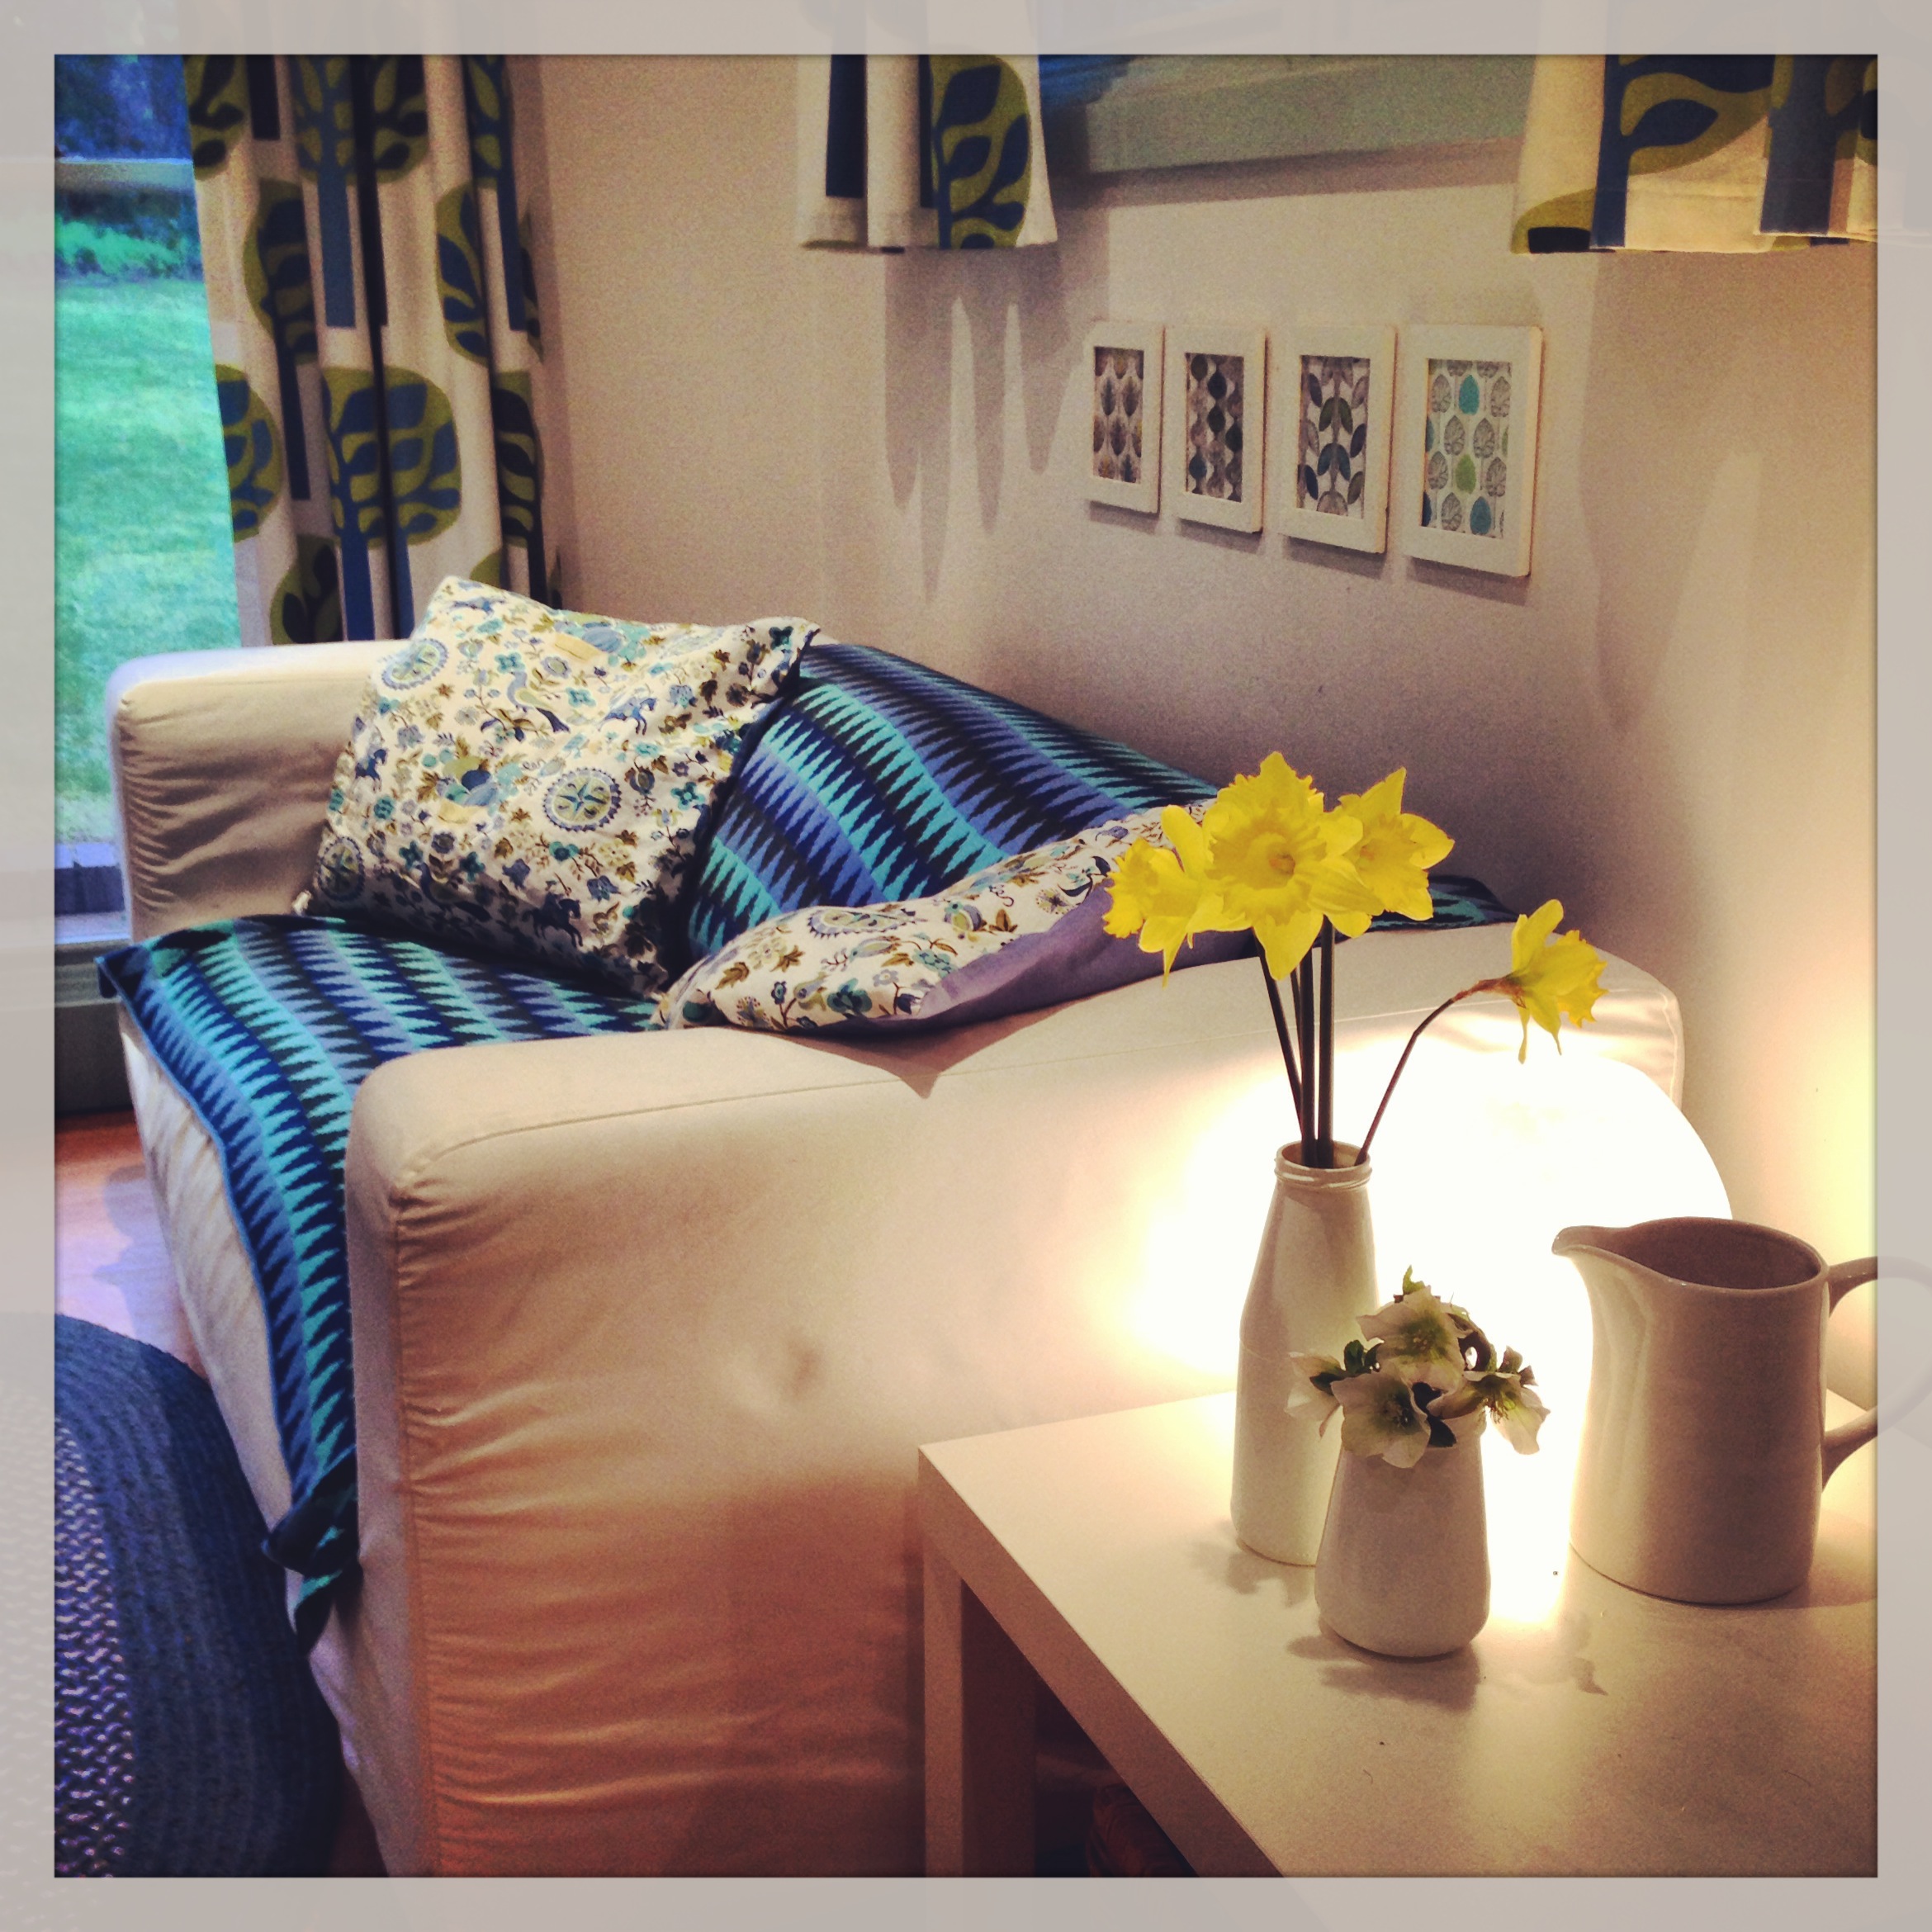
I have put this to task recently and have amassed a reassuring stockpile. Taking my cup of tea to sunny garden space (yes I am like my cats) is a wonderful mid-afternoon treat. Retiring to a blanketed sofa on a chilly Sunday night to be immersed in an 18th century Cornish copper mine saga, watching the protagonist Ross Poldark do his best to be noble, is a wonderful place to be. Pulling a baked dozen from the oven or settling the lid on a rumbling stew, provides an inner satisfaction that can not be manufactured.

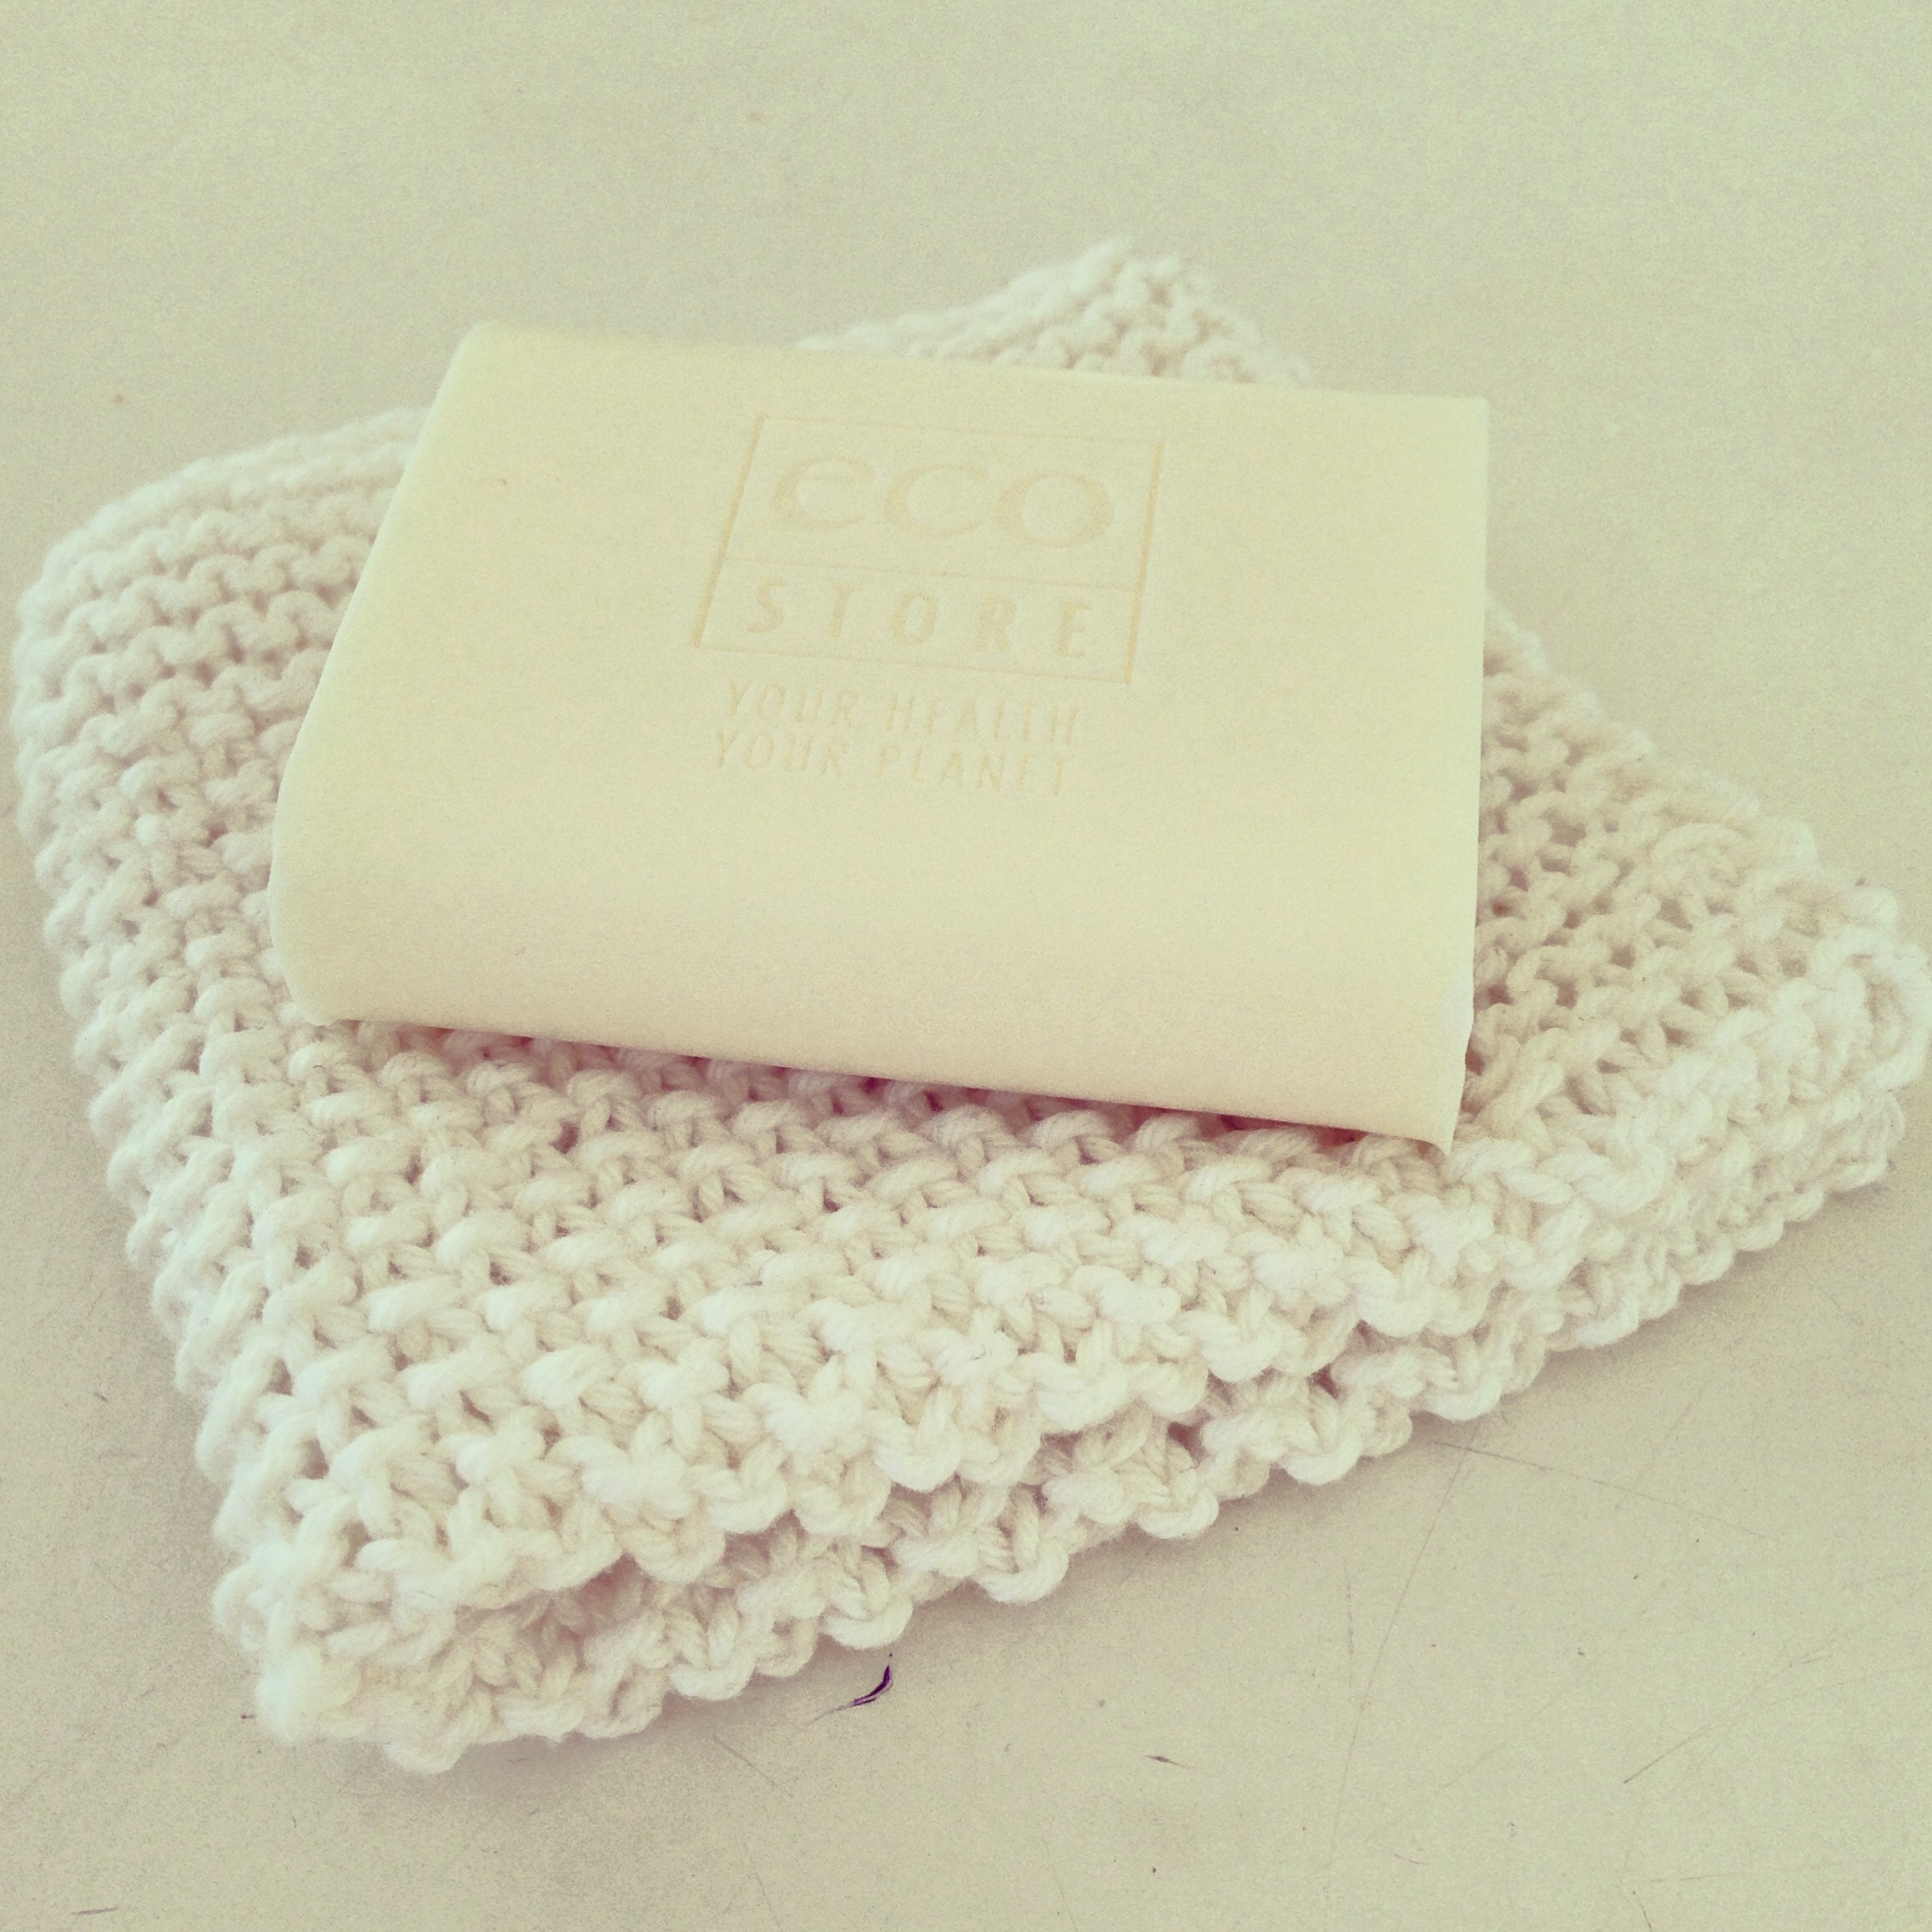
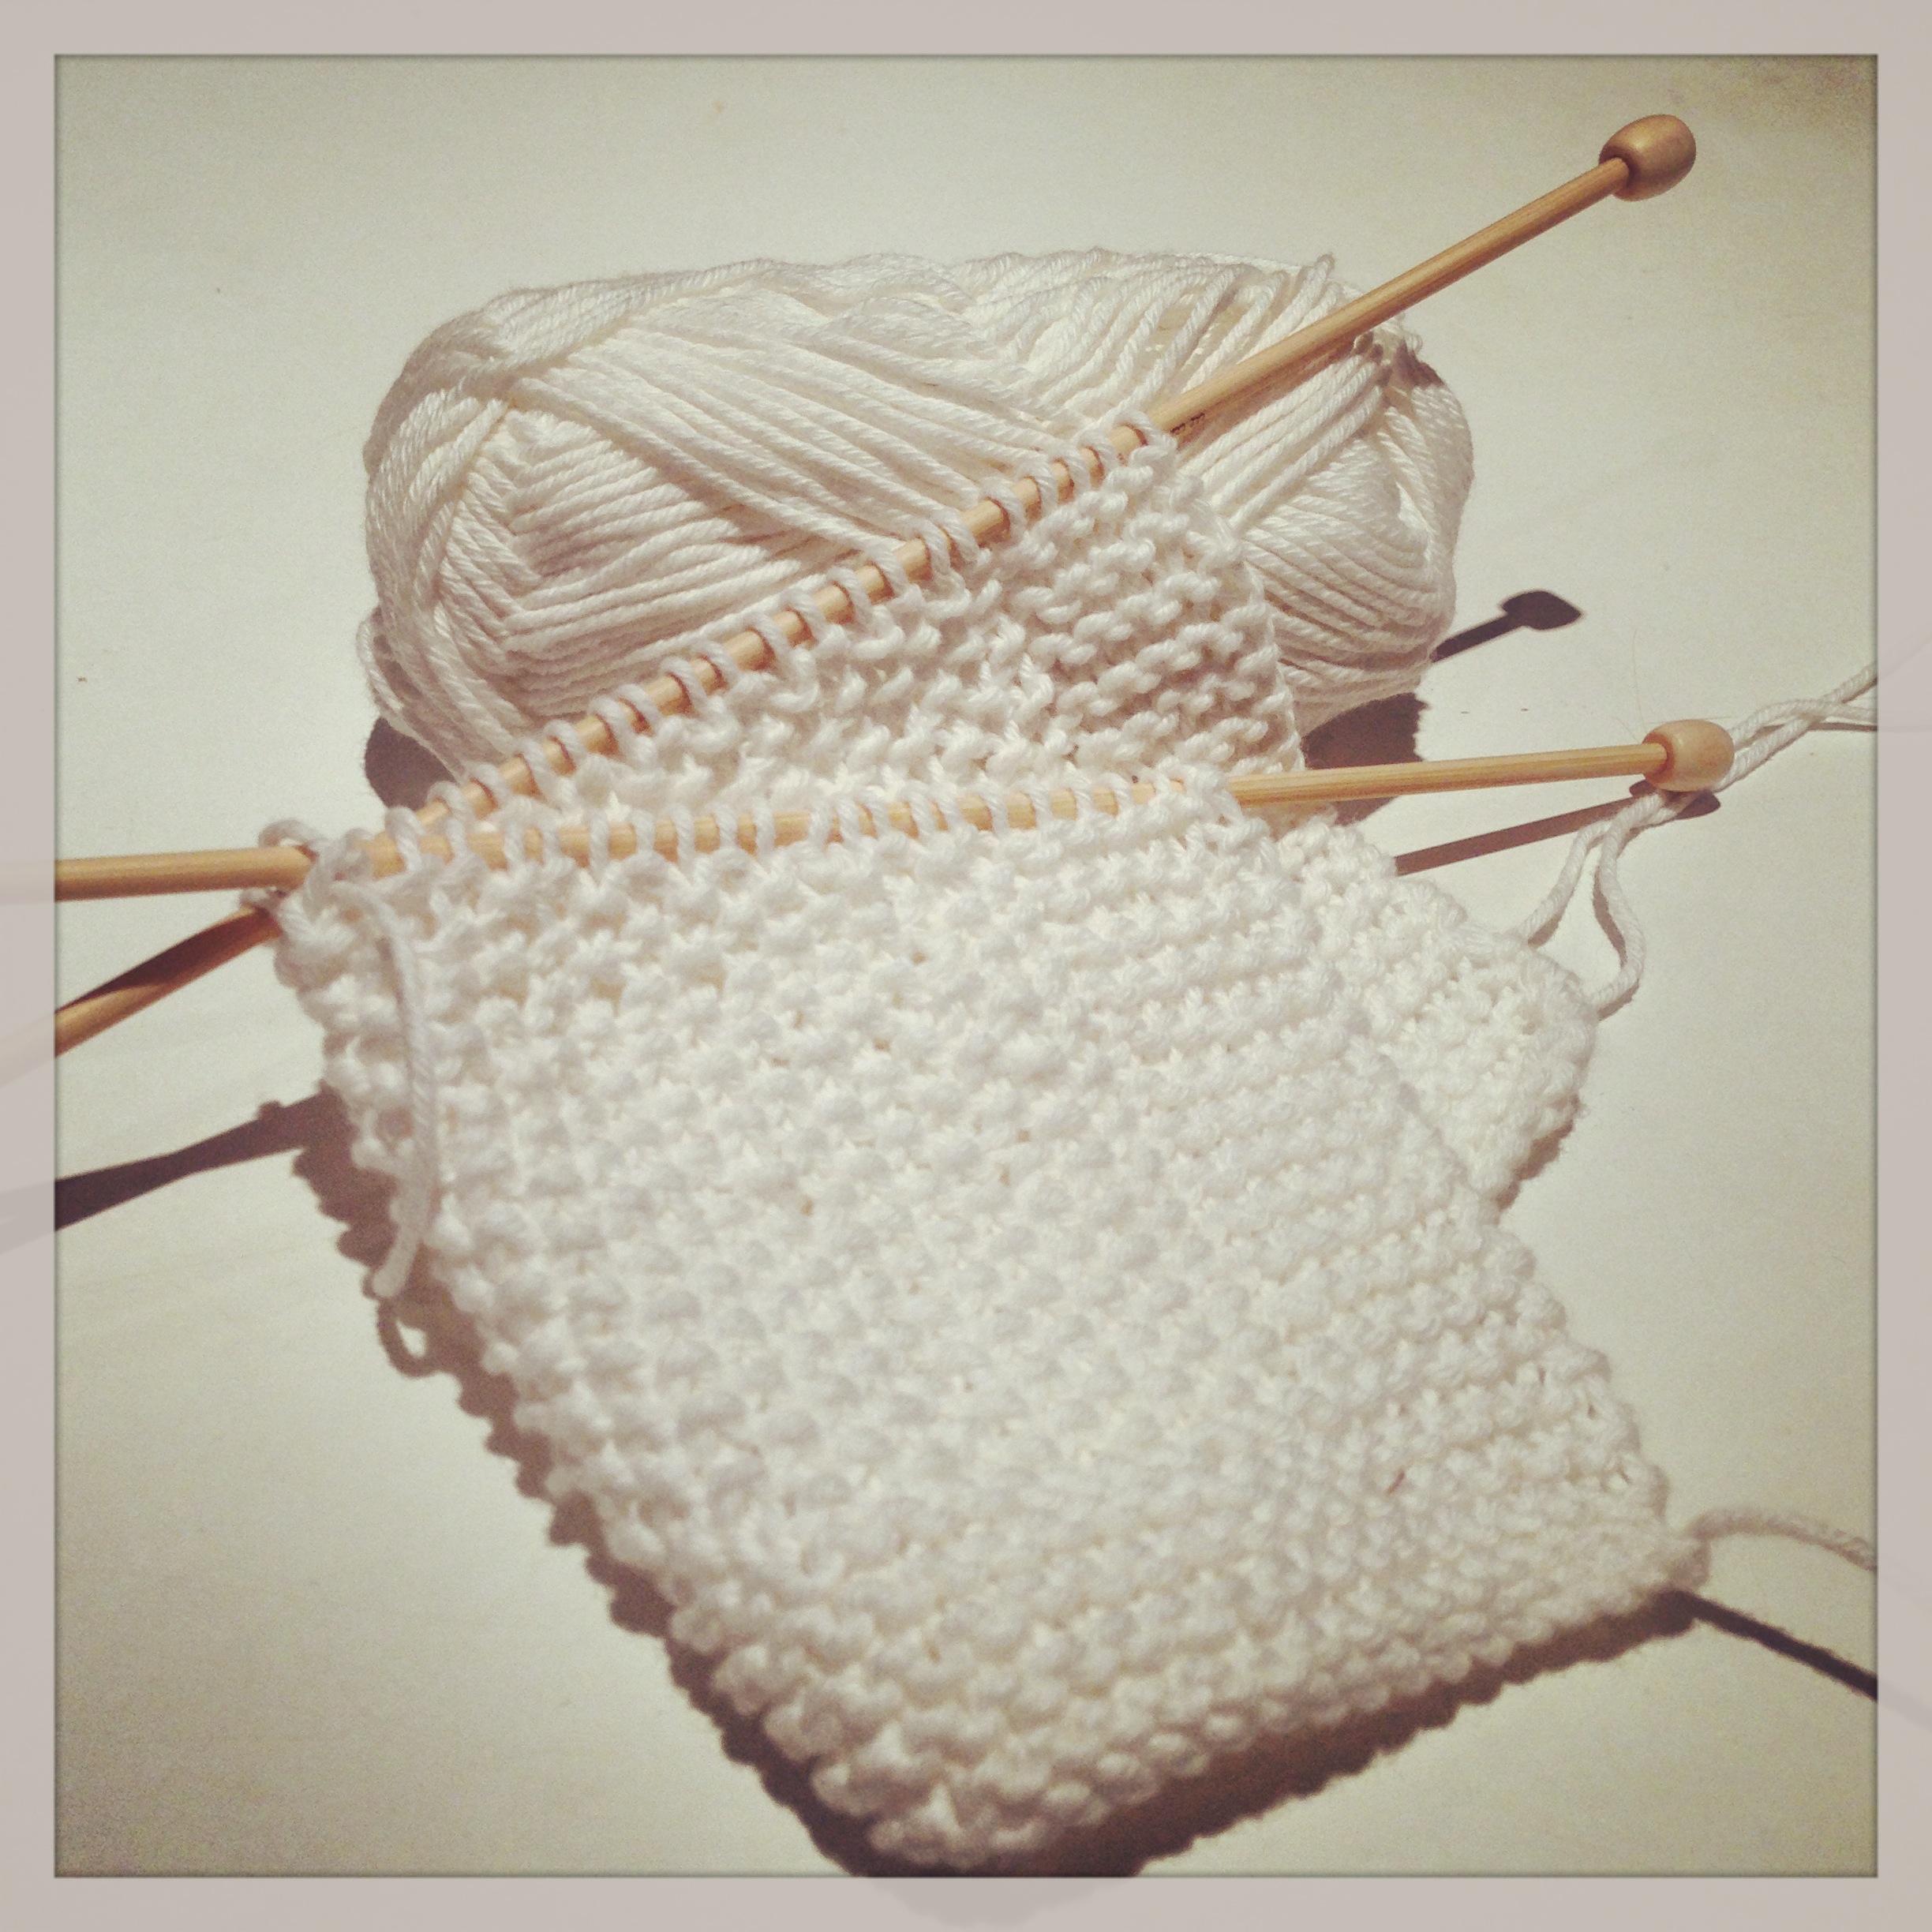
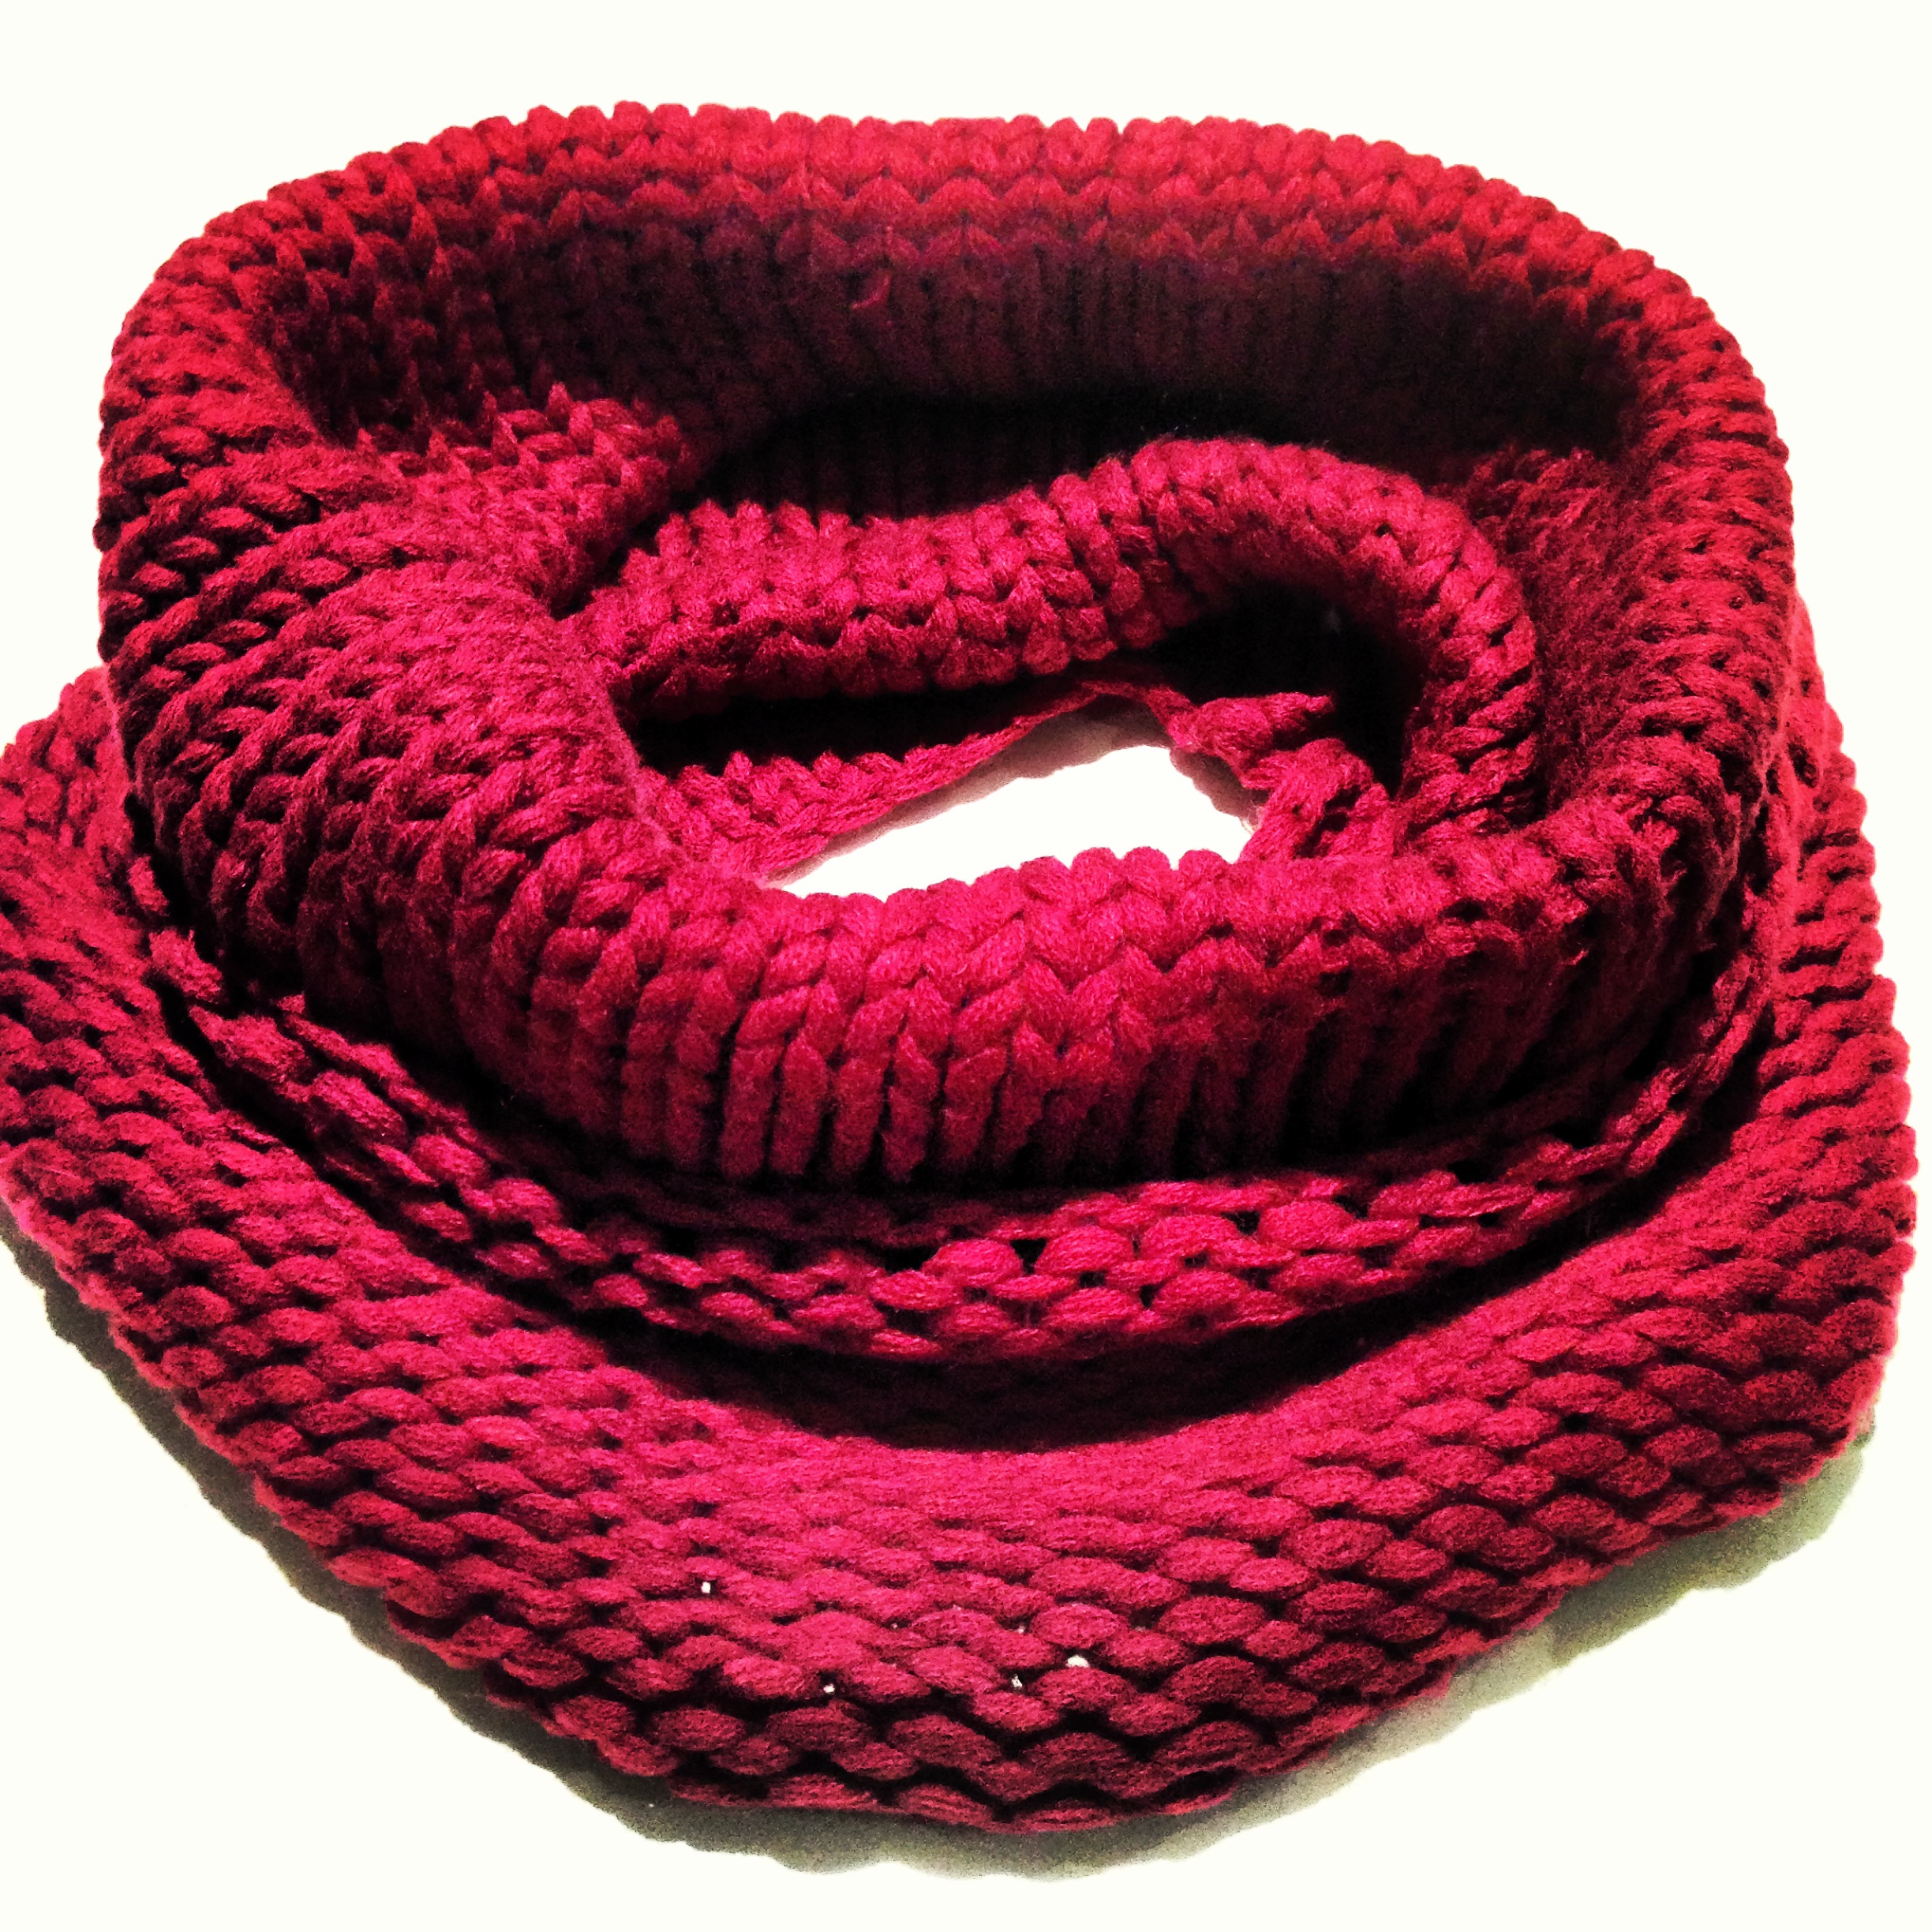
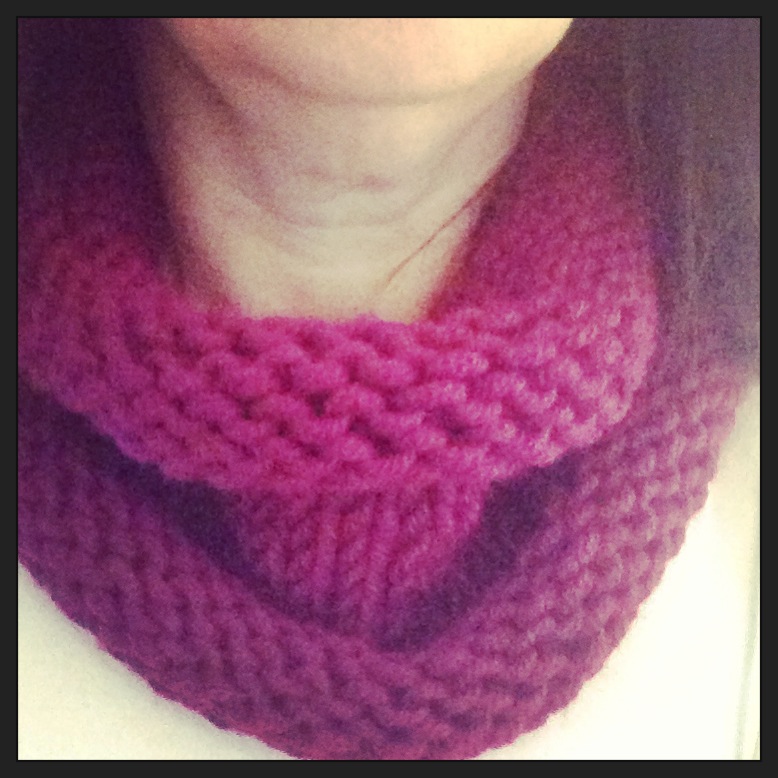
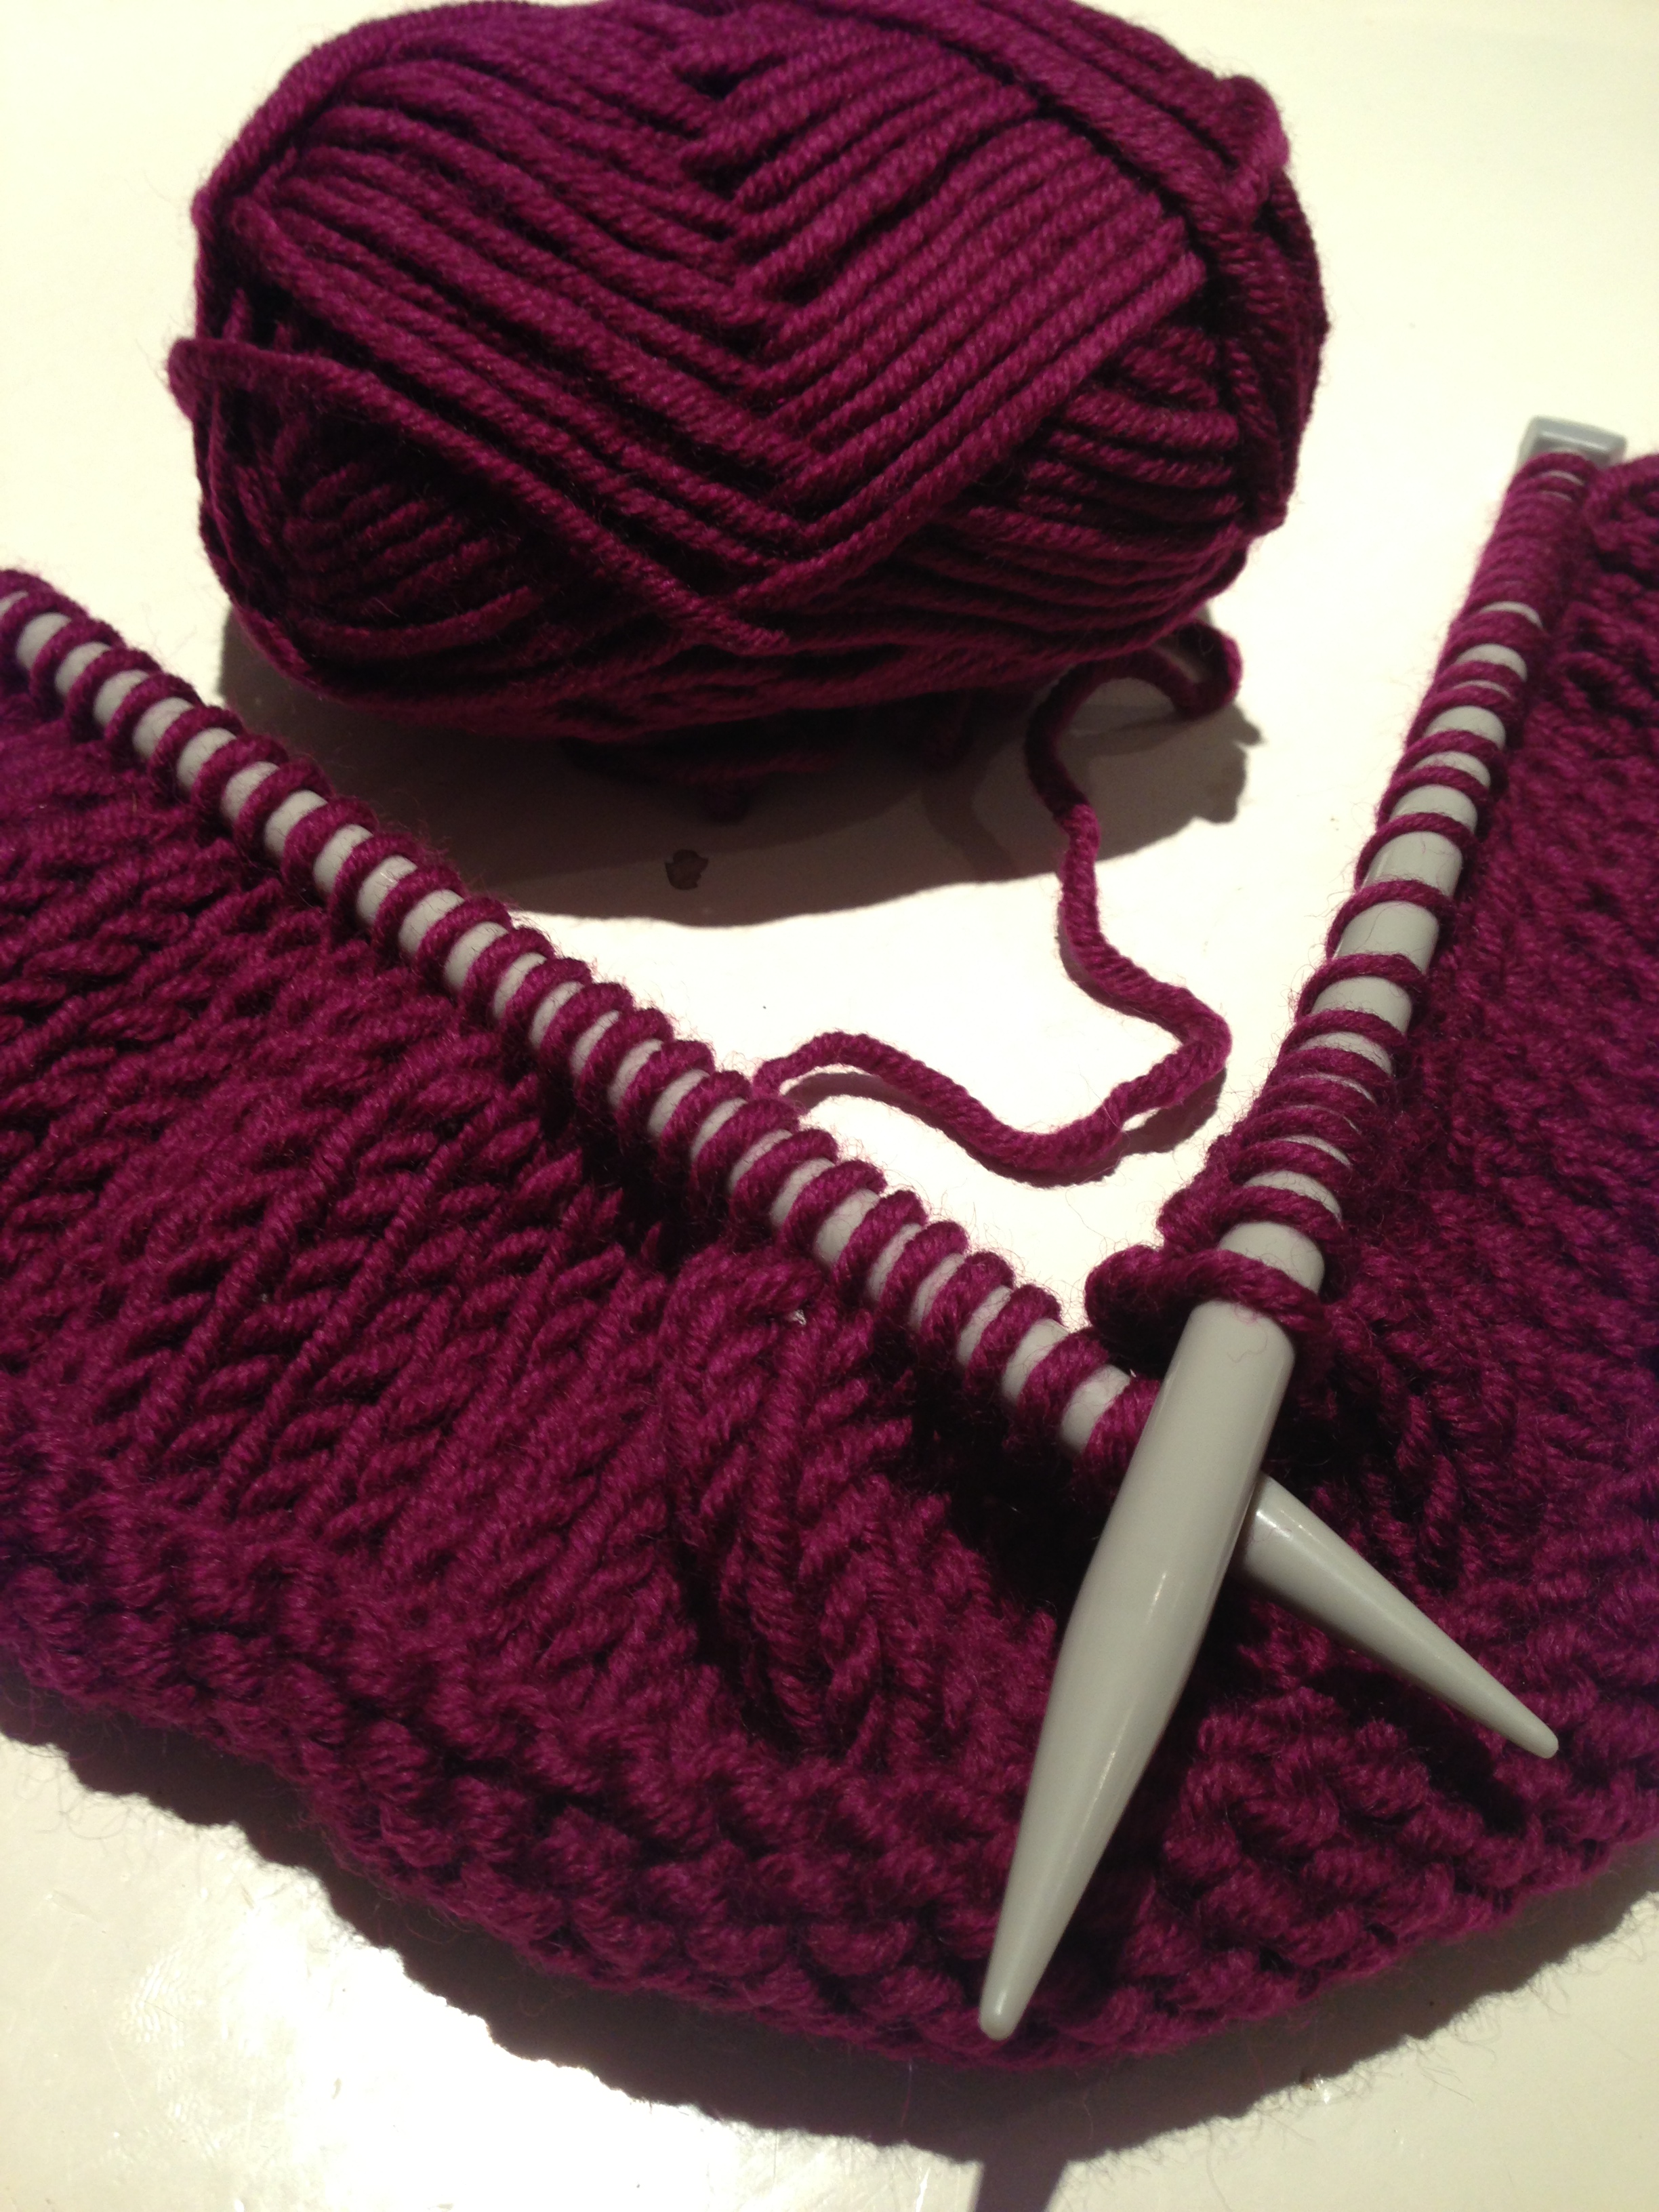
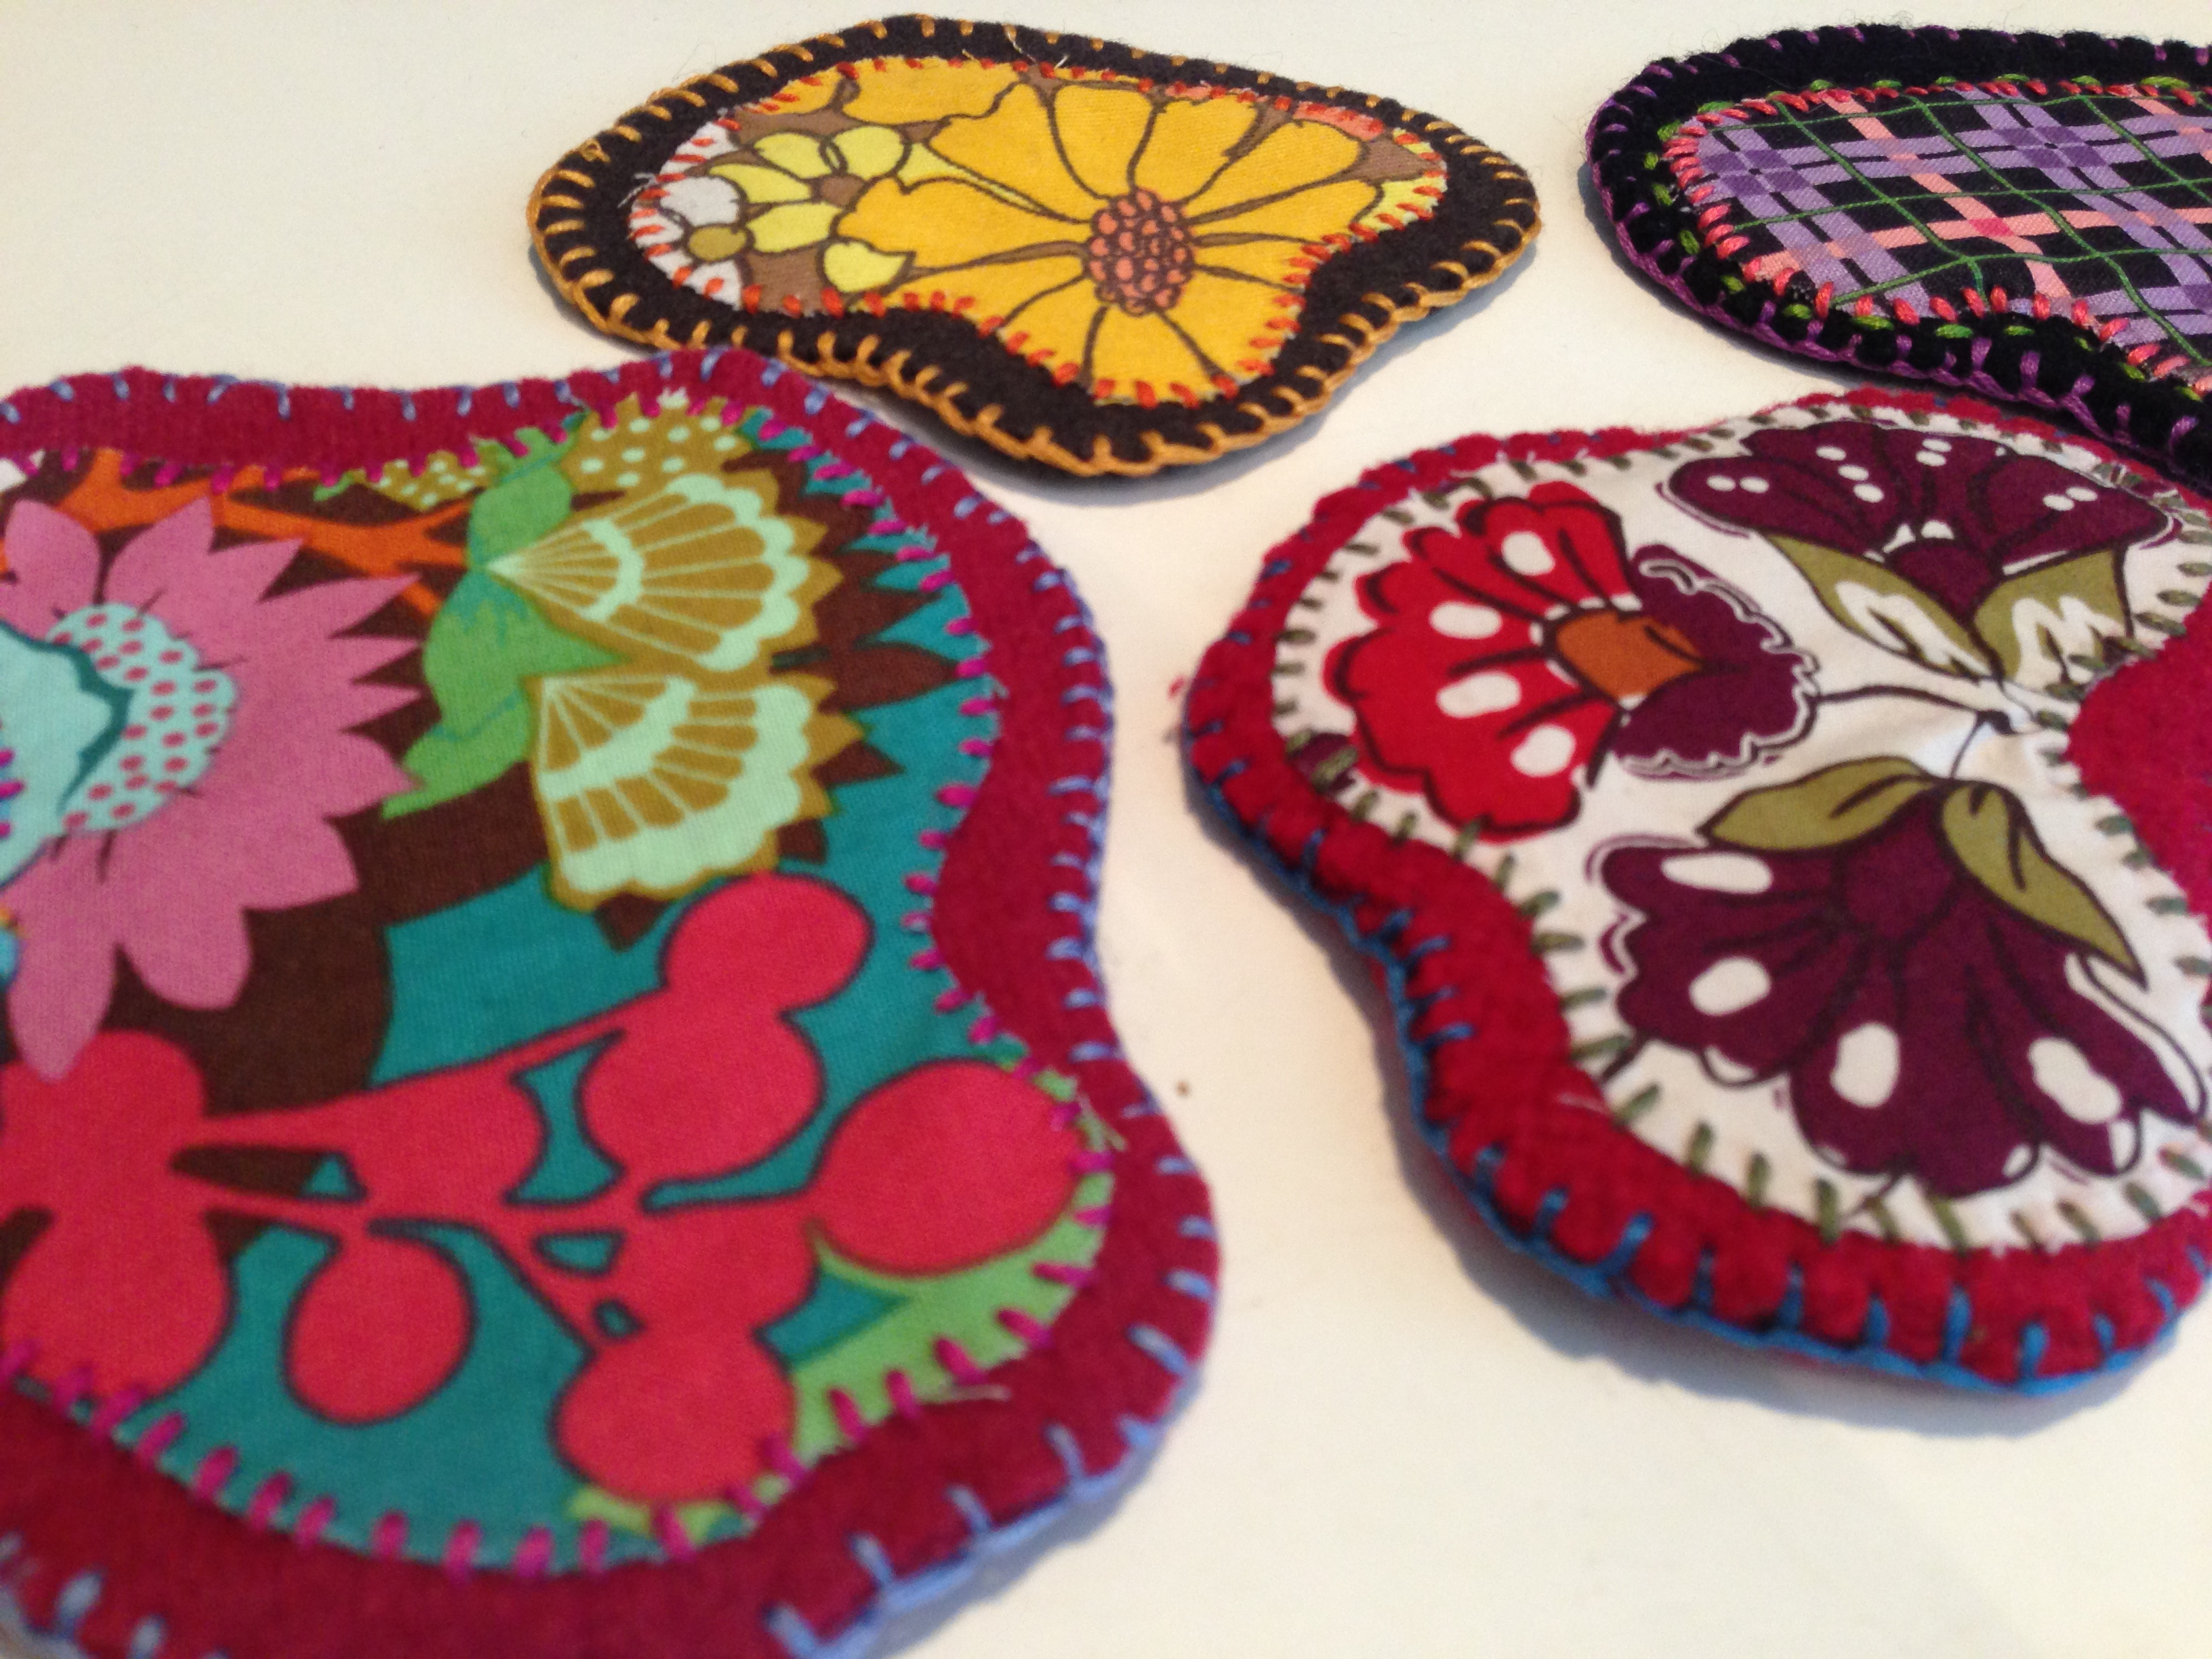
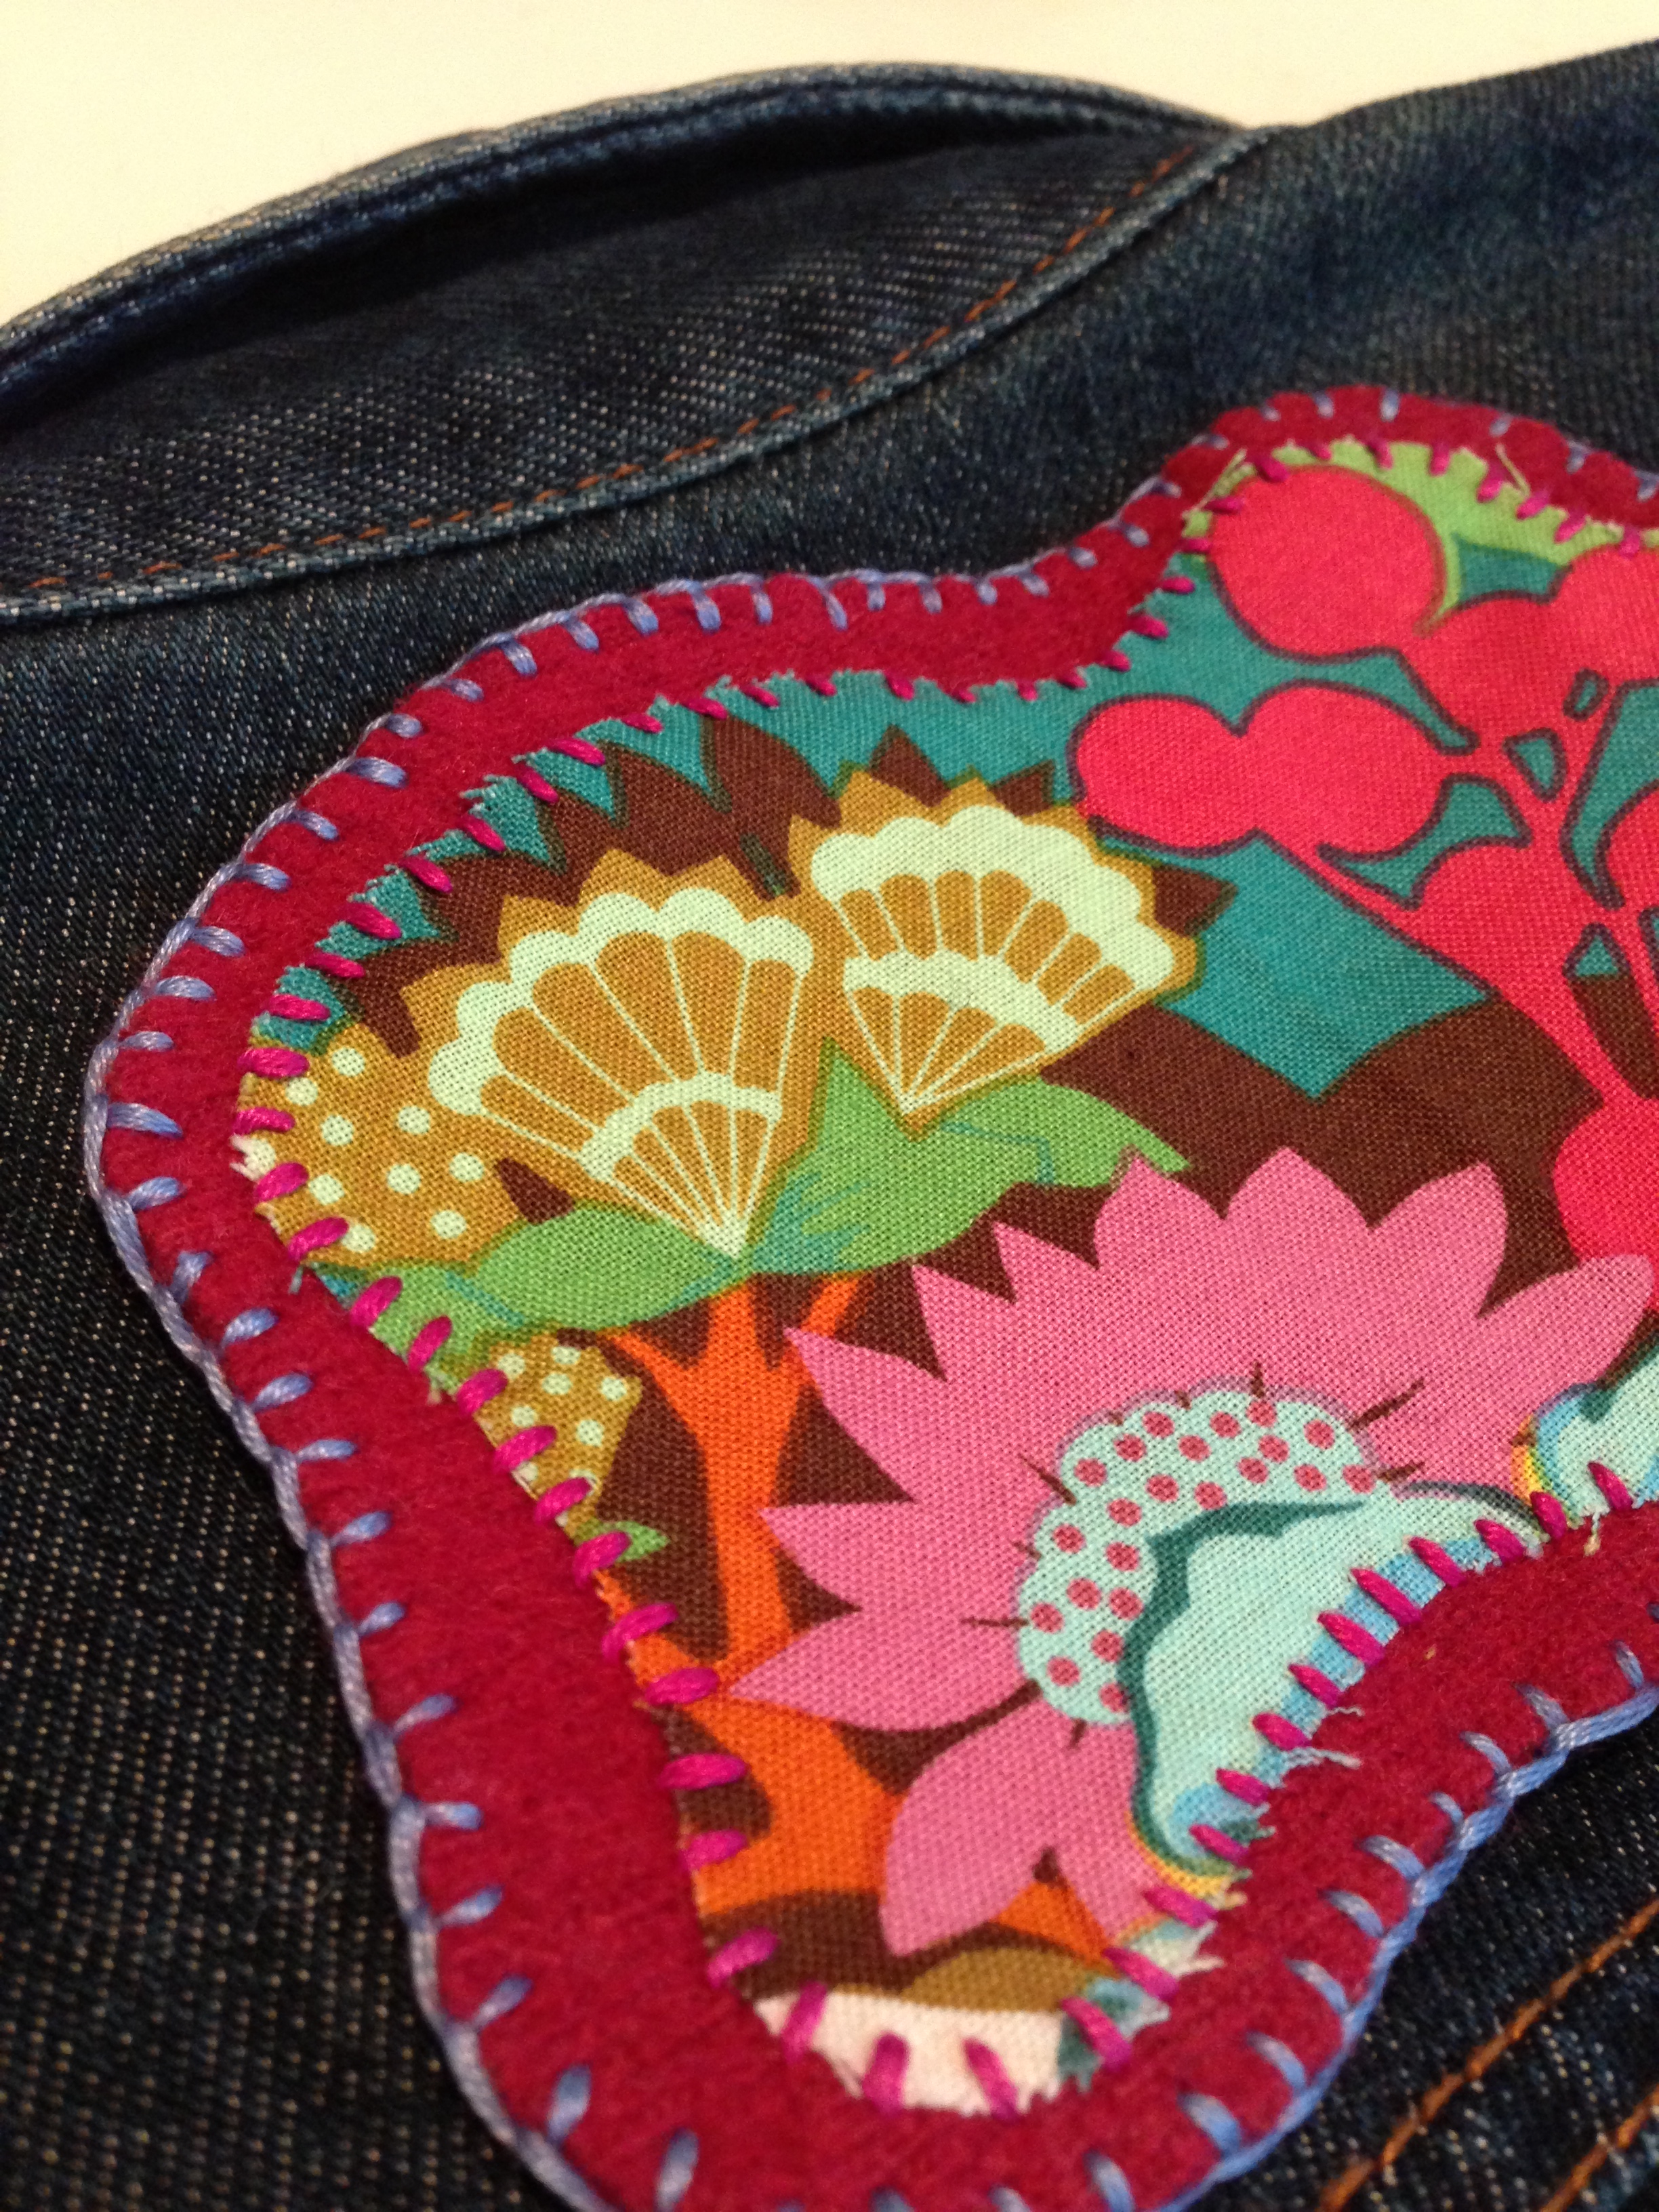
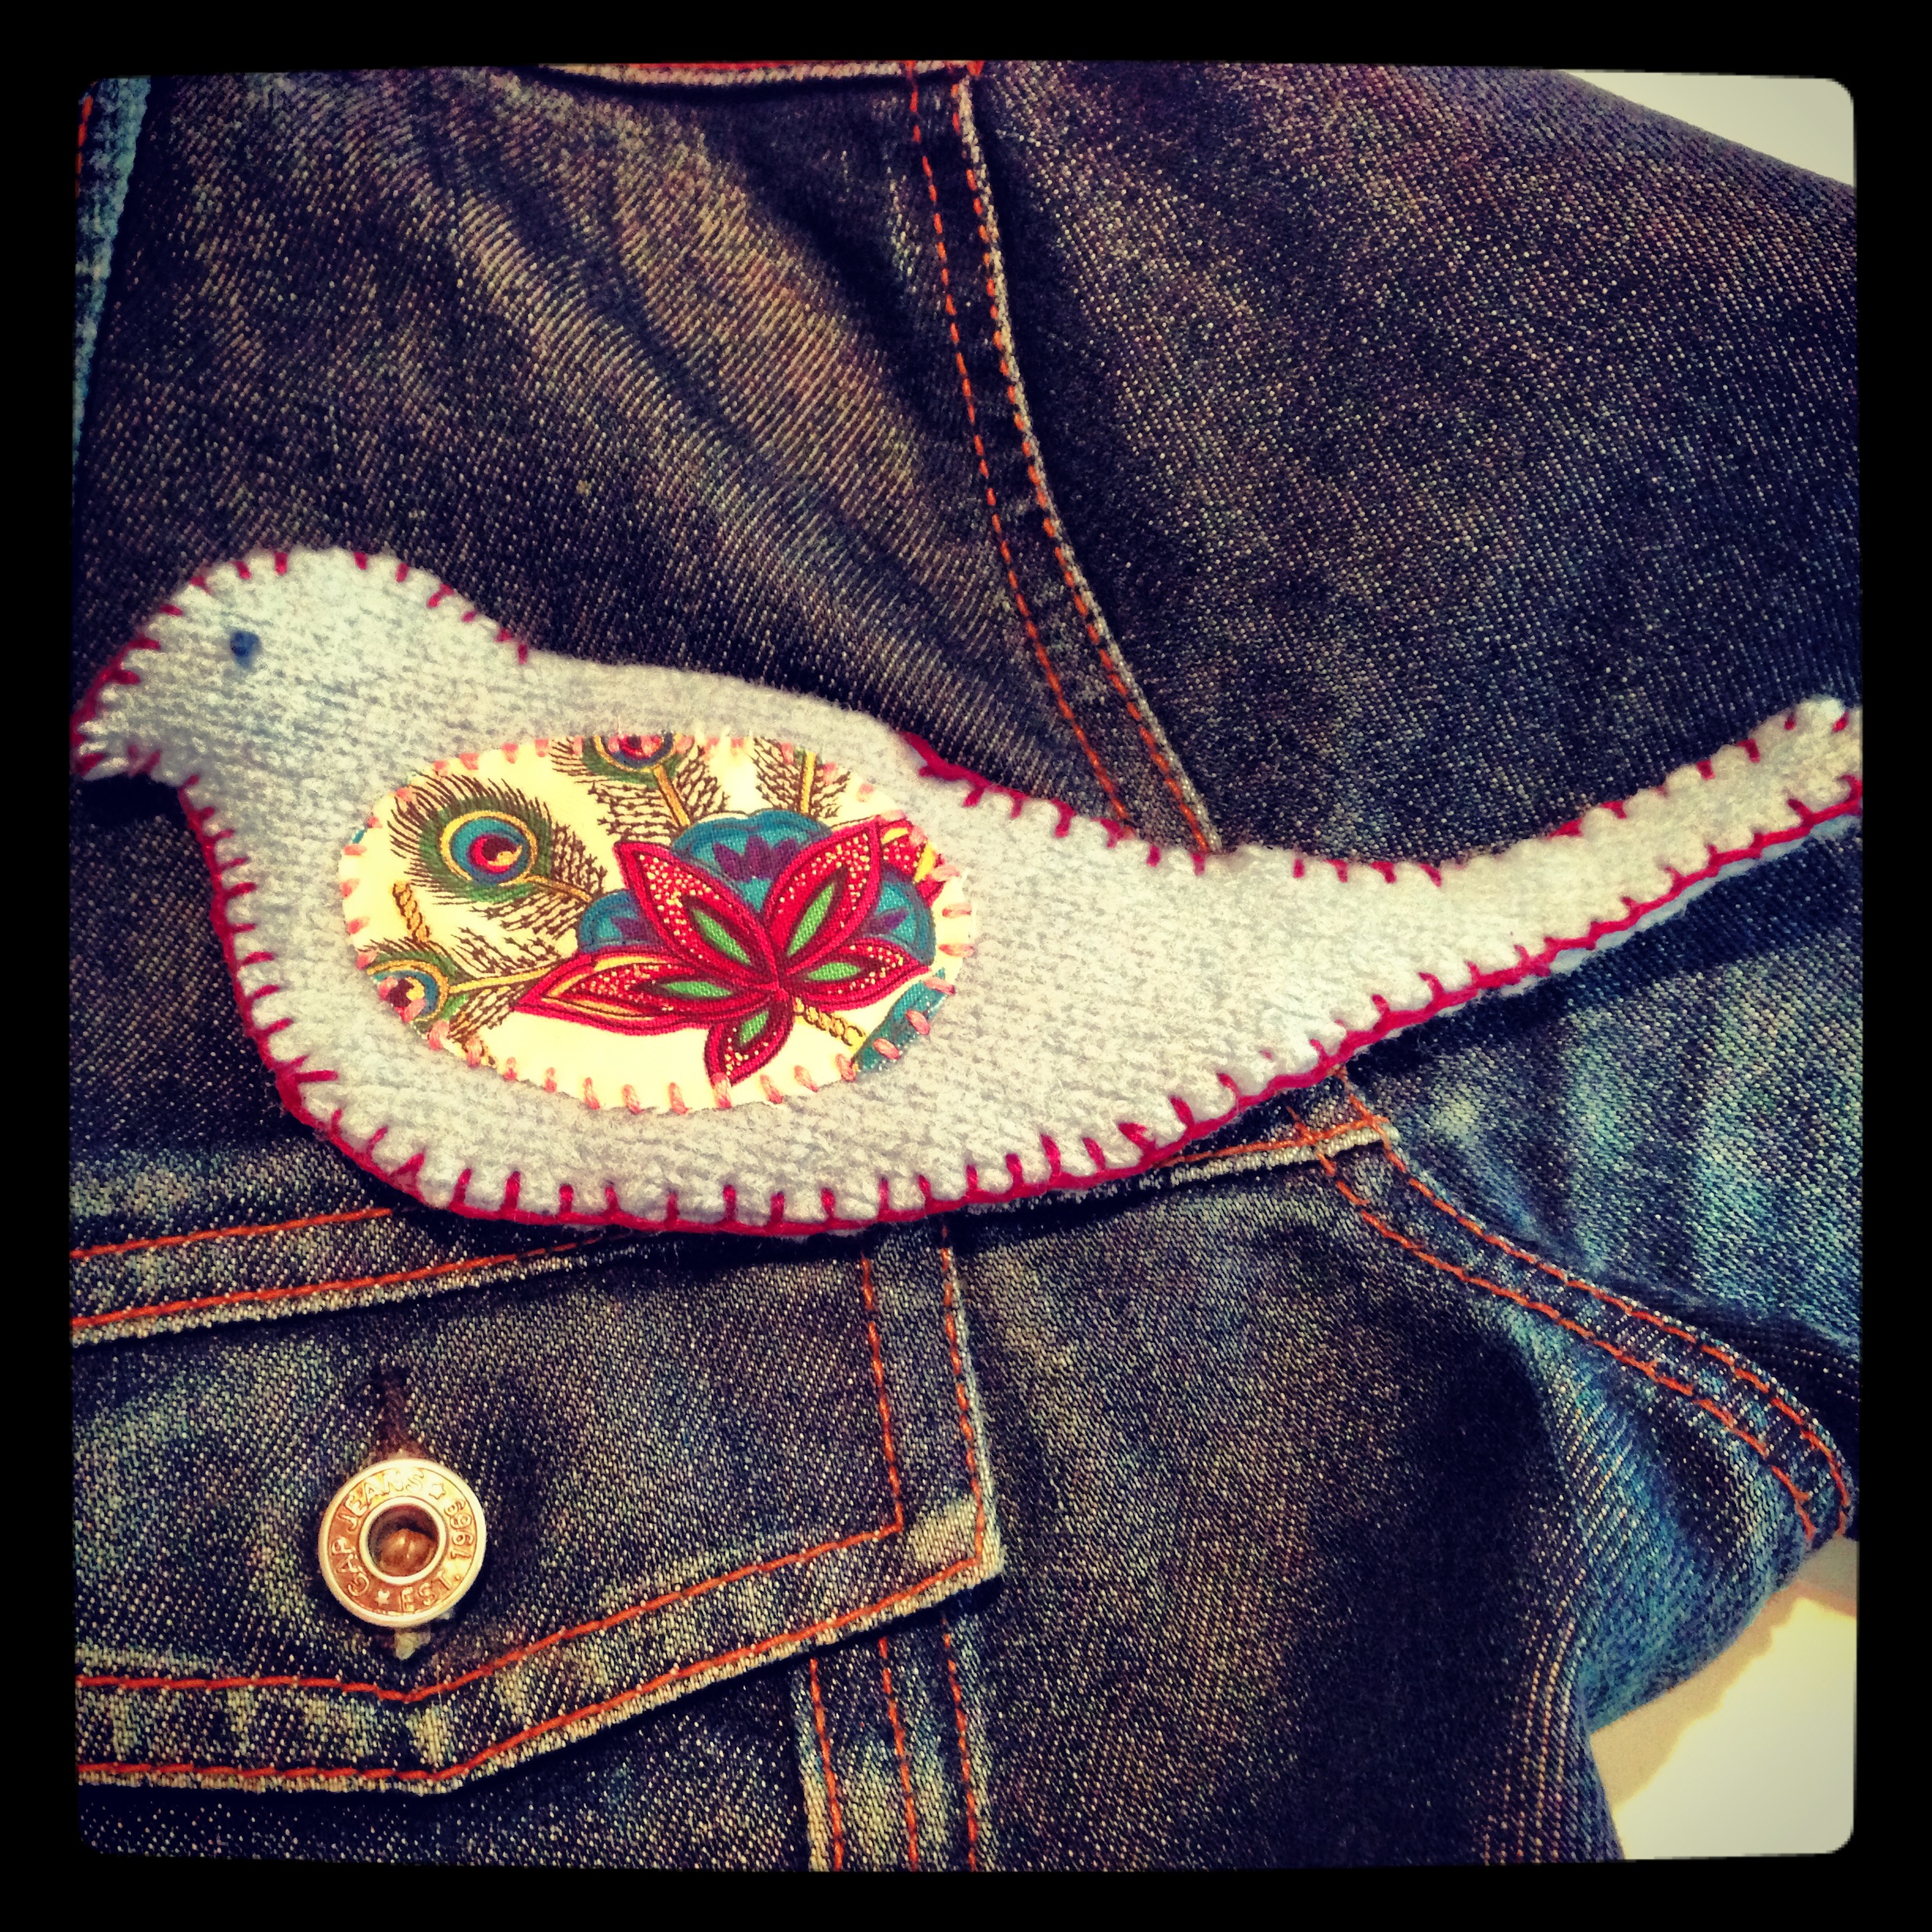
Building a fabric of inter-looped yarn by rhythmic needle clicks, a pastime that calms the mind and rewards the creator –

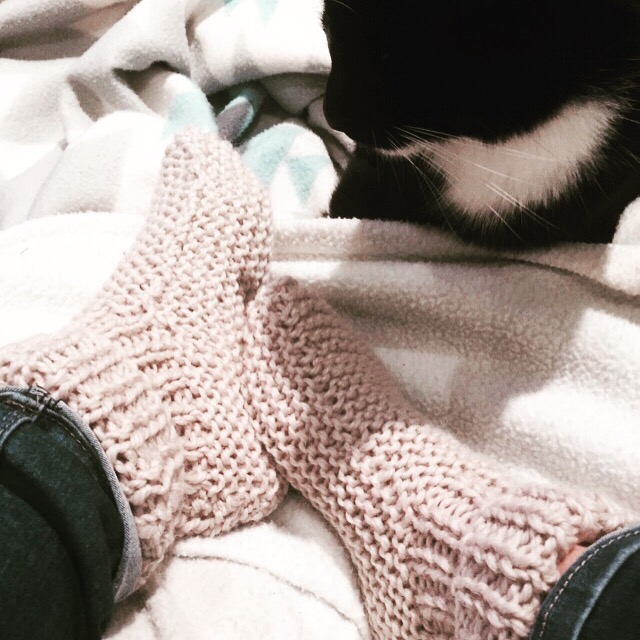
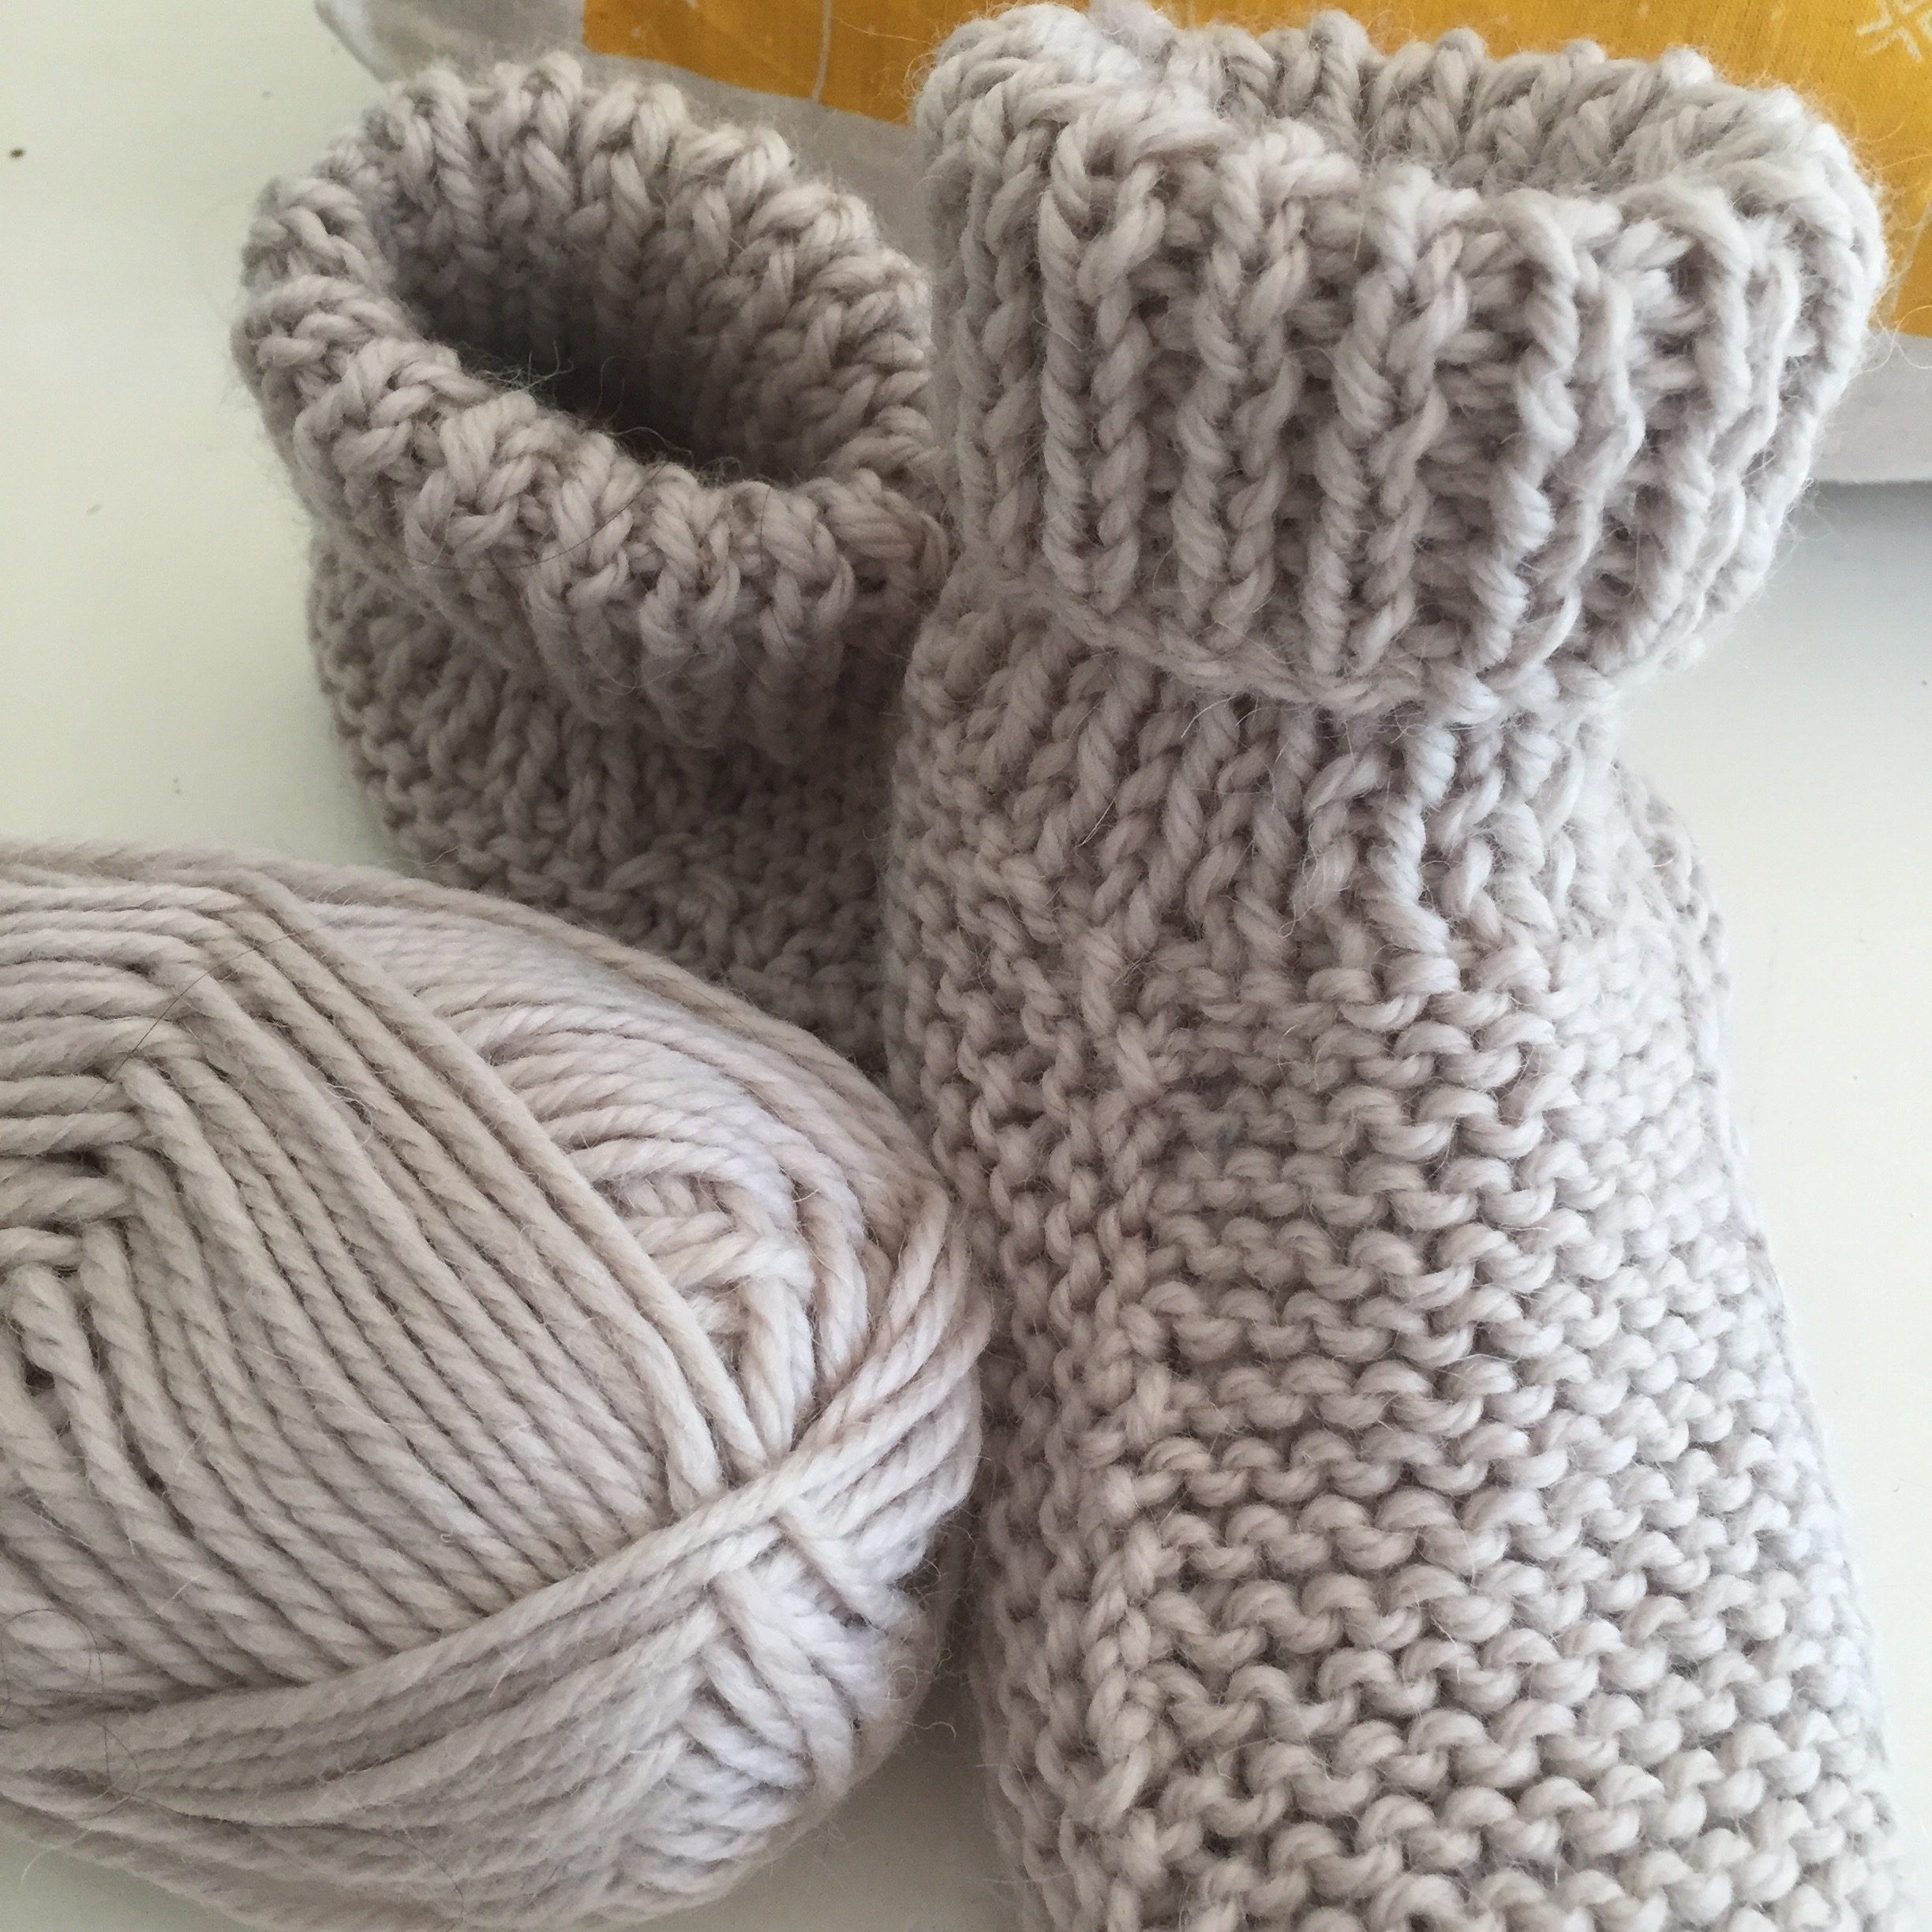
 and then pulling such fabric on when the day’s work is over, only amplifies this simple pleasure.

Running alongside a sun-glistened bayside horizon, passing warmly jacketed dogs and masters while inhaling chestfuls of ion-laced breeze – magic.

And drawing the blinds on a task-loaded day to return once again to sun dried sheets and fluffed pillows.

Locate that irresistible journal or notebook that you knew you someday would need and gather your comforts. Pen them for referral, as times of change will always present.

 home boots
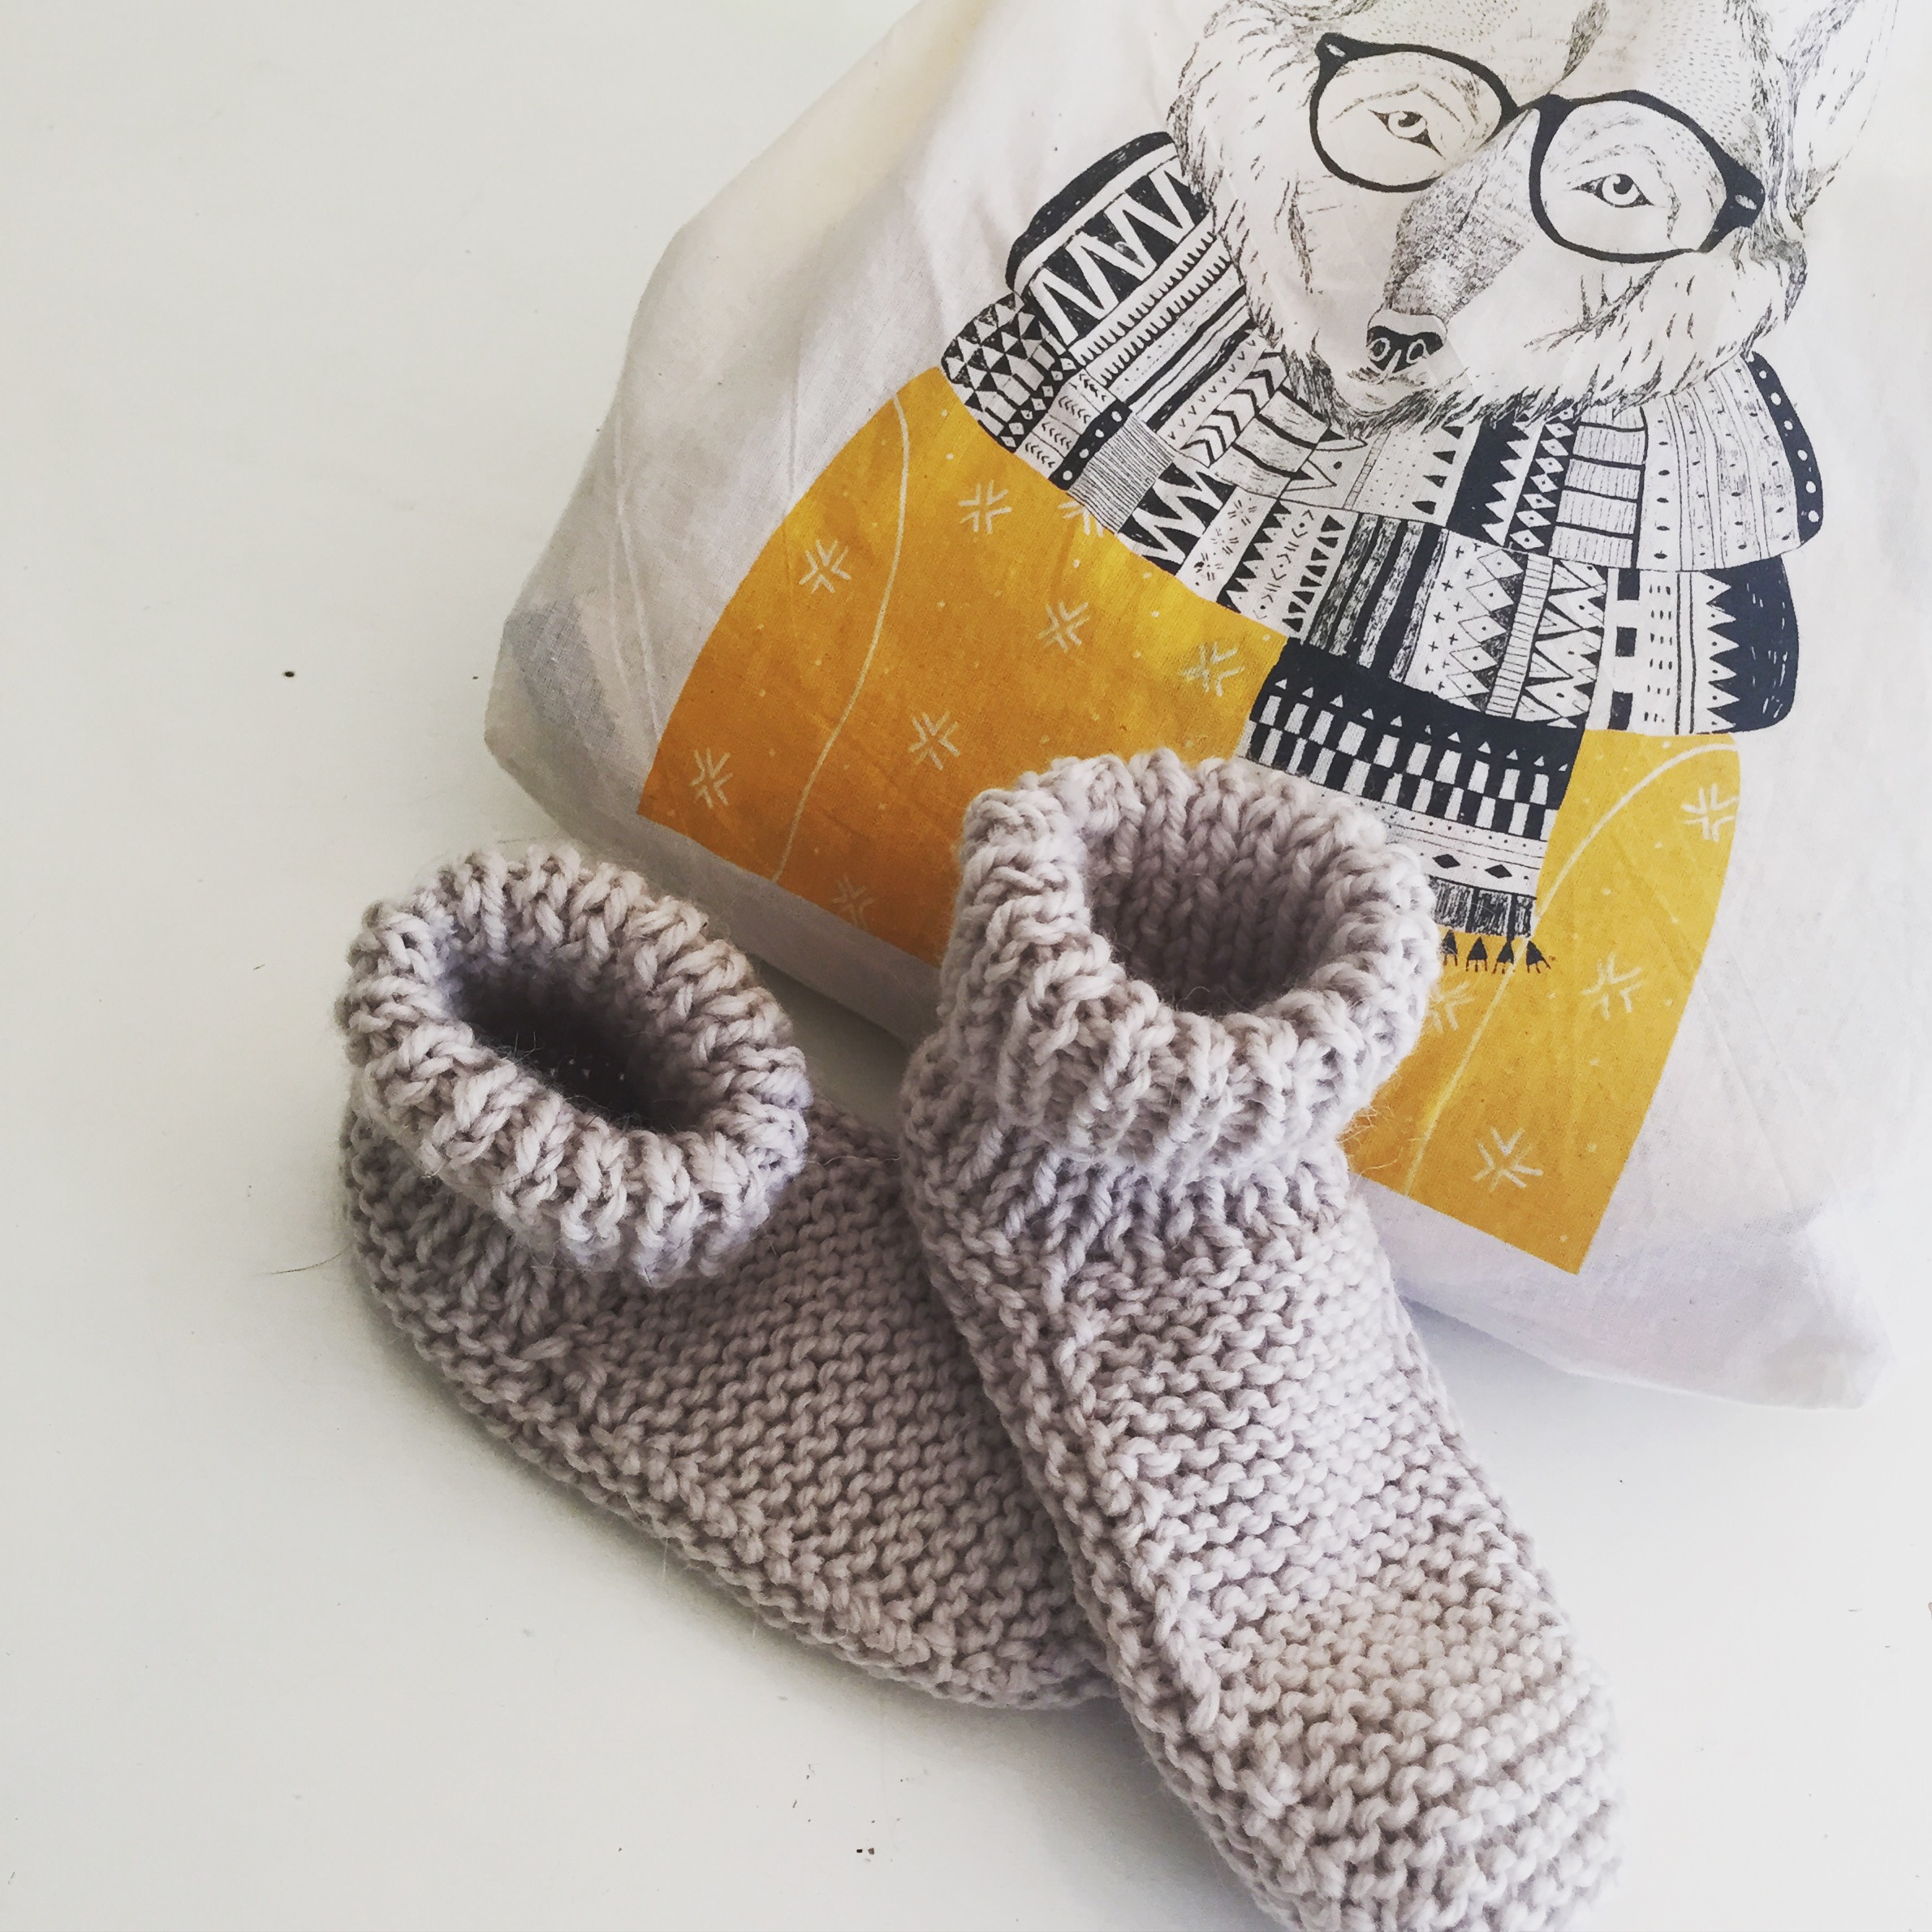
Postscript: If you would like to add these hand-knitted home boots to your comfort armory, here is a similar pattern to those I have made (which was purchased from Lincraft so cannot be reproduced here)

Advertisement
craft

Cotton

cotton knitting face cloth seed stitch


Cotton. A sense of comfort and security pervades at the mention of it. The common sense, no-nonsense fibre behind the umpteen babies’ singlets, fresh bath towels and crisp cotton dresses we have loved forever. It doesn’t perform the non-shrink, non-iron tricks of it’s synthetic peers – and that is because it is real and it lived. Organic in fact.

So what a wonderful thread to create with and then pass onto others. And there is something quite rudimental about knitting with cotton. Both material and process, originating from the days of our early kin, have a timeless, almost esoteric feel when you spend an afternoon caught up with them. Knitting takes time and steadies a galloping mind. Cotton moves smoothly across bamboo and produces a firm, sensible fabric to be proud of. After an hour or two in the company of both, inner equilibrium is restored – a calibrated being with an accomplished piece.

The lovely ridged fabric you will produce here, makes an excellent face cloth. Gentle, yet nubbly enough to wipe away all traces of the most frantic of days. Set some time aside and make one for your face and for the face of another.

1 50g ball 8ply cotton
1 pair 3.50mm needles

Cast on 44 sts

Knit 10 rows garter stitch

Row 11 k5 *p1, k1* to the last 5 stitches, k5

Row 12 k5 *k1, p1* to the last 5 stitches, k5

Repeat rows 11 and 12 46 times.

Knit 10 rows garter stitch

Cast off (not too tightly)

Darn in your loose threads.


seed stitch face cloth knitting

Postscript: And I have the perfect common sense, no-nonsense,  firm and sensible person to gift this one to.

craft · homemaking

Jars

Painted jar vases

The prospect of painting a kitchen is a daunting one.

With seemingly endless cupboard doors, handles, nooks and crannies to sand, coat and recoat, the mother lode of mental discipline is required to remain on task without flinging the brush in the air and dialling a tradesman.

Fortunately, mammoth tasks have inbuilt motivators. As small sections take shape, like giant jigsaws, the puzzler is gradually fed clues to the total picture. That urge to see the completed vista mobilizes a further sift through the box – and another lick of paint. While my current internal mantra is to ‘eat this mammoth one bite at a time’, some instant gratification is required. Spying empty glass jars near the drooling paint can, meant today, some new vases were born.

painted passata jar vase

And being that it is daffodil season here right now, there is no better time to create something simple and understated for them to sing in.

The beauty of jars is that they come in all shapes, so choose yours with its resident in mind. A short squat vessel is perfect for herbs, while a tall slim bottle will display your single bloom with elegance. Don’t buy paint, I’m sure you have an old tin lurking from a long distant refurbishment. Give it a shake and prize off the lid. Away you go and coat as many little receptacles as you wish. Mine needed two good coats with plenty of drying time in between.

So scrape out that last bit of marmalade and retrieve that passata bottle from the recycling box, and before the day is through you may not have consumed your entire elephant, but you sure will have something pretty to look at while you contemplate the next bite.

cosy space

Postscript: and at the end of a paint splattered day, how lovely it was to retire to a cosy corner and be cheered by daffodils and hellebores in their new homes.

craft · personal style

Snood

snood

If you subscribe to the school of Carrie Fisher and like her, believe that instant gratification takes too long, then clicking up a snood for yourself this winter will be just the ticket. Done in a night, if you keep your eyes on the needles rather than on the screen, a snood may spark your knitting journey or kick-start a long stalled one.

Apart from being an overnight product, snoods can significantly improve your scarf-wearing life. They stay on, they don’t dangle in the washing up water and you’ll never suffer the same fate as Isadora Duncan (an American dancer of the early 1900’s). Duncan’s fondness for long flowing flamboyant scarves led to her death in an automobile accident in France, when she was a passenger in a car. As she motored along in her open top vehicle, her silk scarf, draped around her neck, and flowing freely behind her in the breeze,  became entangled around the open-spoked wheels and rear axle, breaking her neck.

Snoods in all their guises can be found at Ravelry but rather than being blinded by overwhelming choice, here is a small one to tackle first.

handknitted snood

Gauge: 8 sts and 12 rows to 10 cm

2 x 100g balls of chunky/bulky yarn (I used Lincraft Luxe but any yarn that comes close to the above gauge will work)
1 long pair of 12mm needles

Cast on 56sts
Row 1: knit
Row 2: purl
Repeat rows 1-2 five times
Shape snood
Row 13: k1, ssk, knit to last 3 sts  k2tog k1 – 54sts
Row 14: purl
Repeat  rows 13-14 four times – 46 sts
Row 23: knit
Row 24: purl
Repeat rows 23-24 three times
Cast off
Sew side seam using mattress stitch

knitted snood in progress

Postscript: Be assured, that the simplicity of this project will ensure that it will not be discovered in a cupboard in 18 months time still attached to its needles.

craft

Twitter

Twitter purses

With the vast majority of our social networking taking place on-line these days, it’s nice to occasionally log off and devote some time to developing deeper social connection. In our complex web of daily human interaction, opportunities arise that require more concrete acknowledgment of others than simply a ‘thumbs-up like’ or a :). Some eye contact, some heartfelt words and a handmade gift will lift the spirits of another to far greater heights than any clicked icon will ever manage.

It might be a cake taken into a neighbour, some freshly cut herbs brought in to a work colleague or a collection of recent photos with a note put into the post to a distant relative. Whatever it is, you can be sure that the gesture will be remembered, well after the form is no longer. For me, these zippered twitter purses seem as good a token as any to make this happen – little pouches to contain and release good wishes to the owner from their grateful maker.

Twitter purse pieces

To gather your own flock of twitter purses to acknowledge the goodwill of others, you simply need an afternoon and the following steps:

  1. To create a purse the size of these birdies, you will need 4 pieces of fabric measuring 5 1/2 x 5 1/2 inches – 1 front piece, 1 back piece and 2 inner lining pieces. You will also need a 5 inch zipper and some matching thread. (see above) If you want a larger size, cut your fabric to the desired dimensions and simply buy a longer zip, remembering it needs to be 1/2 inch shorter that the fabric pieces.
  2. Twelve 22 will walk you beautifully through the process of inserting the zipper and finishing the purse – I used 1/4 inch seam allowances for mine.
  3. Press your finished purse carefully and pop some tissue paper inside to give the purse form if it is to be gifted.

Twitter zippered purses

Postscript: My feeling is, that the recipient of your twitter purse will receive more gratitude from you than any line of 140 characters could ever convey.

craft

Scraps

lavender sachets

Often the charm of individual graphics are lost in the overall ‘busyness’ of beautifully designed fabrics. This can have its advantages though. If ever you have spent time gazing at curtains or upholstered furniture, and suddenly a creature materialises that you may have looked at and not seen on so many occasions, it can seem like a reward for your patient observation. So it was for me, when a second inspection of a leftover remnant from our cushion covers revealed hidden gems. And as such, that was how lavender sachets came to be this week.

four lavender sachets

Maybe some sachets need to ‘come to be’ in your home too. If so, when you have settled on your piece of fabric, it is a matter of deciding what size to cut your shapes. Mine measured 5 x 5 1/2 inches, simply because they were the best dimensions to capture my images. Once you have your shape measured and cut all you need do is:

  1. Cut a backing piece from plain fabric to the same dimensions.
  2. Pin both pieces right sides facing and sew around the two sides and top edges.
  3. Turn your sachet to the right side and press under 1/4 inch of the open edge.
  4. Fill with lavender.
  5. Hand sew the bottom edge closed.

If you make an afternoon of it, you will finish up with lots of sachets – some to keep and others to gift.

The whole business of producing a pile of lavender sachets is a rewarding one. Employing skerricks of treasured fabrics with limited yardage for little else, does good things for the soul. Spending an afternoon in lavender infused surroundings does likewise. And that sense of productive satisfaction settling within as the finished articles stack together, that intrinsic reward humans seek, which cannot be purchased but only experienced from a job well done, is the unanticipated by-product of this simple process.

lavender sachet ingredients

Postscript: with a special day on the horizon, it may be opportune to have some set aside for those treasured maternal figures who like these hidden gems, often blend into the background of our busy lives and really deserve the spotlight.

craft

Scatter

tomato cushion

Whilst others are resting on their laurels, we are resting on our tomatoes right now.

If you cast your mind back to this post you may remember the lovely bowl of tomatoes as the featured image. Not wanting to hide my snaps away in a darkened drawer, but having very little vacant wall space these days, the search was on to unearth a new way to keep this appealing image in my field of view. So how about a scatter cushion?

tomatoes in a bowl cushion cover

If you too have treasured images that you wish to keep in the spotlight, the simplest way to go about this is to have the snap of your choice printed onto fabric. Then it’s just a matter of finding a coordinating remnant to back it with and a cushion insert to give it the final shape.

Due to the nature of this household ie pets and children, it was essential that I added a zipper to mine, as it will be spending a considerable measure of its life rotating in the washing machine. Don’t be discouraged if your sewing confidence is not up to zippers right now, four straight seams is all you need, and maybe choose a low traffic area for your creation to reside.

tomato cushion supplies

Postscript: should you be interested in placing an invisible zipper in the base, here is a brilliant tutorial that will get you exactly the result you are after.

craft

Tote

Barkcloth Dancing

We’re doing a happy dance here, and while it may not be accompanied by a farmer on a bass fiddle, it has been triggered by the satisfaction of making a new bag for the season.

When a piece of fabric as evocative as this one comes my way, it would be ‘downright unneighbourly’ to fold it away in a dark cupboard for posterity. These farm folk need to be on show, and having filled every conceivable space in our home with artsy scatter cushions, a tote bag was the obvious solution. In fact, for that awkward 20 minutes, too scant to devote to a book and too lengthy to eat cake, this project is just the ticket.

Not one to reinvent the wheel, I am directing you promptly to this tutorial, where, if you can sew a straight line on a sewing machine, you’ll also have reason to trip the light fantastic!

Gather your supplies:

tote materials

and cut them out like this – front and back 16 x 14 inches, handles 22.5 inches each.

cutting out the tote

You’ll also notice two pieces of rope, which are my tweak on the original, because I like the security of a closed-up bag. Just slip each piece under the centre of each top fold before you sew your two straight lines. (If this is not making sense it is because you haven’t gone and visited the Purl Bee 20 minute tote tutorial that I directed you to earlier).

inner tie

Should you be a rail commuter, uni student, incidental shopper or an iPad, keys, make-up bag, wallet kind of gal, then this tote is going to cut it.

finished barkcloth tote

Postscript: and while a hoedown-style jig may not be your preference, I’m sure you can execute a quick Harlem Shake to celebrate instead.

craft

Patch

freeform patches

If for no apparent reason, the desire to combine colour takes hold, then patches are an ideal way to express this –  from both a time and cost-effective viewpoint.

As one season merges into the next, so does the desire to take on a different set of activities. What was viewed only a matter of weeks ago through a blaze of brilliant heat as an onerous task, now in the crisp morning freshness appears as one to be harnessed with relish. As our Autumn days are settling into place, energy once depleted by soaring temperatures has been restored. I am moving into my inventive phase right now, which I feel certain is triggered by this seasonal change. The desire to create has once again taken hold, and so a series of patches have been born.

patch on the back of the jacket

Layering colours and securing them with thread that introduces a further hue, is a very satisfying way of passing time. As you cut and match, compare and contrast, a multitude of impressions pass through the mind – and none of them relate to shopping lists, drycleaners or dishwashing liquid.

Patches are simple to build:

  • cut a freeform shape from felt
  • cut a smaller freeform shape from a printed fabric scrap that will fit within the felt shape.
  • overstitch the printed fabric onto the felt shape.
  • blanket stitch around the edge of your felt piece.

Once your patch is complete, the decision to be made is where it will reside. Mine spend time on my denim jackets, sometimes on a satchel and once on a cushion. (Small stitches with fine cotton are best to attach with).

Why should the trees have all the fun with colour?

bird on my jacket