homemaking · recipes

Jars


The calendar flipped over today, and in doing so, I caught a glimpse of Easter on the horizon. The cooler nights and even chillier mornings have also been hinting of its arrival, so I now have the official go ahead to arrange a festive display in the hallway with some treats on offer. This year we have a small wooden tree with pastel coloured eggs dangling from its branches, a bunny bowl filled with chocolate eggs and a favourite jug filled with lemon balm and pink blooms. Of course the next thing thoughts turn to is Easter baking, as there is something quite complementary about cooler weather and warm ovens.

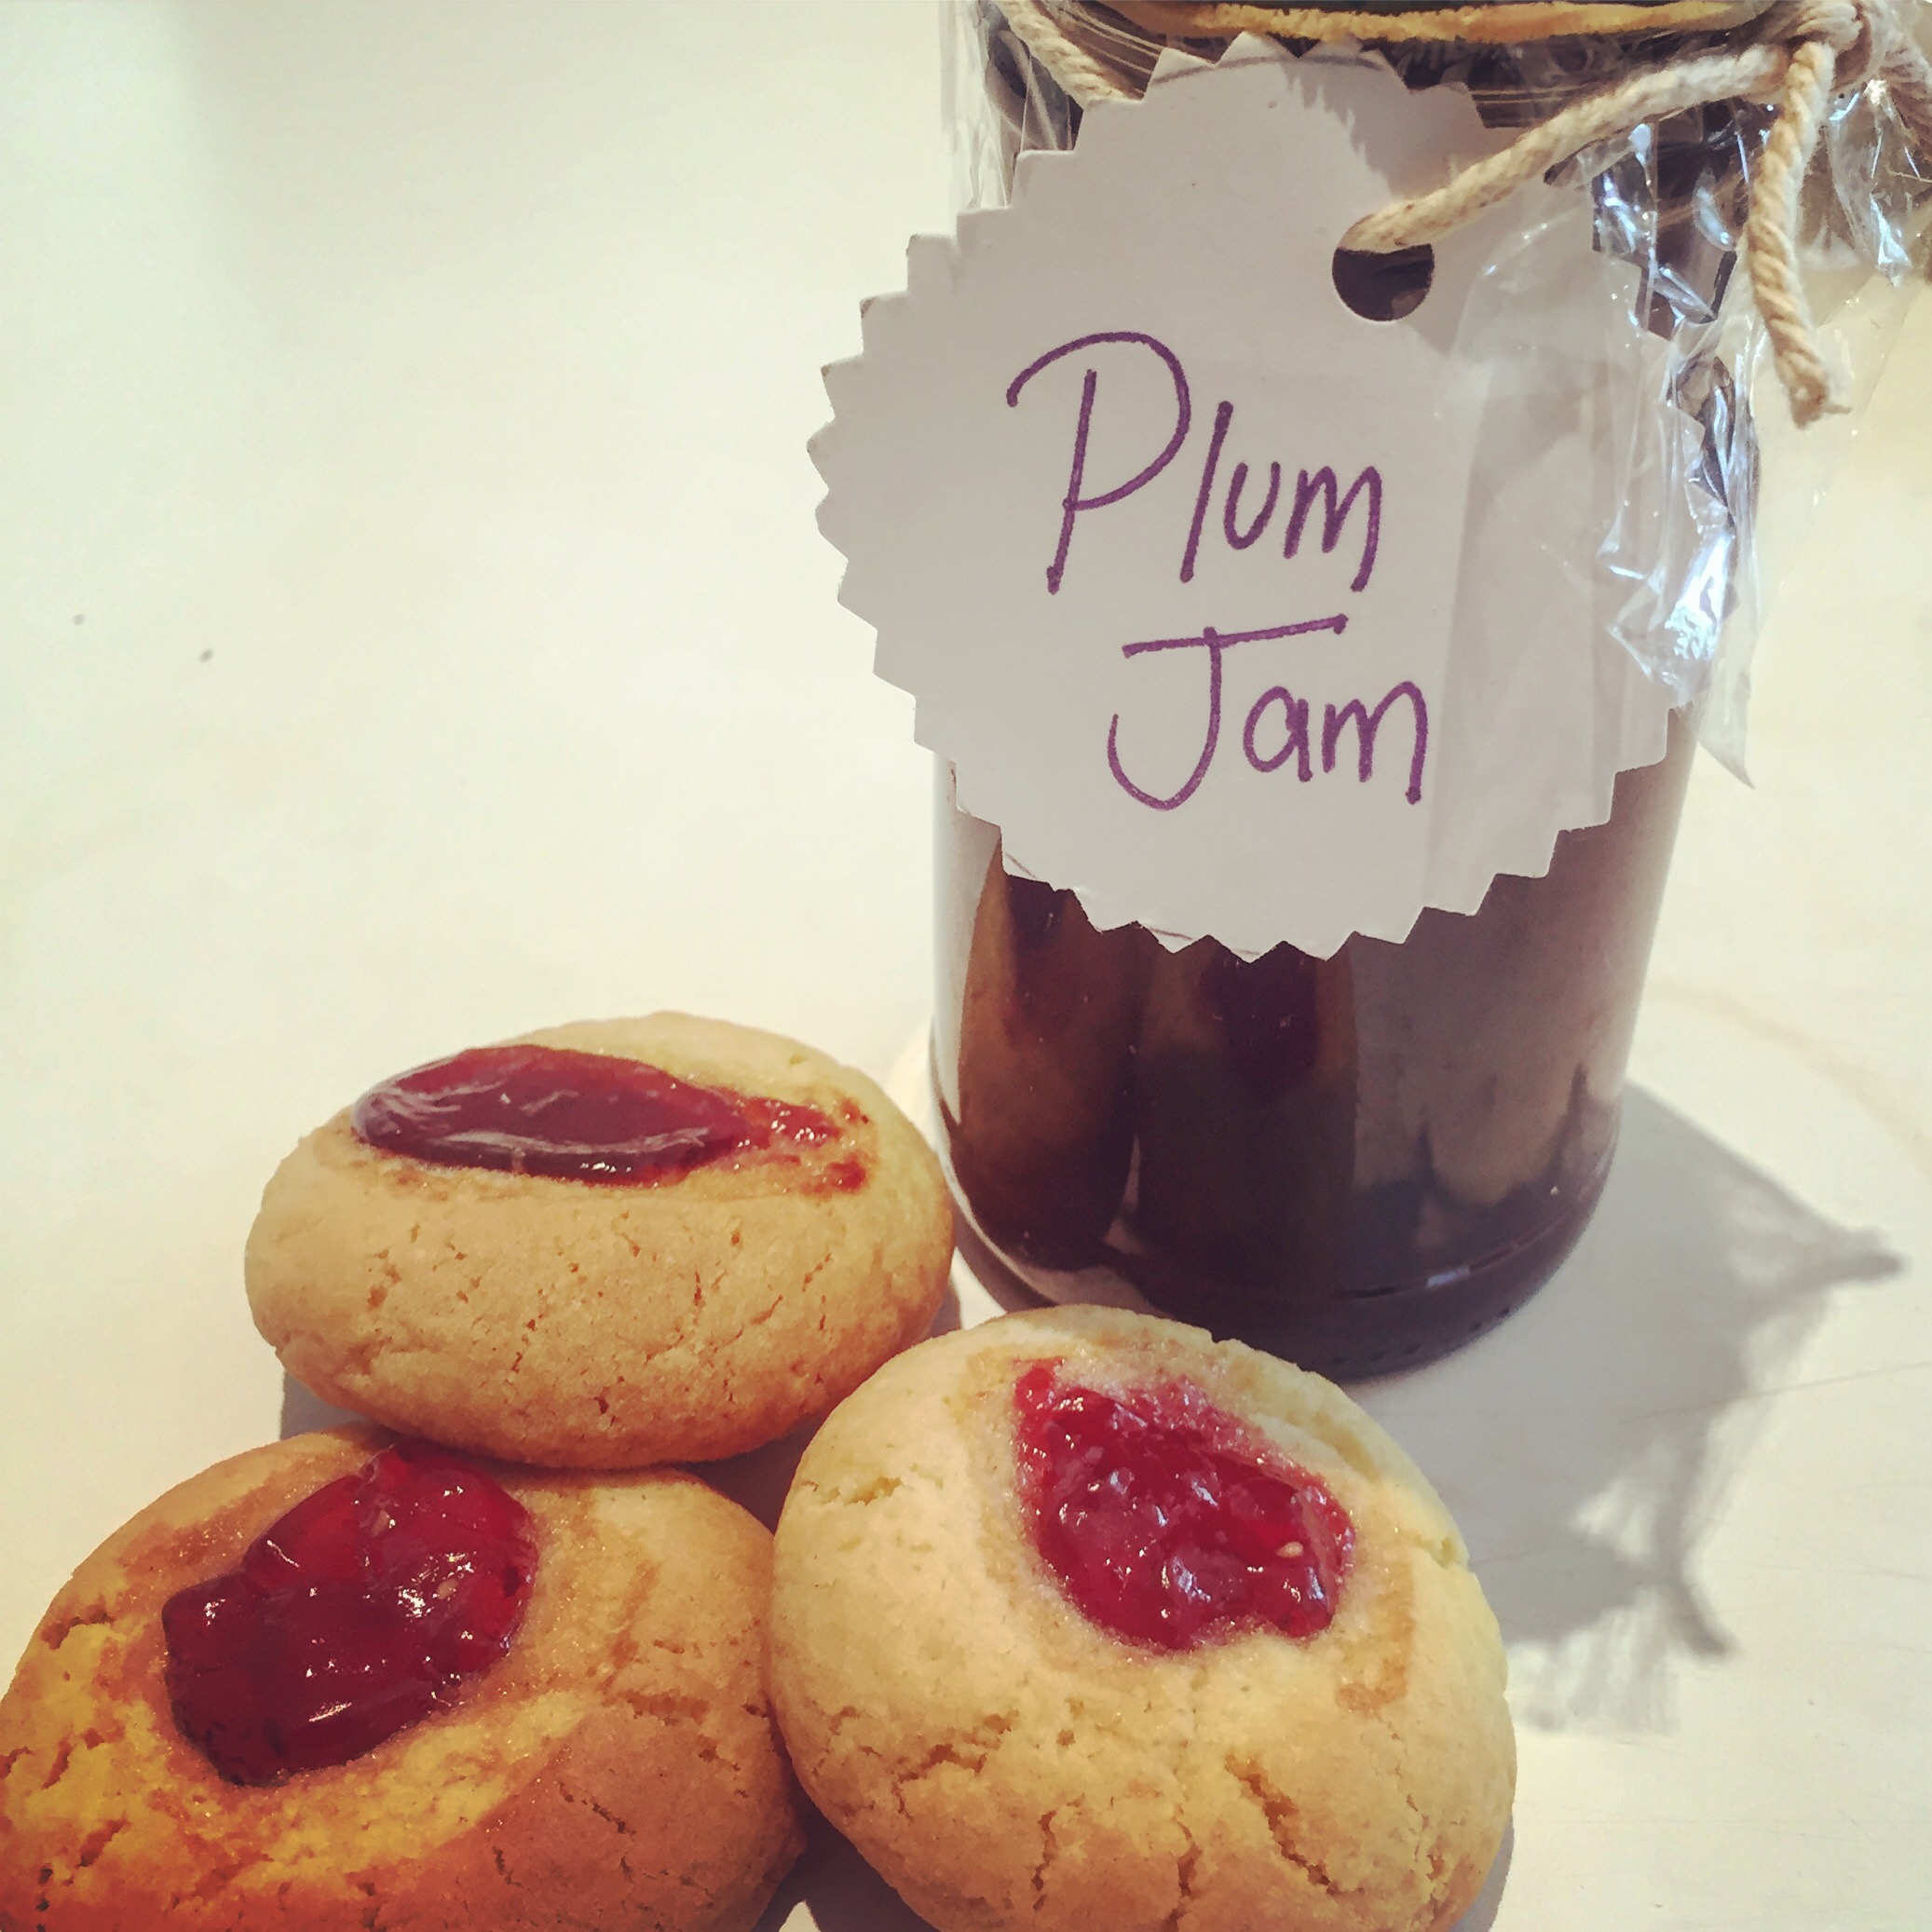
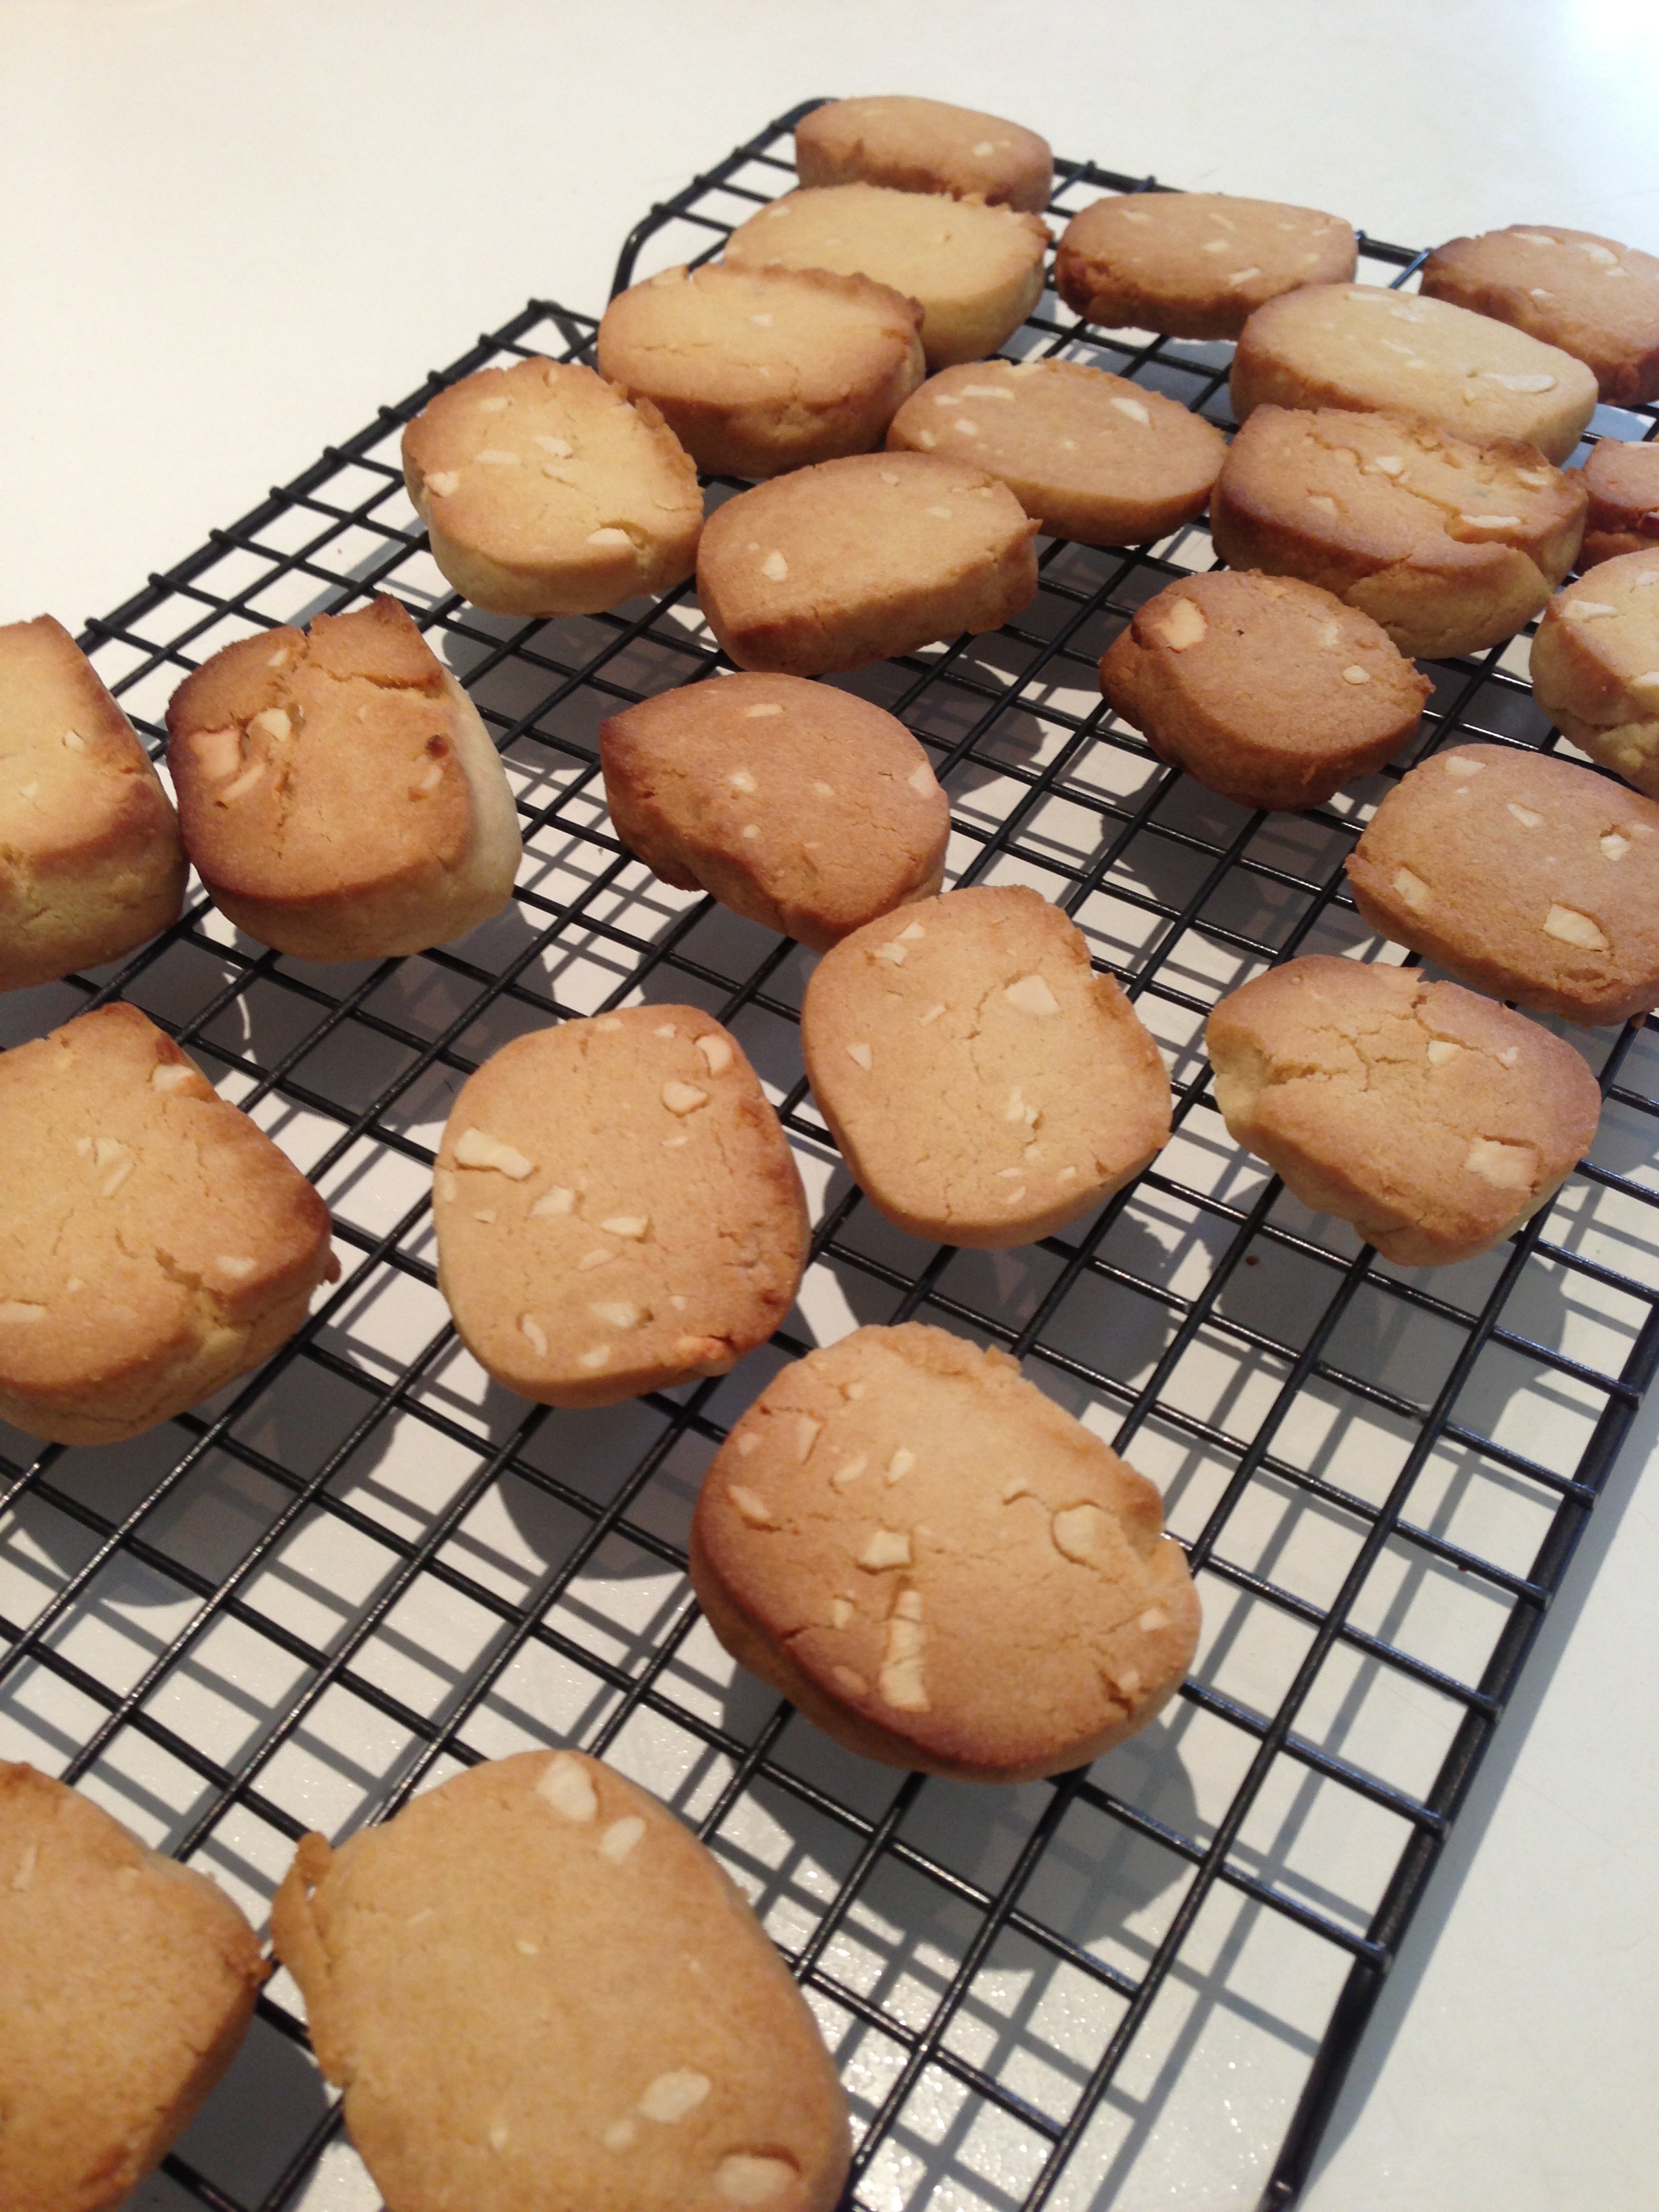
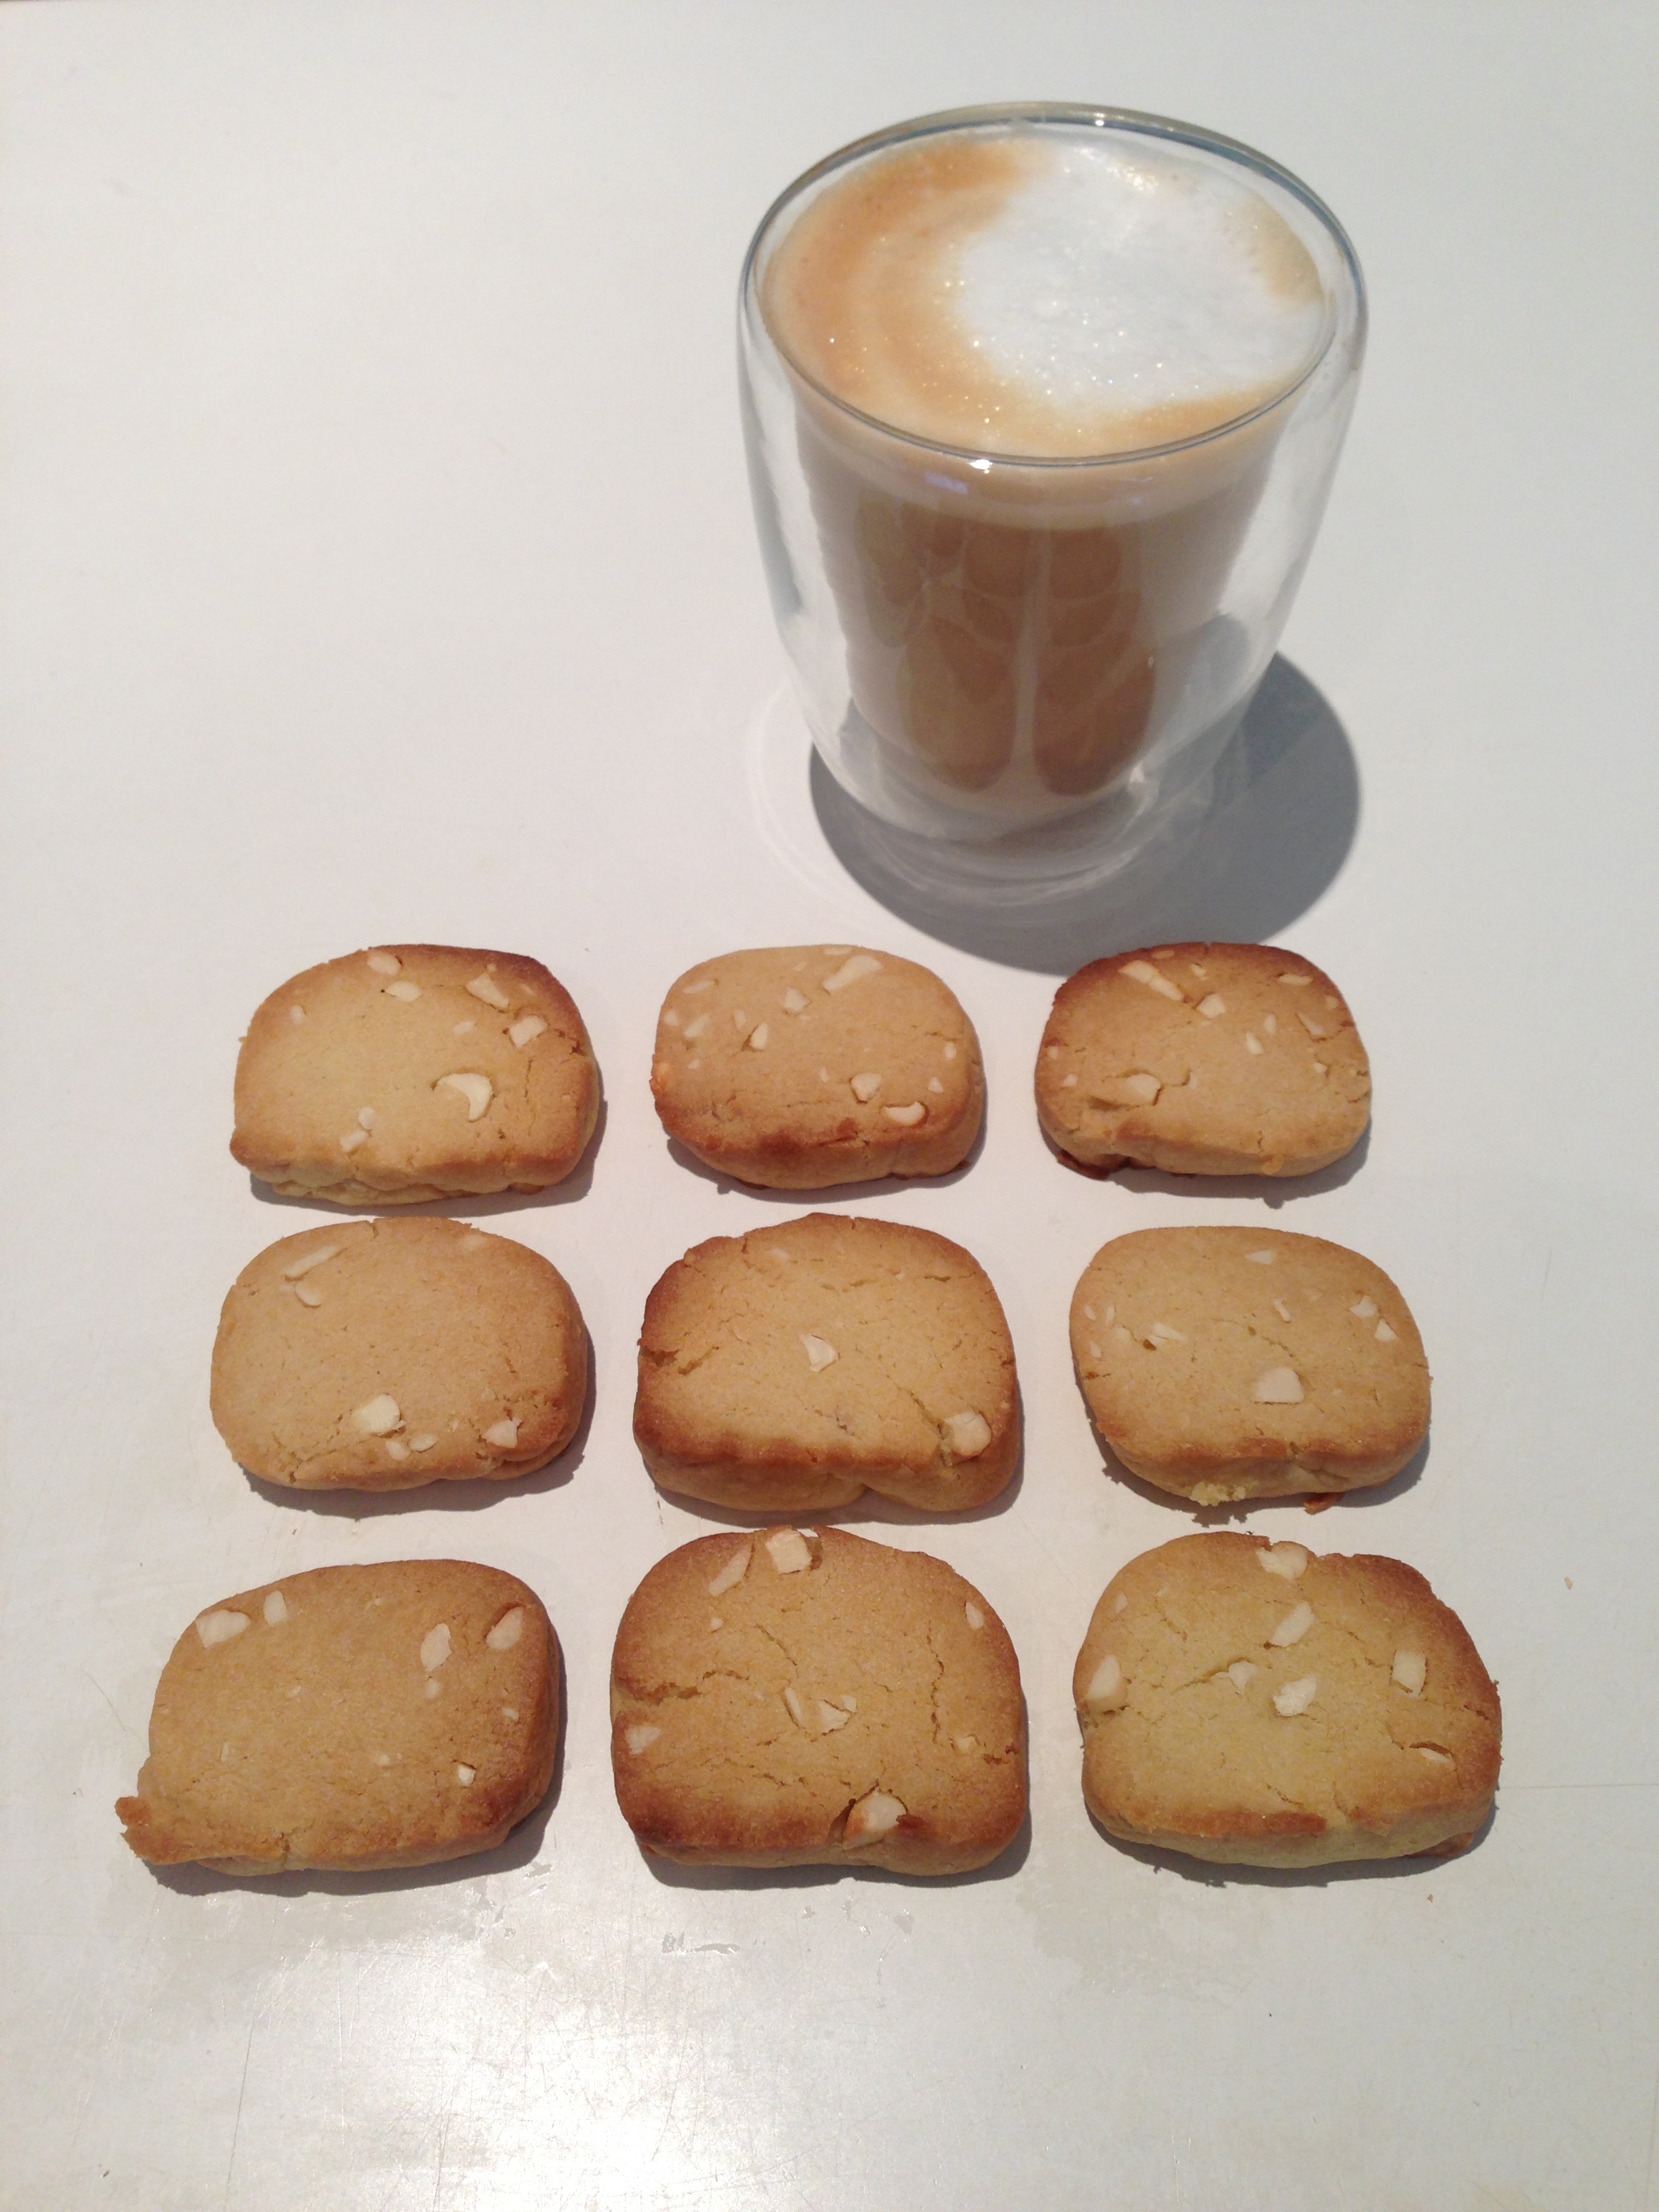
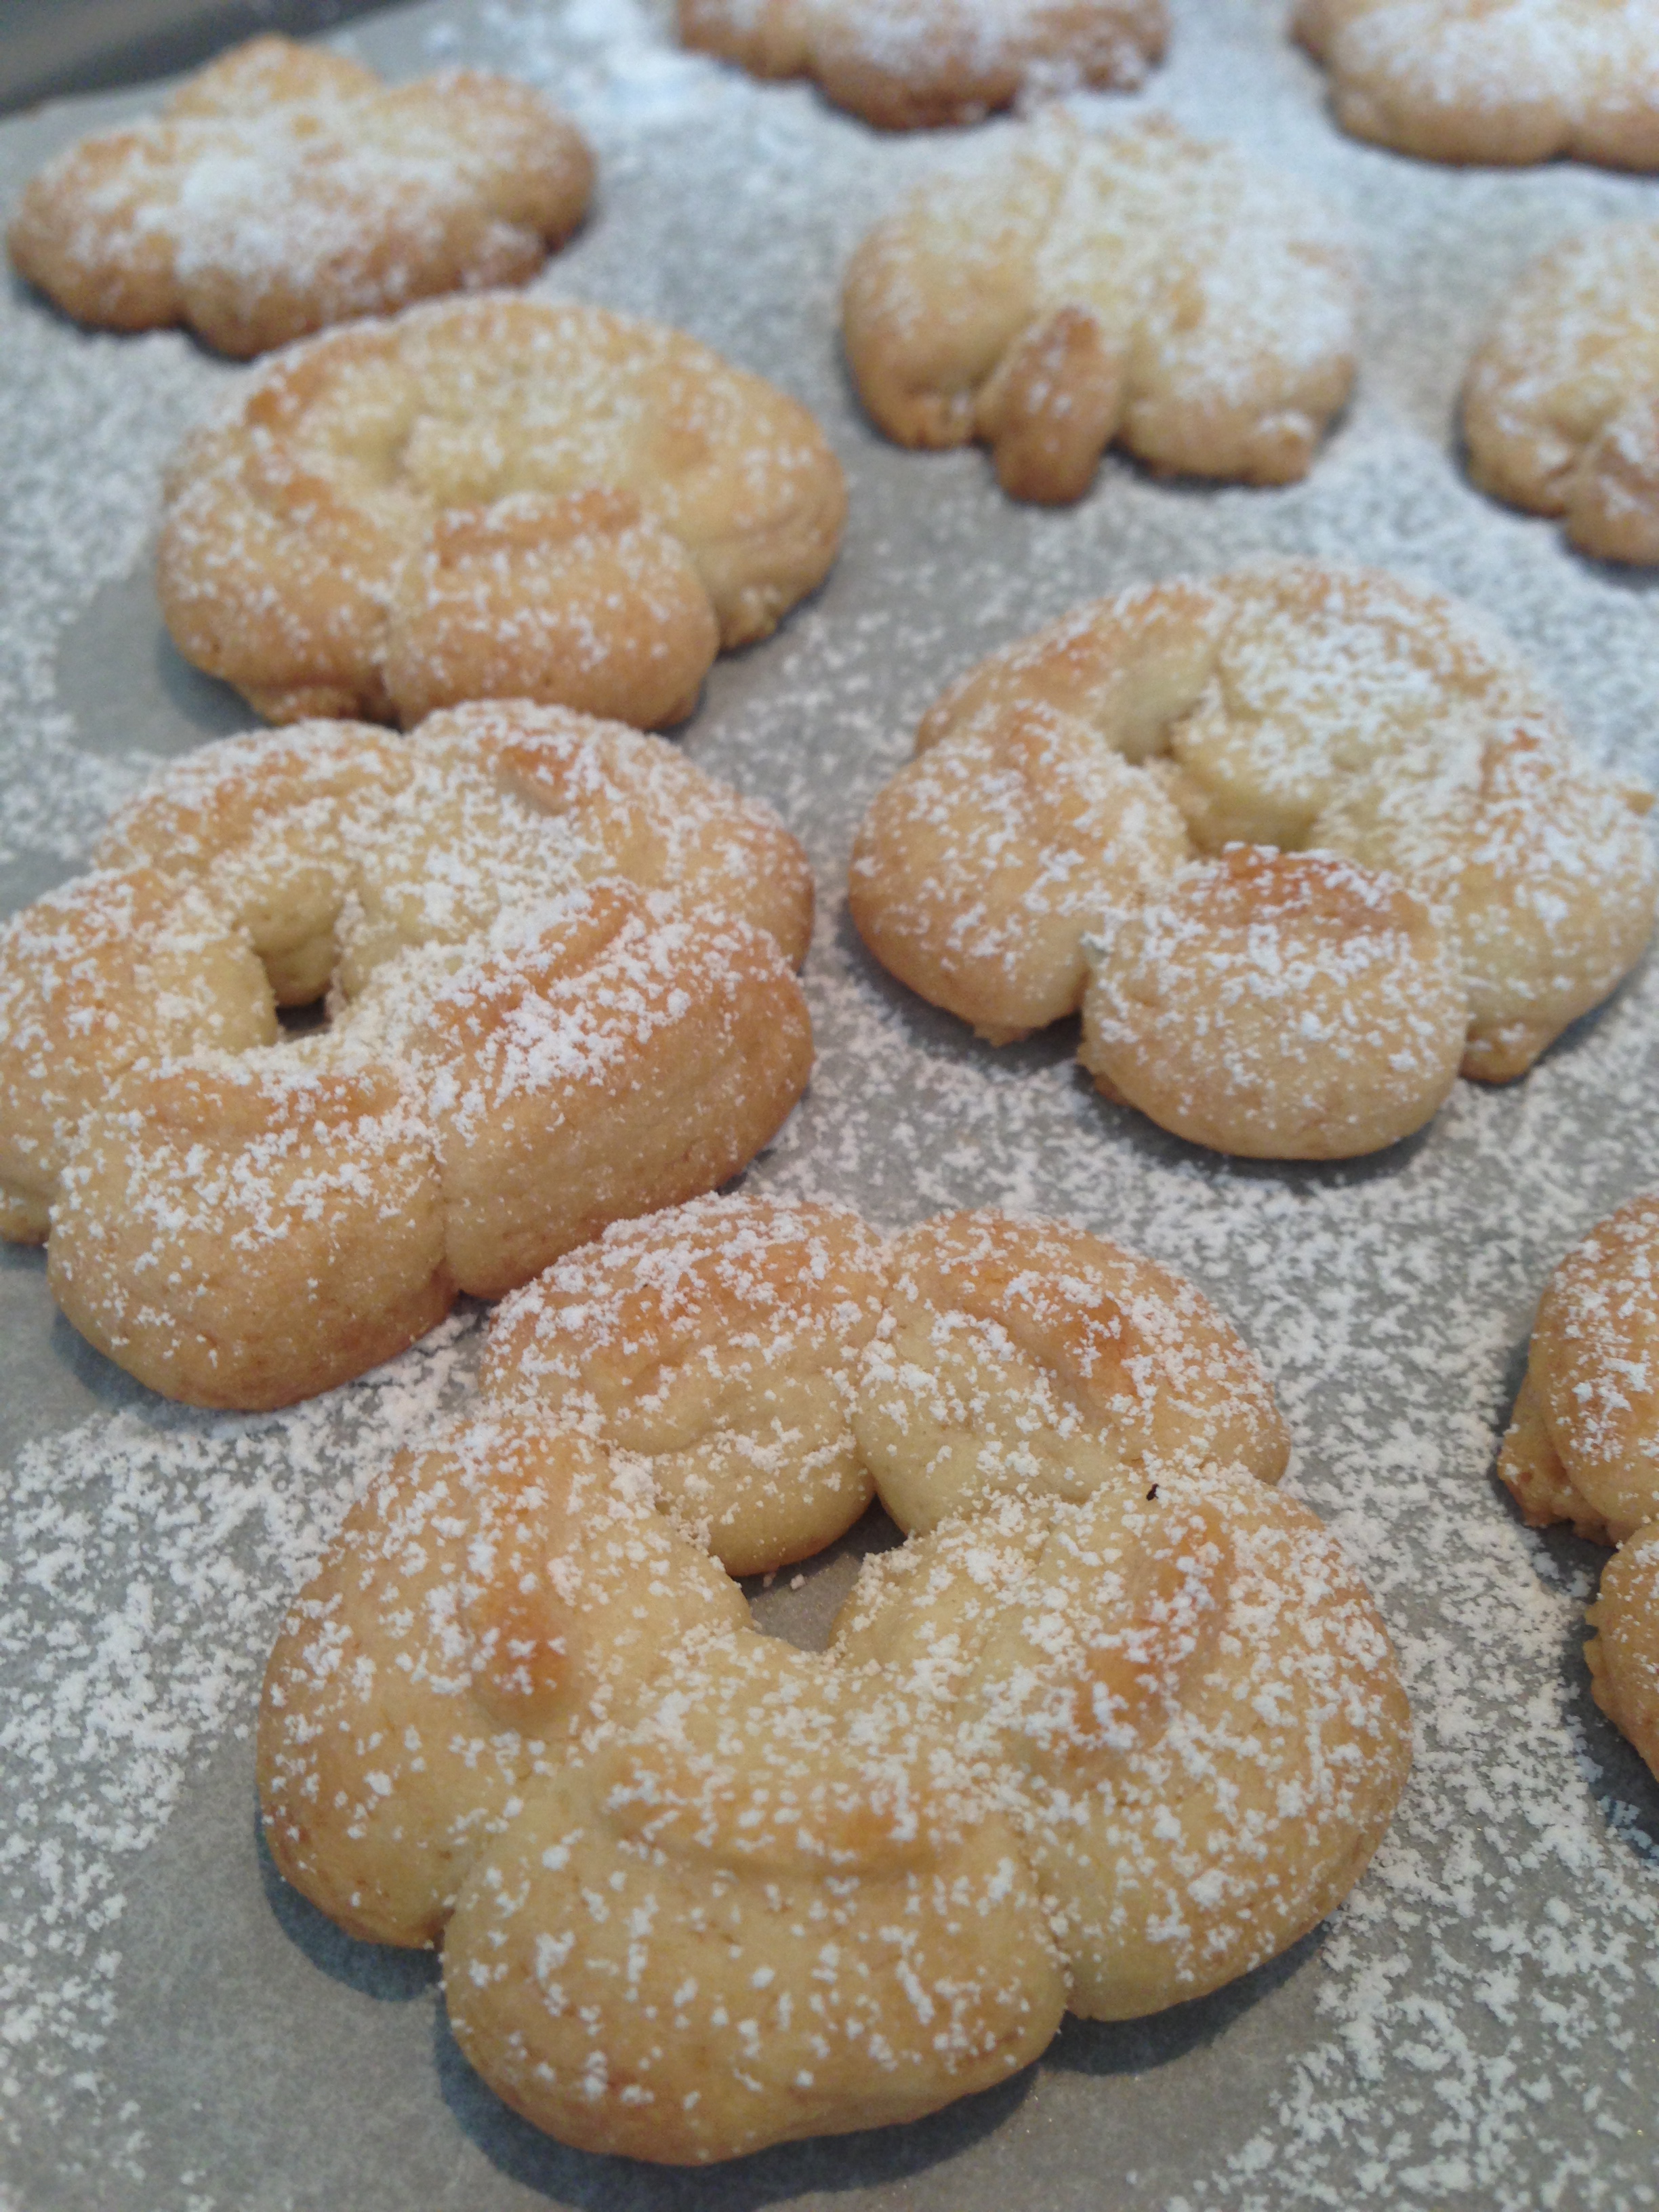
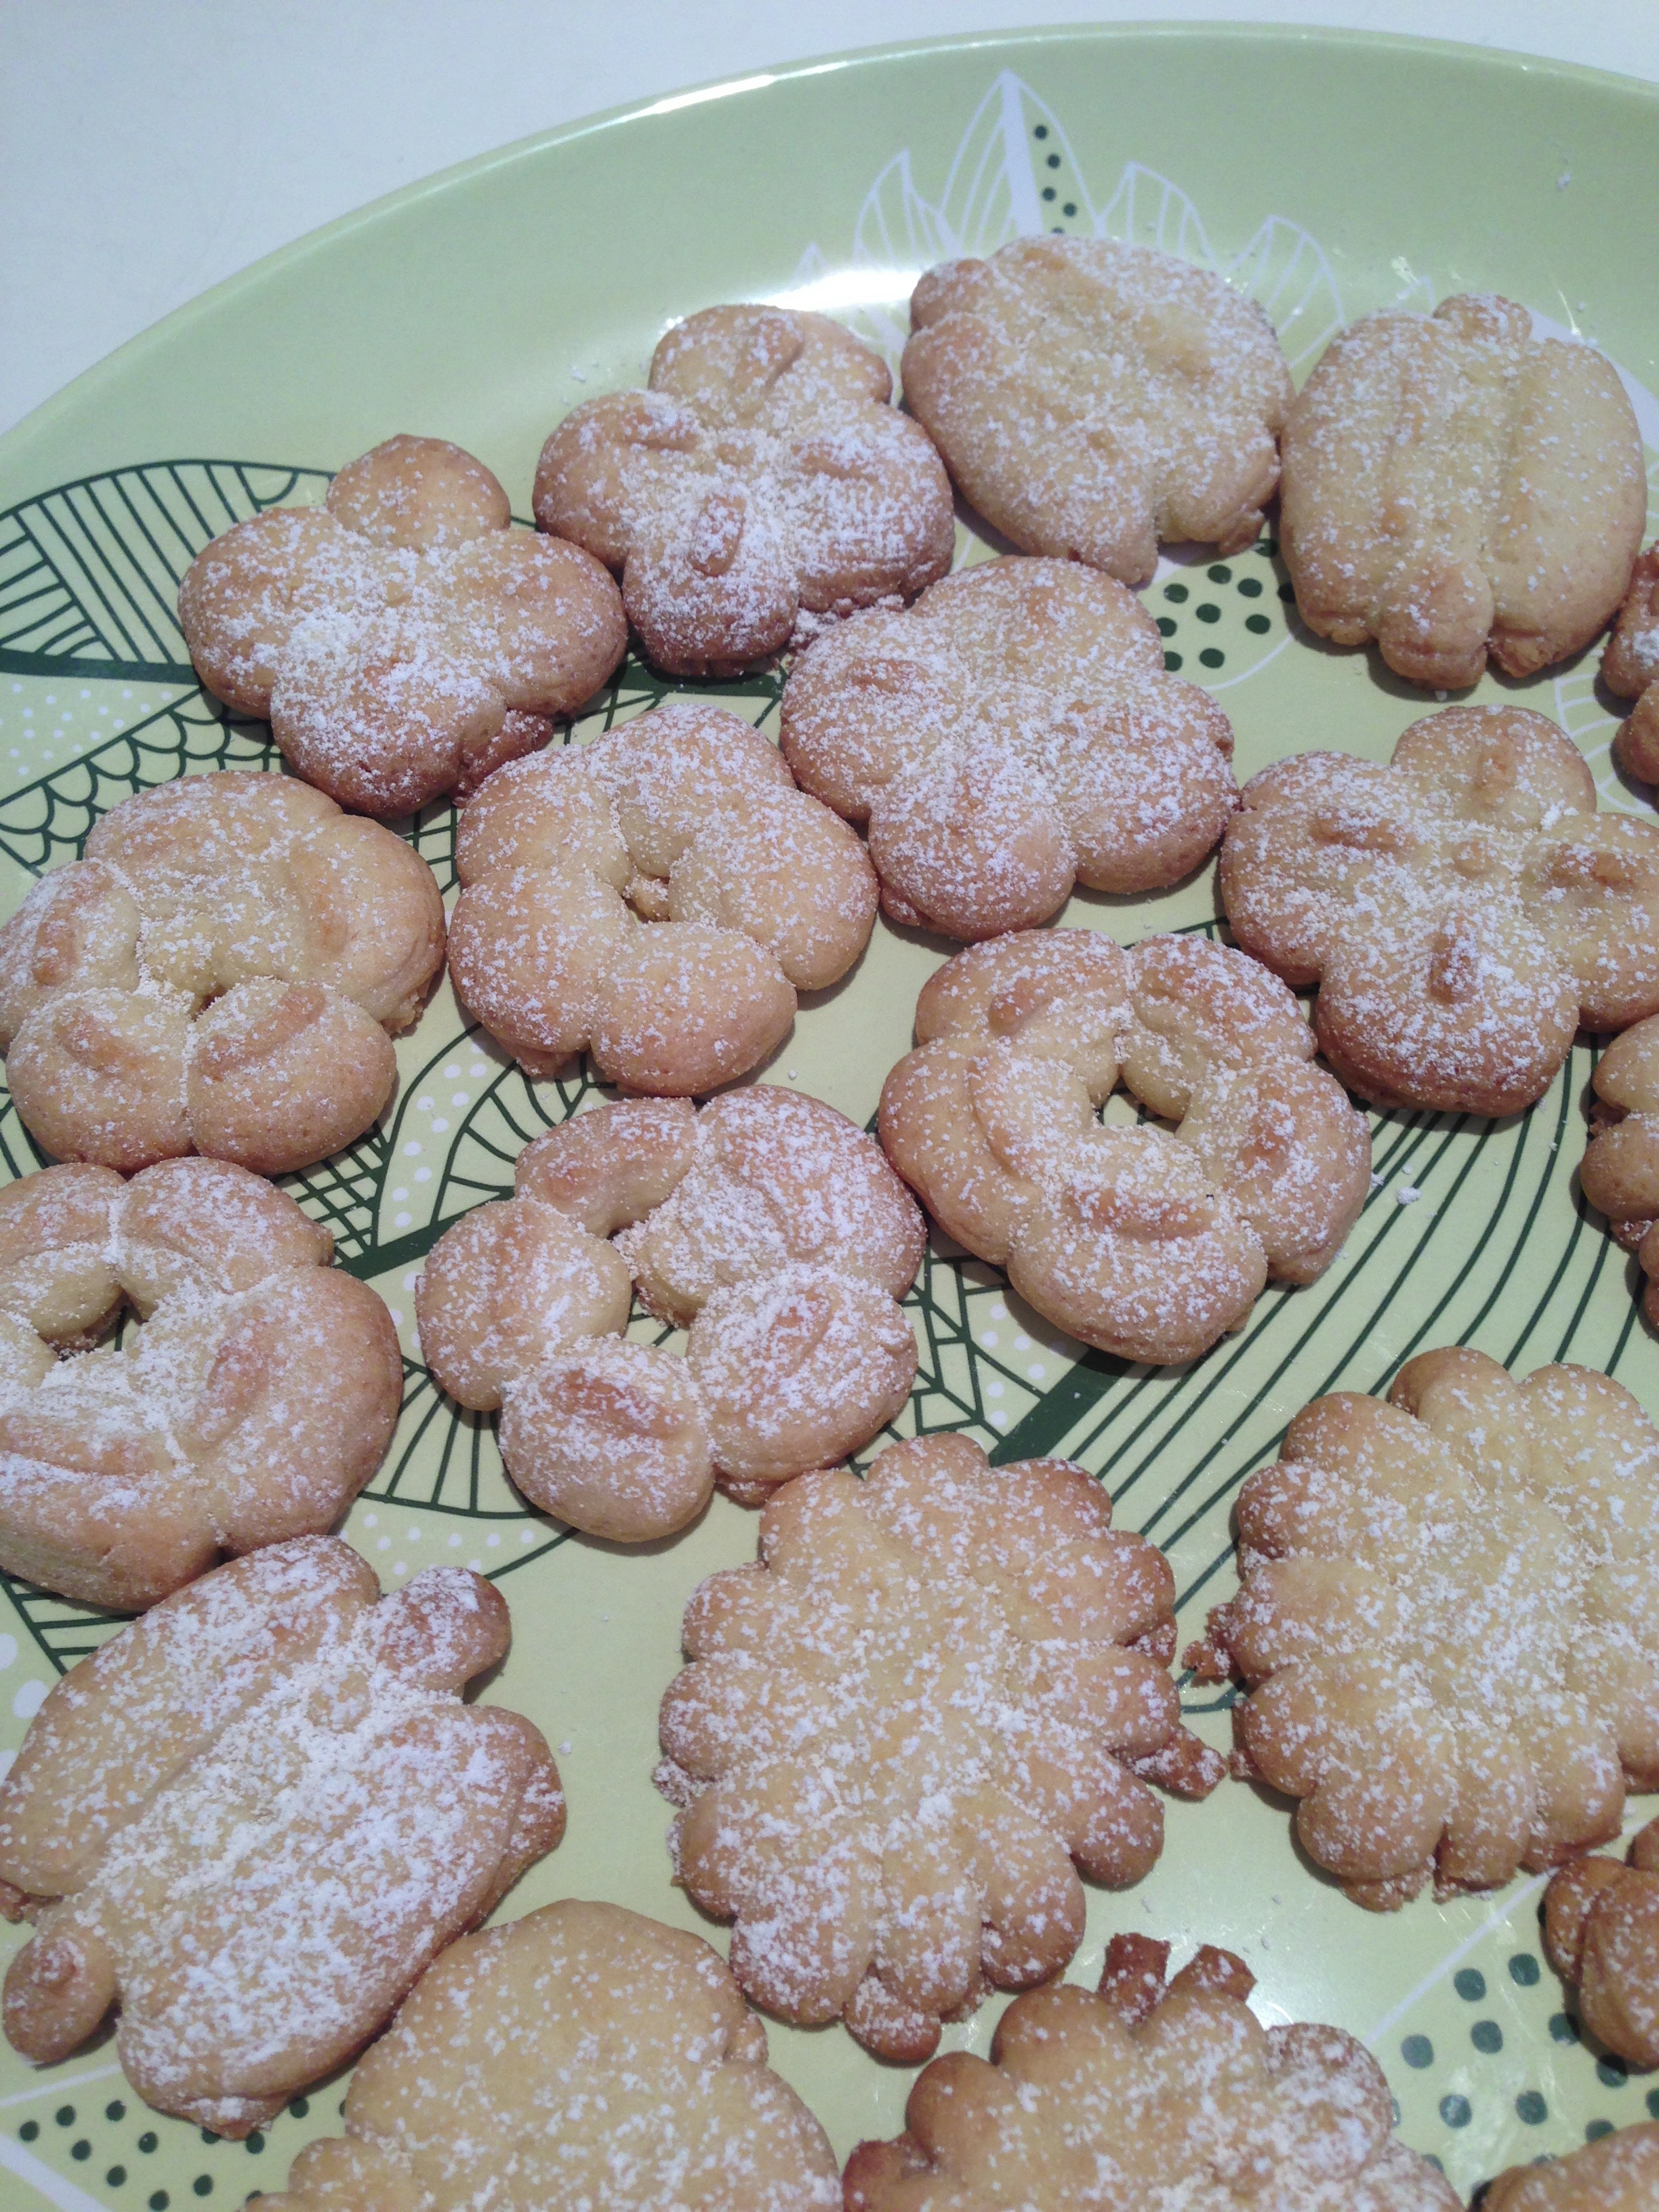
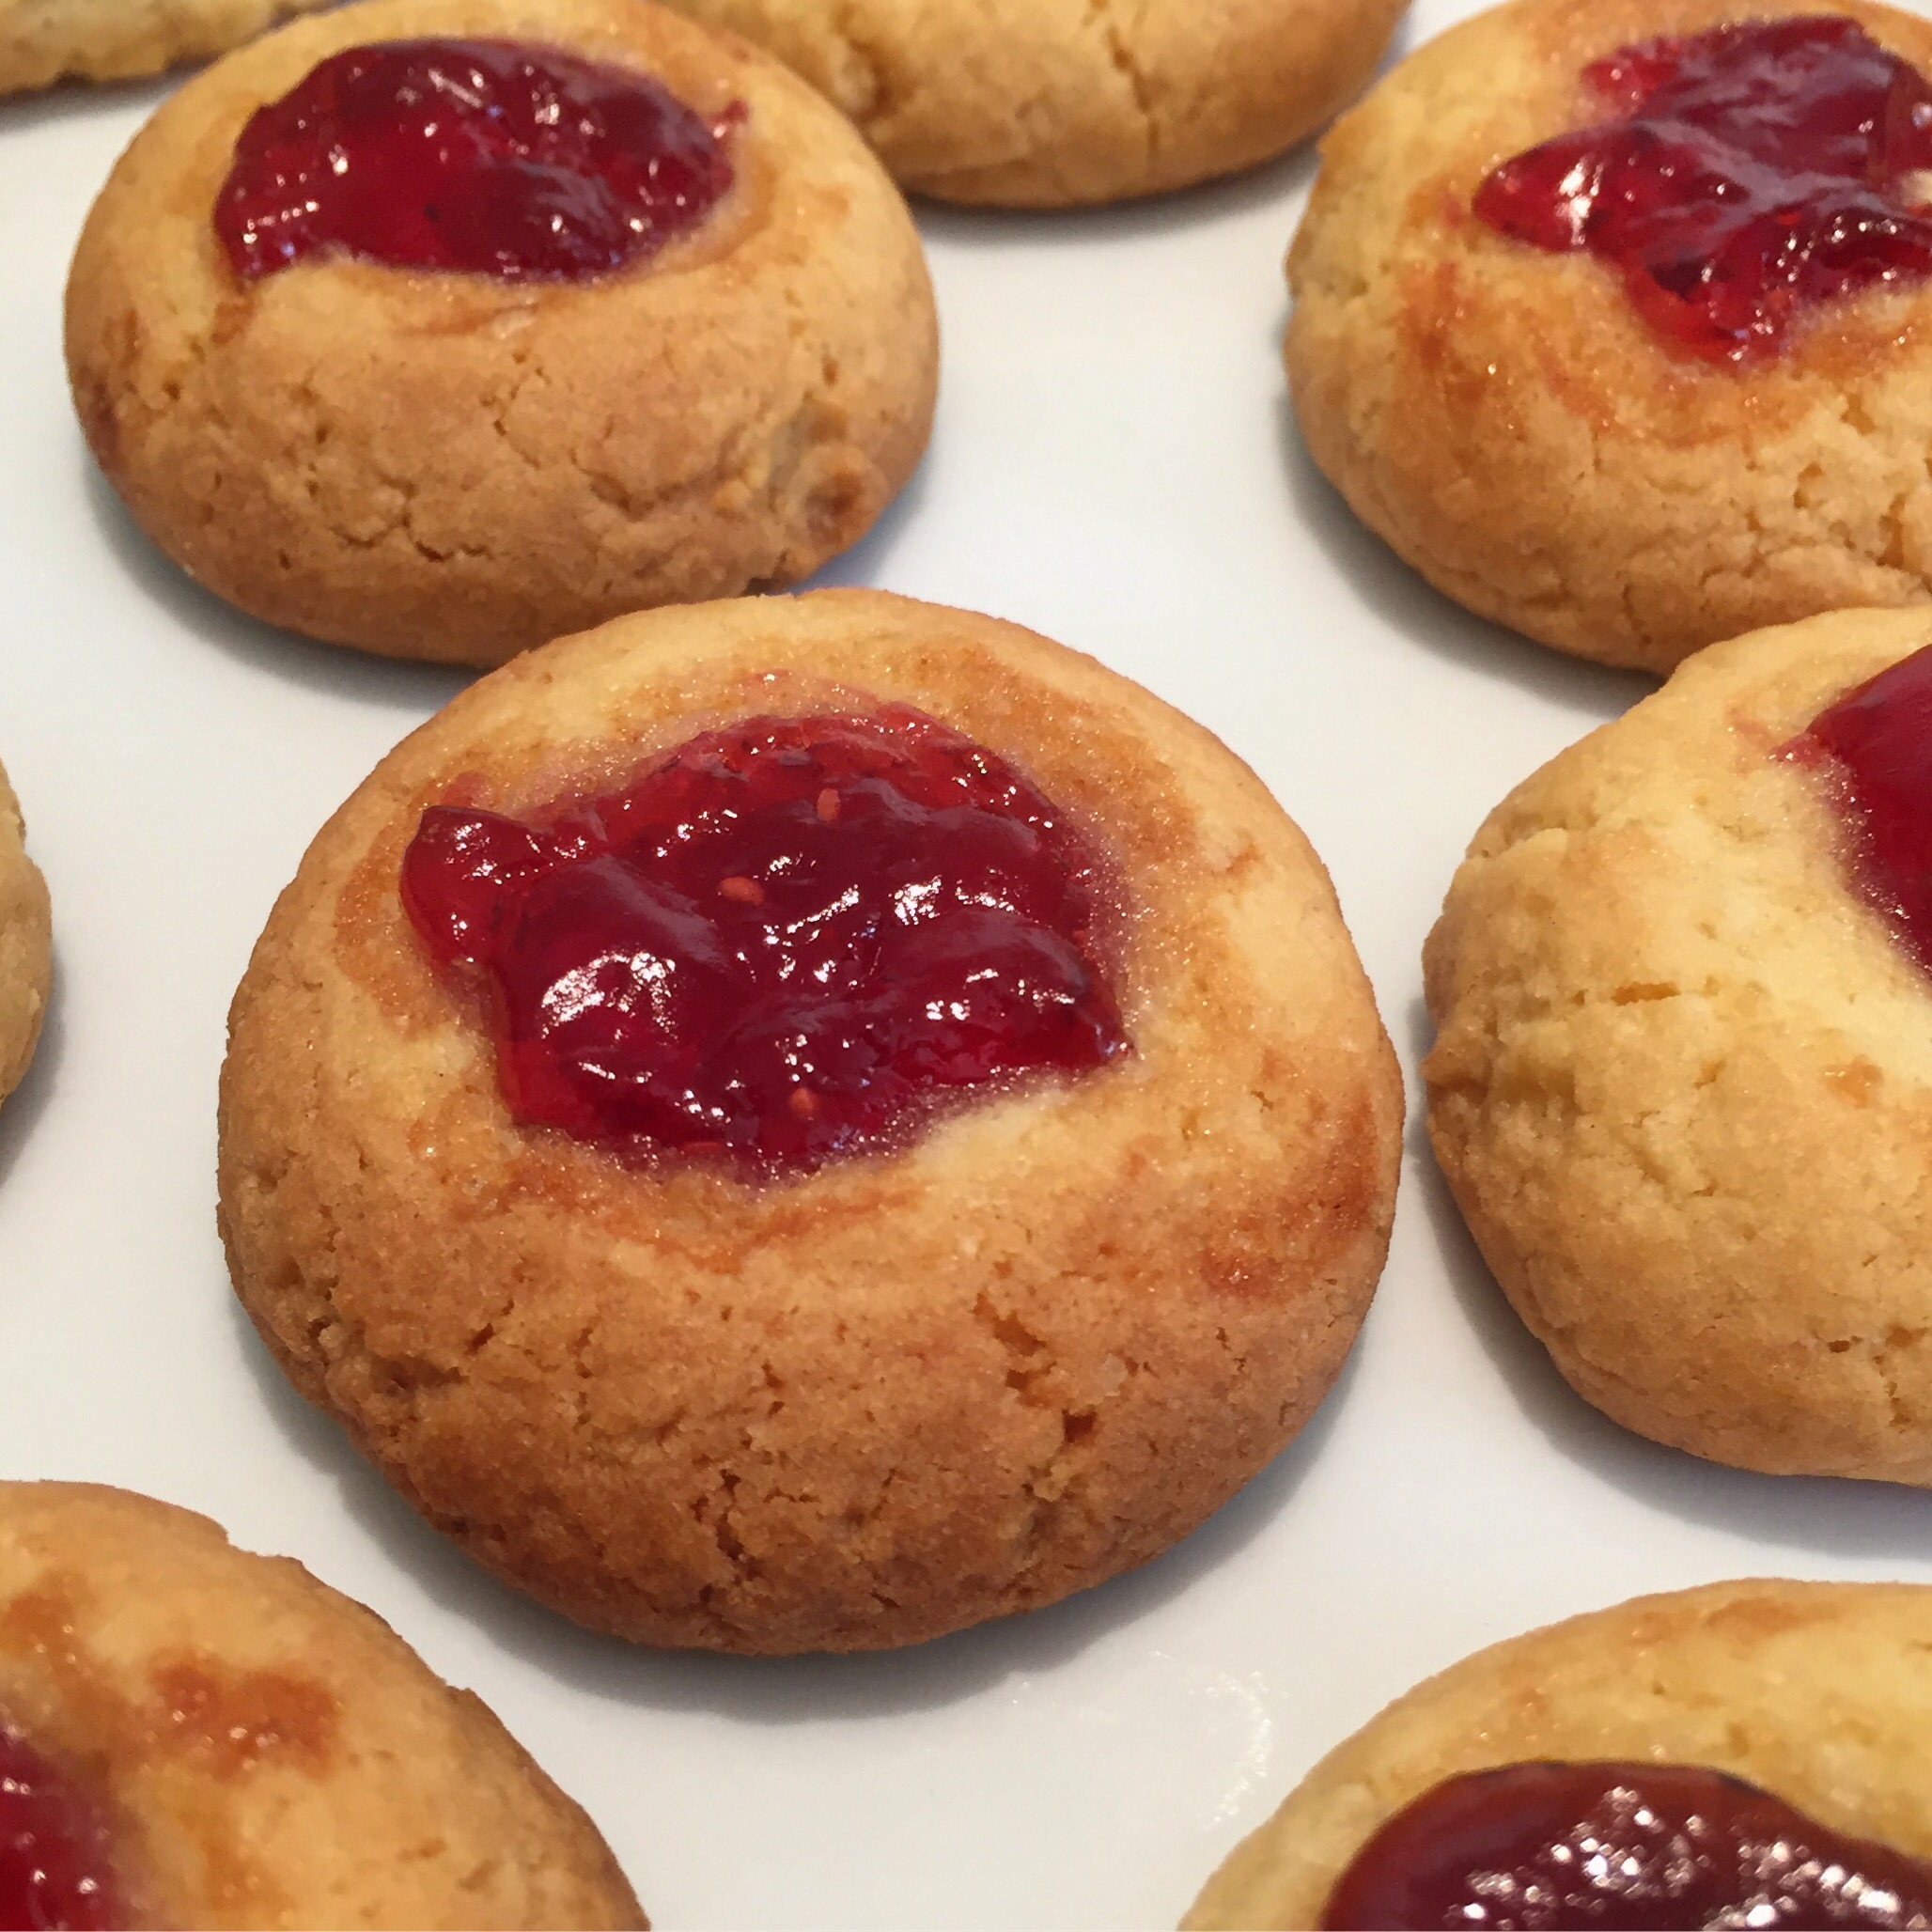
A quick glance in our refrigerator at any time of the year will reveal several opened jars of jam each with various quantities depending on popularity. One of the best ways I know to consolidate this situation is to bake Jam Drops. These are buttery little biscuits with a well made in the centre of the dough to be filled with jam before they are baked. This week the wells were filled with raspberry and plum jam, but at other times apricot and fig jam have been equally delicious. These baking sessions are very rewarding because not only do I end up with a generous batch of biscuits for the week but also some lovely new jars to fill with spices and other dry pantry items.

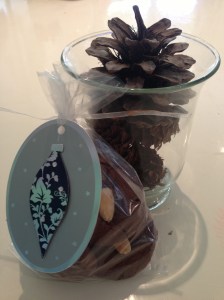
Clean glass jars look appealing filled with dry goods. I prefer them to plastic containers as their individual sizes mean I always have the right storage capacity available. Using larger jars allows you to buy your food staples in bulk, which is economical and reduces continuous throw away small packaging. Jars are easy to clean, seal well and the contents are clearly visible. I have almost replaced all of my tiny spice jars with larger versions which are so much easier to dispense from. Labeling is important though, as a teaspoon of mixed spice rather than a teaspoon of cumin, makes quite a difference in a recipe!

So if you have butter, sugar, flour and an egg in your kitchen and a refrigerator that needs some space freed up then you have the makings of a wonderful batch of biscuits to kick off your Easter season.

jam drops

125g butter, softened
½  cup sugar
1 egg
1 ½ cups SR flour, sifted
Jam

  1. Preheat the oven to 160 degrees celcius
  2. Line baking trays with baking paper
  3. Cream the butter and sugar until pale and fluffy
  4. Beat the egg in to the mix thoroughly
  5. Fold the flour through the mix with a metal spoon – it will be quite stiff and will form into dough by the time the flour is mixed through
  6. Roll teaspoonfuls of the mixture into balls and place on the baking tray, leaving room for the biscuits to spread
  7. Using your thumb, press a well into the centre of each biscuit fall and fill with a small amount of jam. Don’t over fill or the jam will overflow onto the baking sheet.
  8. Bake for 10-15 minute or until nicely browned.

Makes 24 approximately

img_8570

Advertisement
homemaking · recipes

Stash

chocolate cherry nut refrigerator cake

At any time you care to name, there can be at least five of these chocolate biscuit slab cakes under our roof. As odd as that sounds, it is the plain truth, and if you would like this to be your reality, read further.

Once upon a time we had a dishwasher. Alas, on one dark and stormy night, to my horror it leaked everywhere and was certified beyond repair. My greatest fear was that we would never survive the interval of time that would elapse whilst a replacement was sourced and installed. It may be, that we would have to (gulp) wash dishes. In the kitchen sink. By hand.

As today’s therapists will purport, exposure therapy is the most effective treatment for eradicating irrational fear. Accordingly, we exposed ourselves to dirty crockery, soapy liquid and hot water and within a week I realised that not only did we survive without a dishwasher, life had become less complicated. Suddenly there was nothing to unpack, load or maintain. Our dishes were always ready to use, not backed-up waiting for a ”full load” and plunging hands into warm water whilst gazing into the garden through the kitchen window, was indeed pleasant. So the decision was made, family life would continue on without a dishwasher.

A simple enough solution but now, what to do about the gaping underbench void left by the departed.

Well this is what I did – I created a stockpile storage solution or as the children affectionately term it, the ”Doomsday Preppers Cupboard”. I simply fit out the space with an Ikea storage drawer system and concealed it with a pull across curtain. These drawers are filled with wonderful supermarket buys. Multiple purchases of nuts, canned food, pasta, dried fruit, cereals, and other assorted weekly staples, when the prices are really low. Having a healthy supply of all of the essentials without the pantry clutter is an effective way to operate in the kitchen.A stockpile to draw upon not only saves a considerable amount of money spent on the yearly grocery bill but enables you to pull together a Chocolate Biscuit Refrigerator cake at a moment’s notice. All of the ingredients for this recipe can be plucked from the stockpile, with the exception of eggs and butter, which are basics I always have on hand.

chocolate refrigerator cake 150g butter
100g golden syrup
200g dark chocolate ,chopped
1 beaten egg 350g plain sweet biscuits (Marie, Milk Coffee, Digestives etc), broken into chunks
60g walnuts
60g sultanas
100g glacé cherries
75g pecan nuts

  1. Line a square or rectangle baking tin with baking paper.
  2. Melt the butter and golden syrup together in a saucepan and bring to the boil.
  3. Add the chocolate, reduce the heat to its lowest setting and stir until the chocolate has melted.
  4. Gradually add the beaten egg and continue to stir until the mixture has thickened a little.
  5. Remove from the heat.
  6. Combine biscuits, walnuts, sultanas and half the glacé cherries in a bowl. Pour the hot chocolate mix over this dry blend and mix together.
  7. Spoon  the mixture into the prepared tin, pressing it down firmly.
  8. Put the pecan nuts in the bowl that contained the chocolate mixture and stir them around to coat them in the chocolate.
  9. Scatter the pecans and the remaining glace cherries over the cake,
  10. Refrigerate for three hours or until set, then cut into slices of the desired length,

Wash up your dishes – by hand.

a piece of chocolate refrigerator cakePostscript: Not only will your stockpile hold the constituents of a Chocolate Biscuit Refrigerator cake, but also the foundations of most week night family meals.

book reviews · recipes

Fika

Fika Ikea Baking Book

As formalities continue to be shed in an effort to live in a more simplified fashion, so too our food has begun to follow suit. More frequently we are encouraged to eat our meals in a ‘deconstructed’ form. Jamie now scatters his communal dinners across a chopping board, cheesecakes are commonly served up in drinking vessels and salads regularly layered in kilner jars (maybe this is my cue to toss a scoop of Vegemite, a few cheese shavings and some bread in the lunch box for some deconstructed school sandwiches). But I digress. The Scandinavians, or more specifically, Ikea, have had the jump on this mode for years. Their latest contribution to our pared-down existence is their new baking book, Fika, illustrating each recipe as a collection of deconstructed ingredients. Intrigued? So was I.

Fika is the Swedish term for a coffee break, generally shared with others. This book offers a host of recipes perfect for such events. Based on your level of experience and time affordable, you can dip in and out of this baking collection and come up with some delicious treats. The Rustic Biscuits caught my eye, basically because in my ‘deconstructed pantry’ all the elements were present and equally because the bakes could be made in two stages (dough needs to be chilled a while) allowing me to fit swimming lessons in between. And what lovely, crispy little gems they turned out to be:

Rustic Biscuits

Even on a day when baking is not within your reach, this book is a lovely browse, as rarely have I seen a collection of recipes photographed in such a simplistic form. For novice cooks to be able to see baked items broken down this way, leaves very little hiding space for uncertainty or self-doubt to settle. Dismantling kitchen fear and apprehension my friends, can only be a good thing.

100g butter, softened
100g caster sugar
1 tbsp. golden syrup
35g blanched almonds, chopped
225g plain flour
1/2 tsp bicarbonate soda
1 tbsp milk (optional)

  1. Cream butter, sugar and syrup.
  2. Combine almonds, flour and bicarb of soda and then add this mix to the creamed mix.
  3. Work into a dough (at this point, you may or may not need to add the milk, depending on how dry your dough is).
  4. Roll the dough into a long sausage, about 3 cm thick and wrap in cling film. Refrigerate for up to an hour or freeze.
  5. Pre-heat the oven to 200 degrees celsius. Remove cling film and cut slices of dough about 1 cm thick. Lay these out on trays lined with baking paper.
  6. Bake for 6-8 minutes. Cool on wire rack.

You will need to be forgiving with some of the text in Fika, as we are crossing a fairly challenging language barrier here. The odd ingredient may be foreign, and occasionally ml is used in place of gram, but remember, we are working on our flexibility.

Rustic biscuits and coffee

Postscript: By the way, Fika is a marvellous word to have in your vocabulary when you burn your hand on the oven tray whilst young family members are present.

family · recipes

Press

Forcer Biscuits

Autumnal rain, while gratefully received, does tend to curb weekend activity. However, where a door to outdoor occupation closes, a window of indoor opportunity opens – a chance to assemble the biscuit forcer and press out an intricate array of delicate little icing sugar sprinkled treats.

If you’ve never been acquainted with a biscuit forcer (or more recently, cookie press) before, there is a creative pursuit waiting to be explored. With little culinary skill required, it is simply a case of mixing up a buttery dough – recipes accompany the kit – rolling it into a sausage and feeding it into the cylinder. Choosing the patterned discs dictating the biscuit shape is the only challenge – the press chef is provided with quite an extensive collection. (Where a number of chefs are involved ie house bound young, this stage can become quite interesting).

Once arbitration and conciliation is complete, it’s time to start pressing. Suddenly a baking sheet full of dainty shapes appear, which when removed bronzed from the oven and dusted with icing sugar, provide an irresistible plate of afternoon treats.

Plate of pressed cookies

My observation of cookies these days, is that they are of ever increasing dimension and far outlast any cup of tea or coffee they were originally designed to complement. These little forcer biscuits scale back this recent up-sizing trend and are a reasonable representation of the portion size a treat was intended to be.

Readily available on Ebay or the like, a biscuit press may well add a new dimension to your life.

Ampia biscuit press

Postscript: Once the simple process of individual pressing is mastered, the logical progression is to create pairs for sandwiching with icing and jam for homemade melting moments – bring on the rain I say.

recipes

Crunch

Chocolate almond cookies

Done with shopping? Me too. The last of my gifts are coming from the peace and solitude of the kitchen, sans parking lots, harried faces and never-ending landfill.

These cookies epitomise pure cooking escapism – easy to prepare, high yielding and incredibly toothsome (love that word, it sounds like a descriptor that would horrify a dentist). Depending on how reasonably stocked your pantry is, you may not even need to leave the house to get your batches underway.

And just to give you that little extra bang for your baking buck, the mix can be rolled into half-size balls, for twice the output. Put a couple of choc chips on top as soon as they are lifted from the oven and you will end up with at least 30 of these:

chip-topped cookies

Start with the almond topped ones, or build on this mix and design your own.

125g softened butter
½ cup brown sugar
⅓ cup caster sugar
1 egg
1 teaspoon vanilla
1½ cups self-raising flour
½ cup cocoa
¾ cup dark chocolate chips
almonds to decorate

  1. Preheat oven to 160°C.
  2. Cream butter and sugar until light and fluffy.
  3. Beat in egg and vanilla.
  4. Stir in flour and cocoa, then fold through chocolate chips. (The mix will be quite stiff)
  5. Roll tablespoonfuls into balls and place on greased baking trays. Flatten slightly with fingers.
  6. Bake for 15 minutes or until cooked. Cool on a wire rack. (makes about 20)

Postscript: If you have some bags and left over tags, you’ve got something to hand to your colleagues or neighbours over the next few days.

cookie bags