health and wellbeing · recipes

Ajna

As any yogi worth their salt will tell you, the ajna chakra is one of great significance. Otherwise termed the third eye, this chakra, situated between our eyebrows, can be described as connecting us to our intuition, allowing us to access our inner guidance and drawing from the sub-conscience. Without realising it, most of us are exercising our third eye regularly and often refer to it in language such as ‘a gut feeling’ or ‘trusting my judgement’ or ‘I instinctively knew.’ It is very comforting to know that we have this resource, and to that to tap into it is simply a case of settling and listening.

I’m not sure that my aunt, now passed, ever took a yoga class in her time, but a piece of advice she once gave me that has always served me well certainly falls in line with this way of thinking. She said, when you come to a crossroad in life and you are faced with a difficult decision that you feel unable to make, don’t make one. In time, she said, the choice or action to take will become clear.  When I have remembered to follow her words, options and choices have definitely crystallised with time and I think this is because my sub-conscious instinctive mind has been given a chance to function.

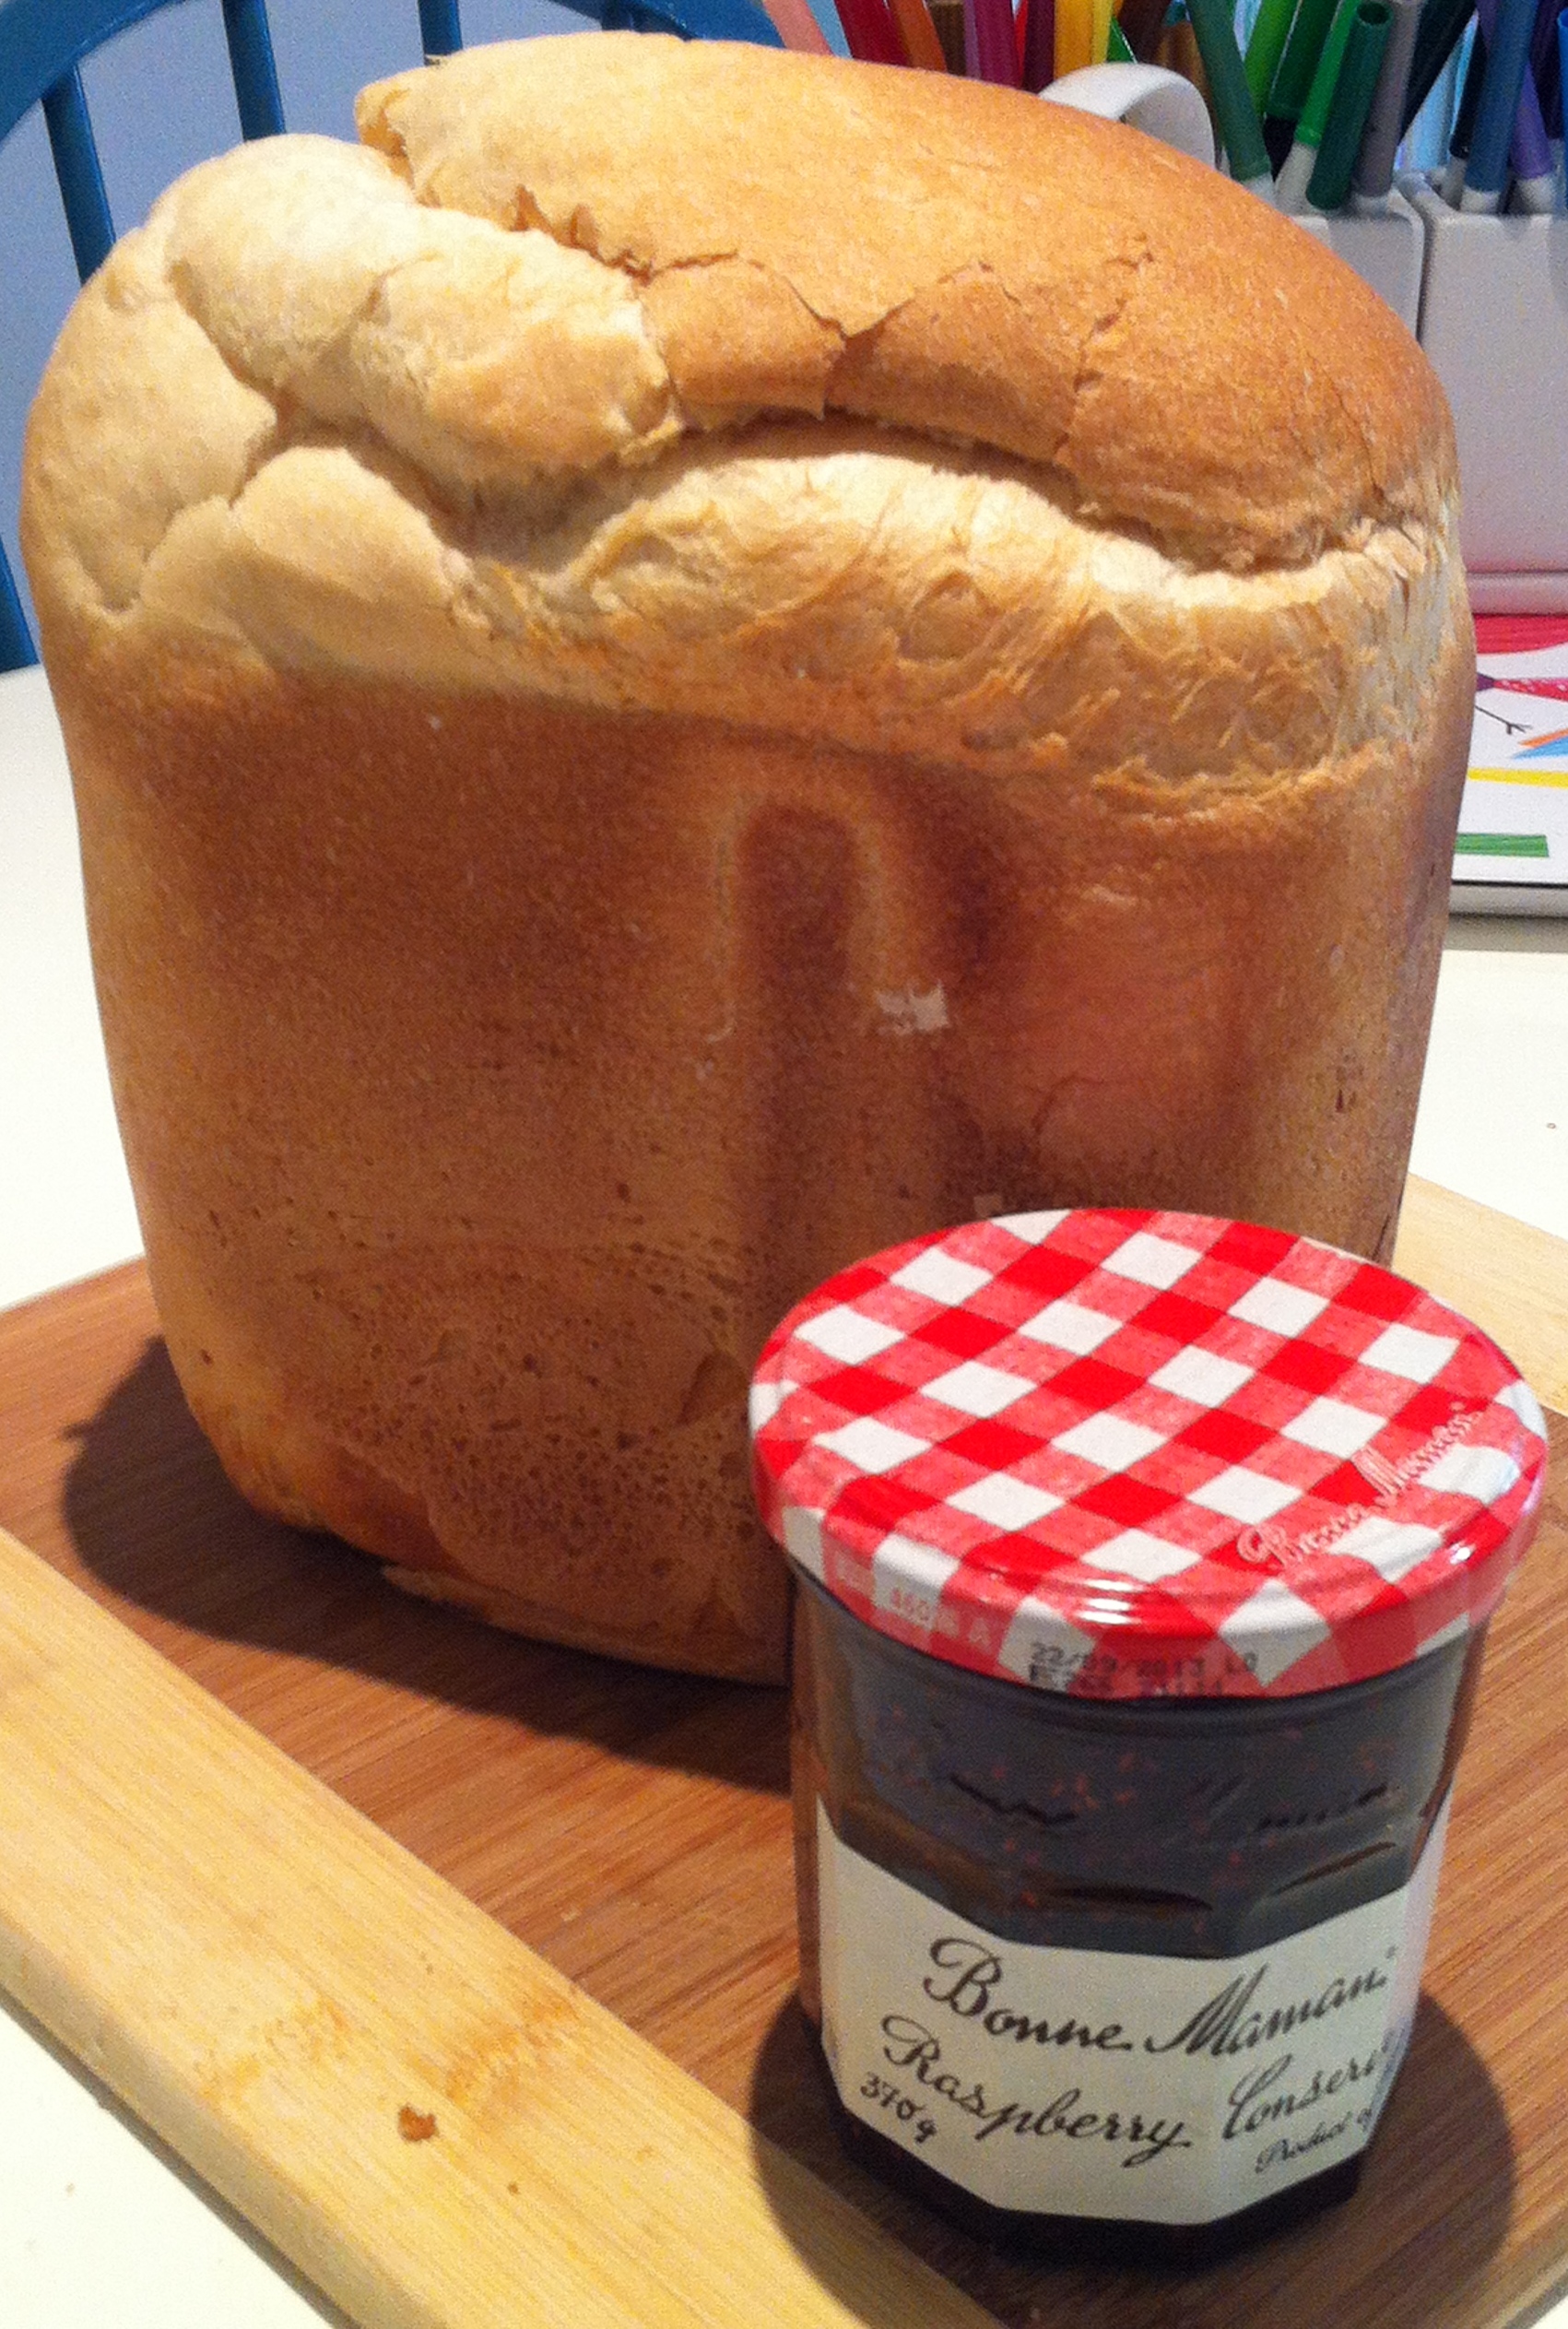
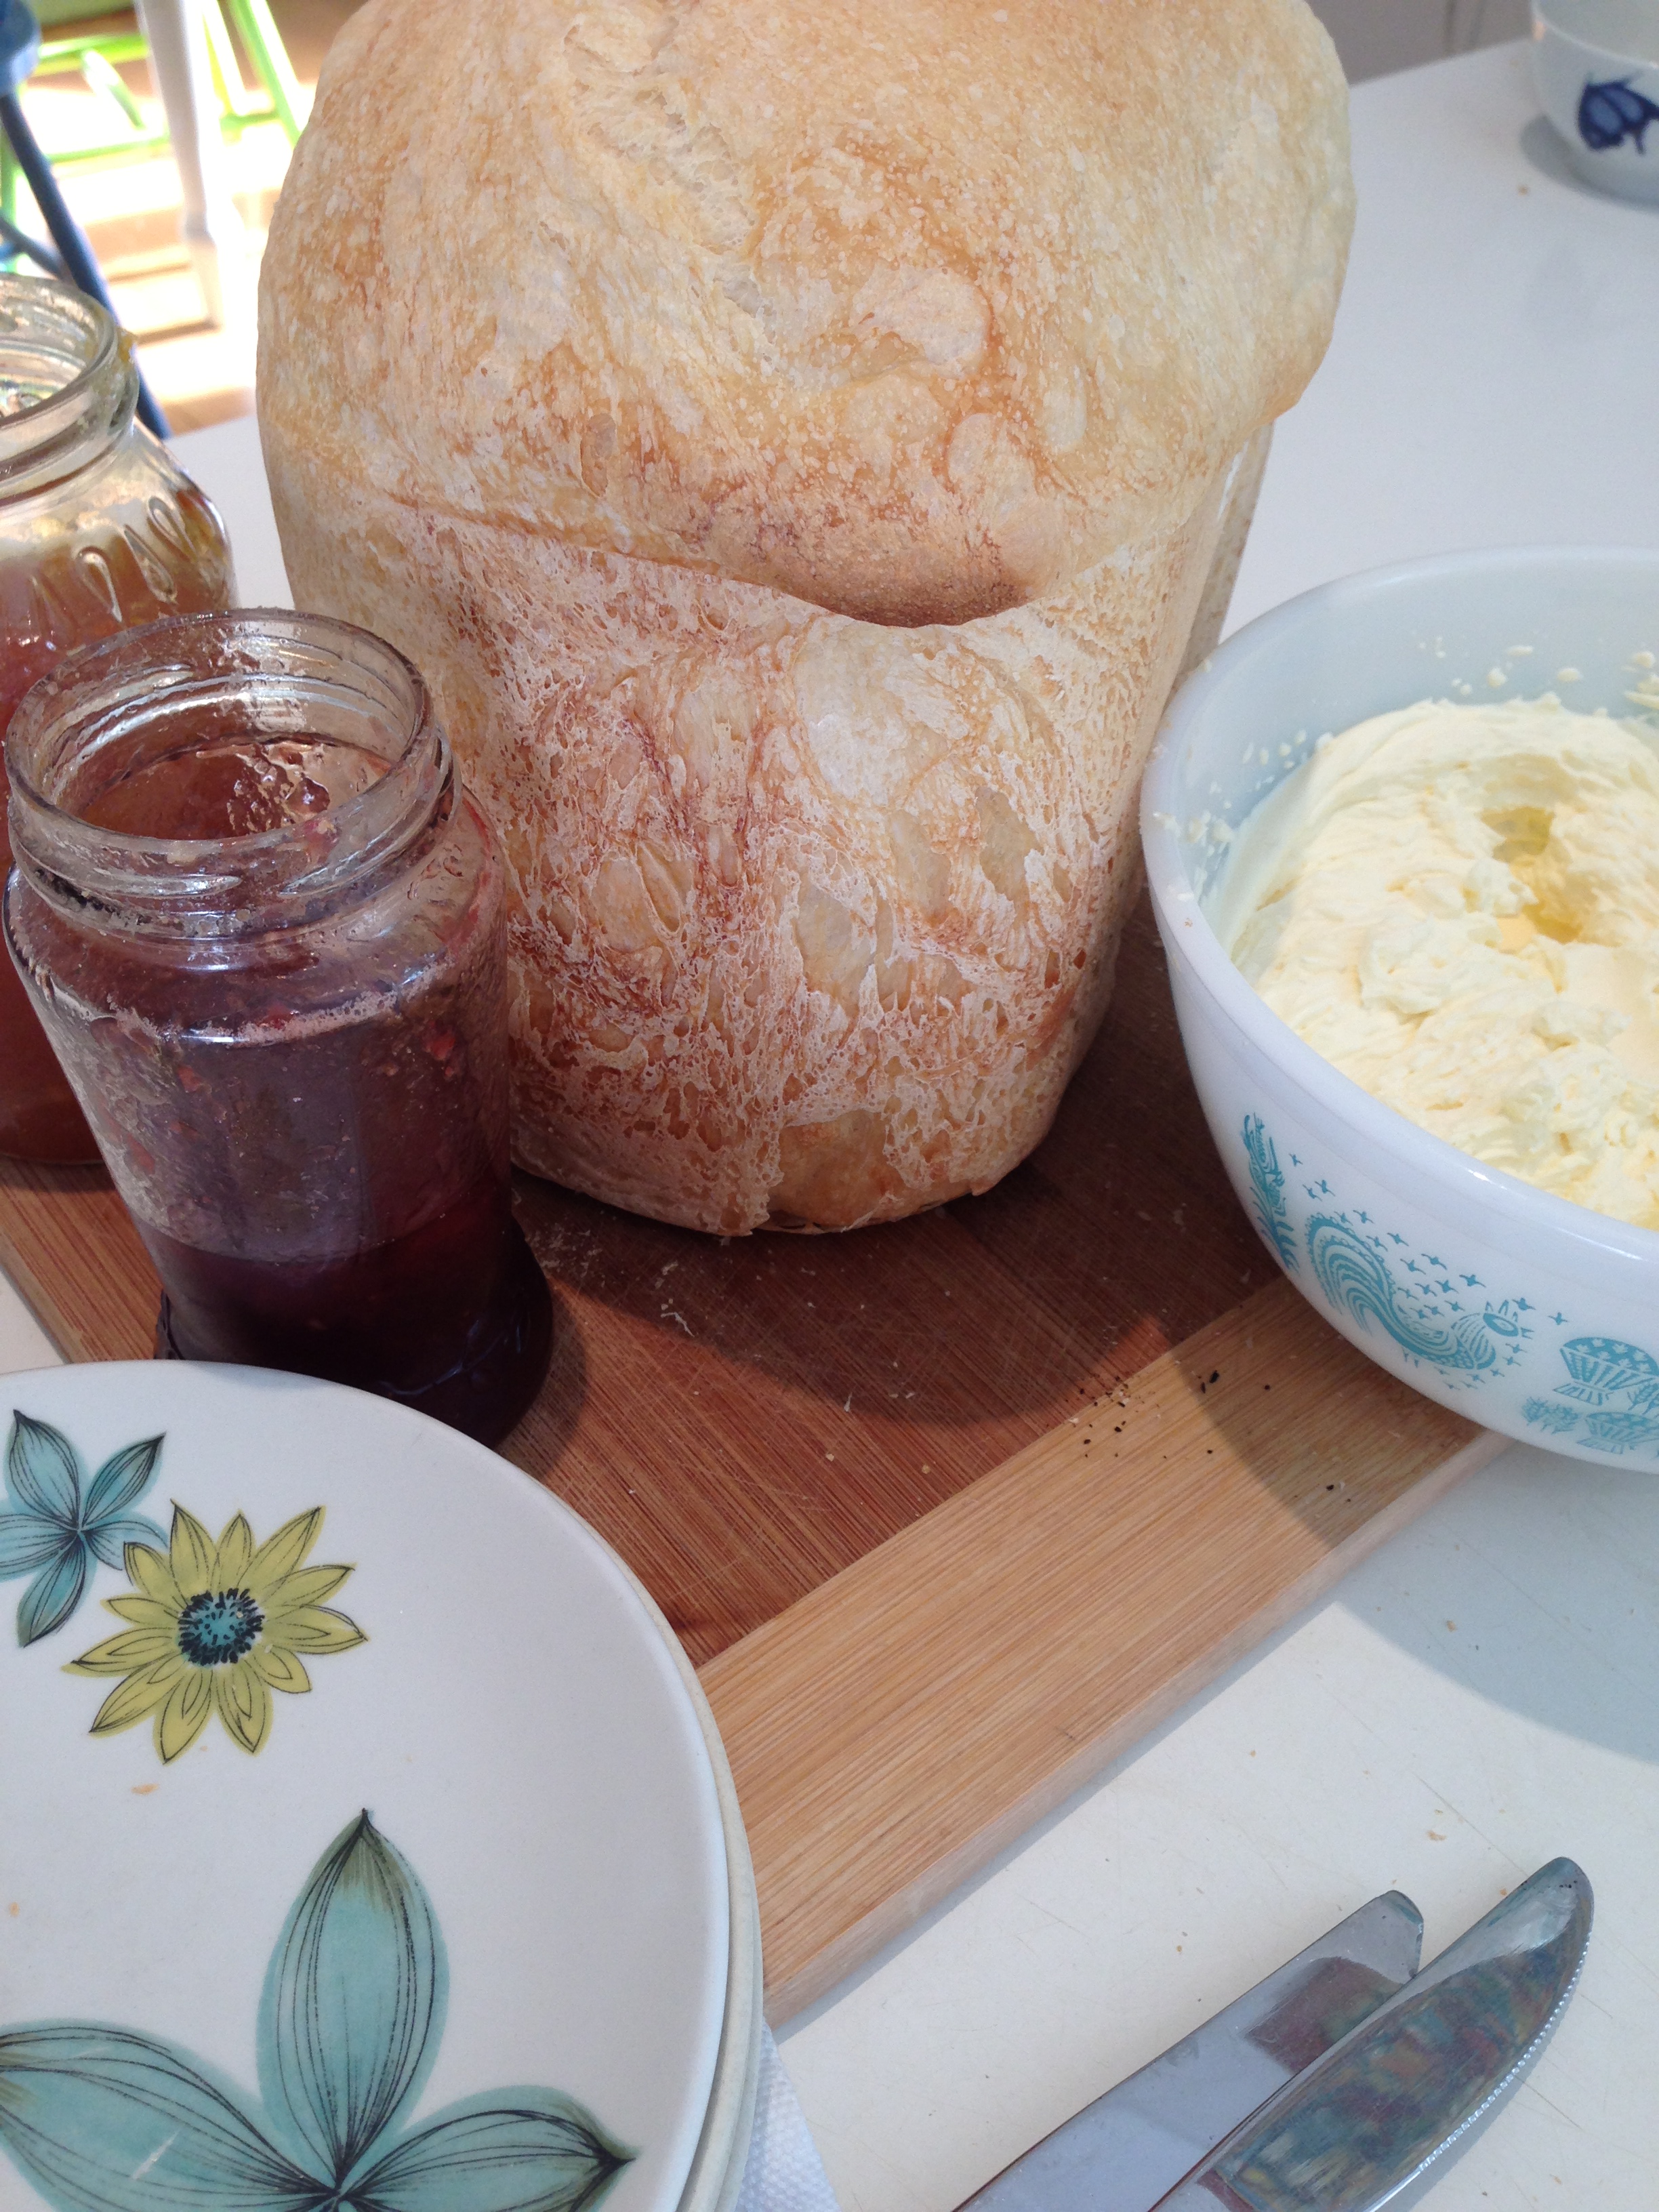
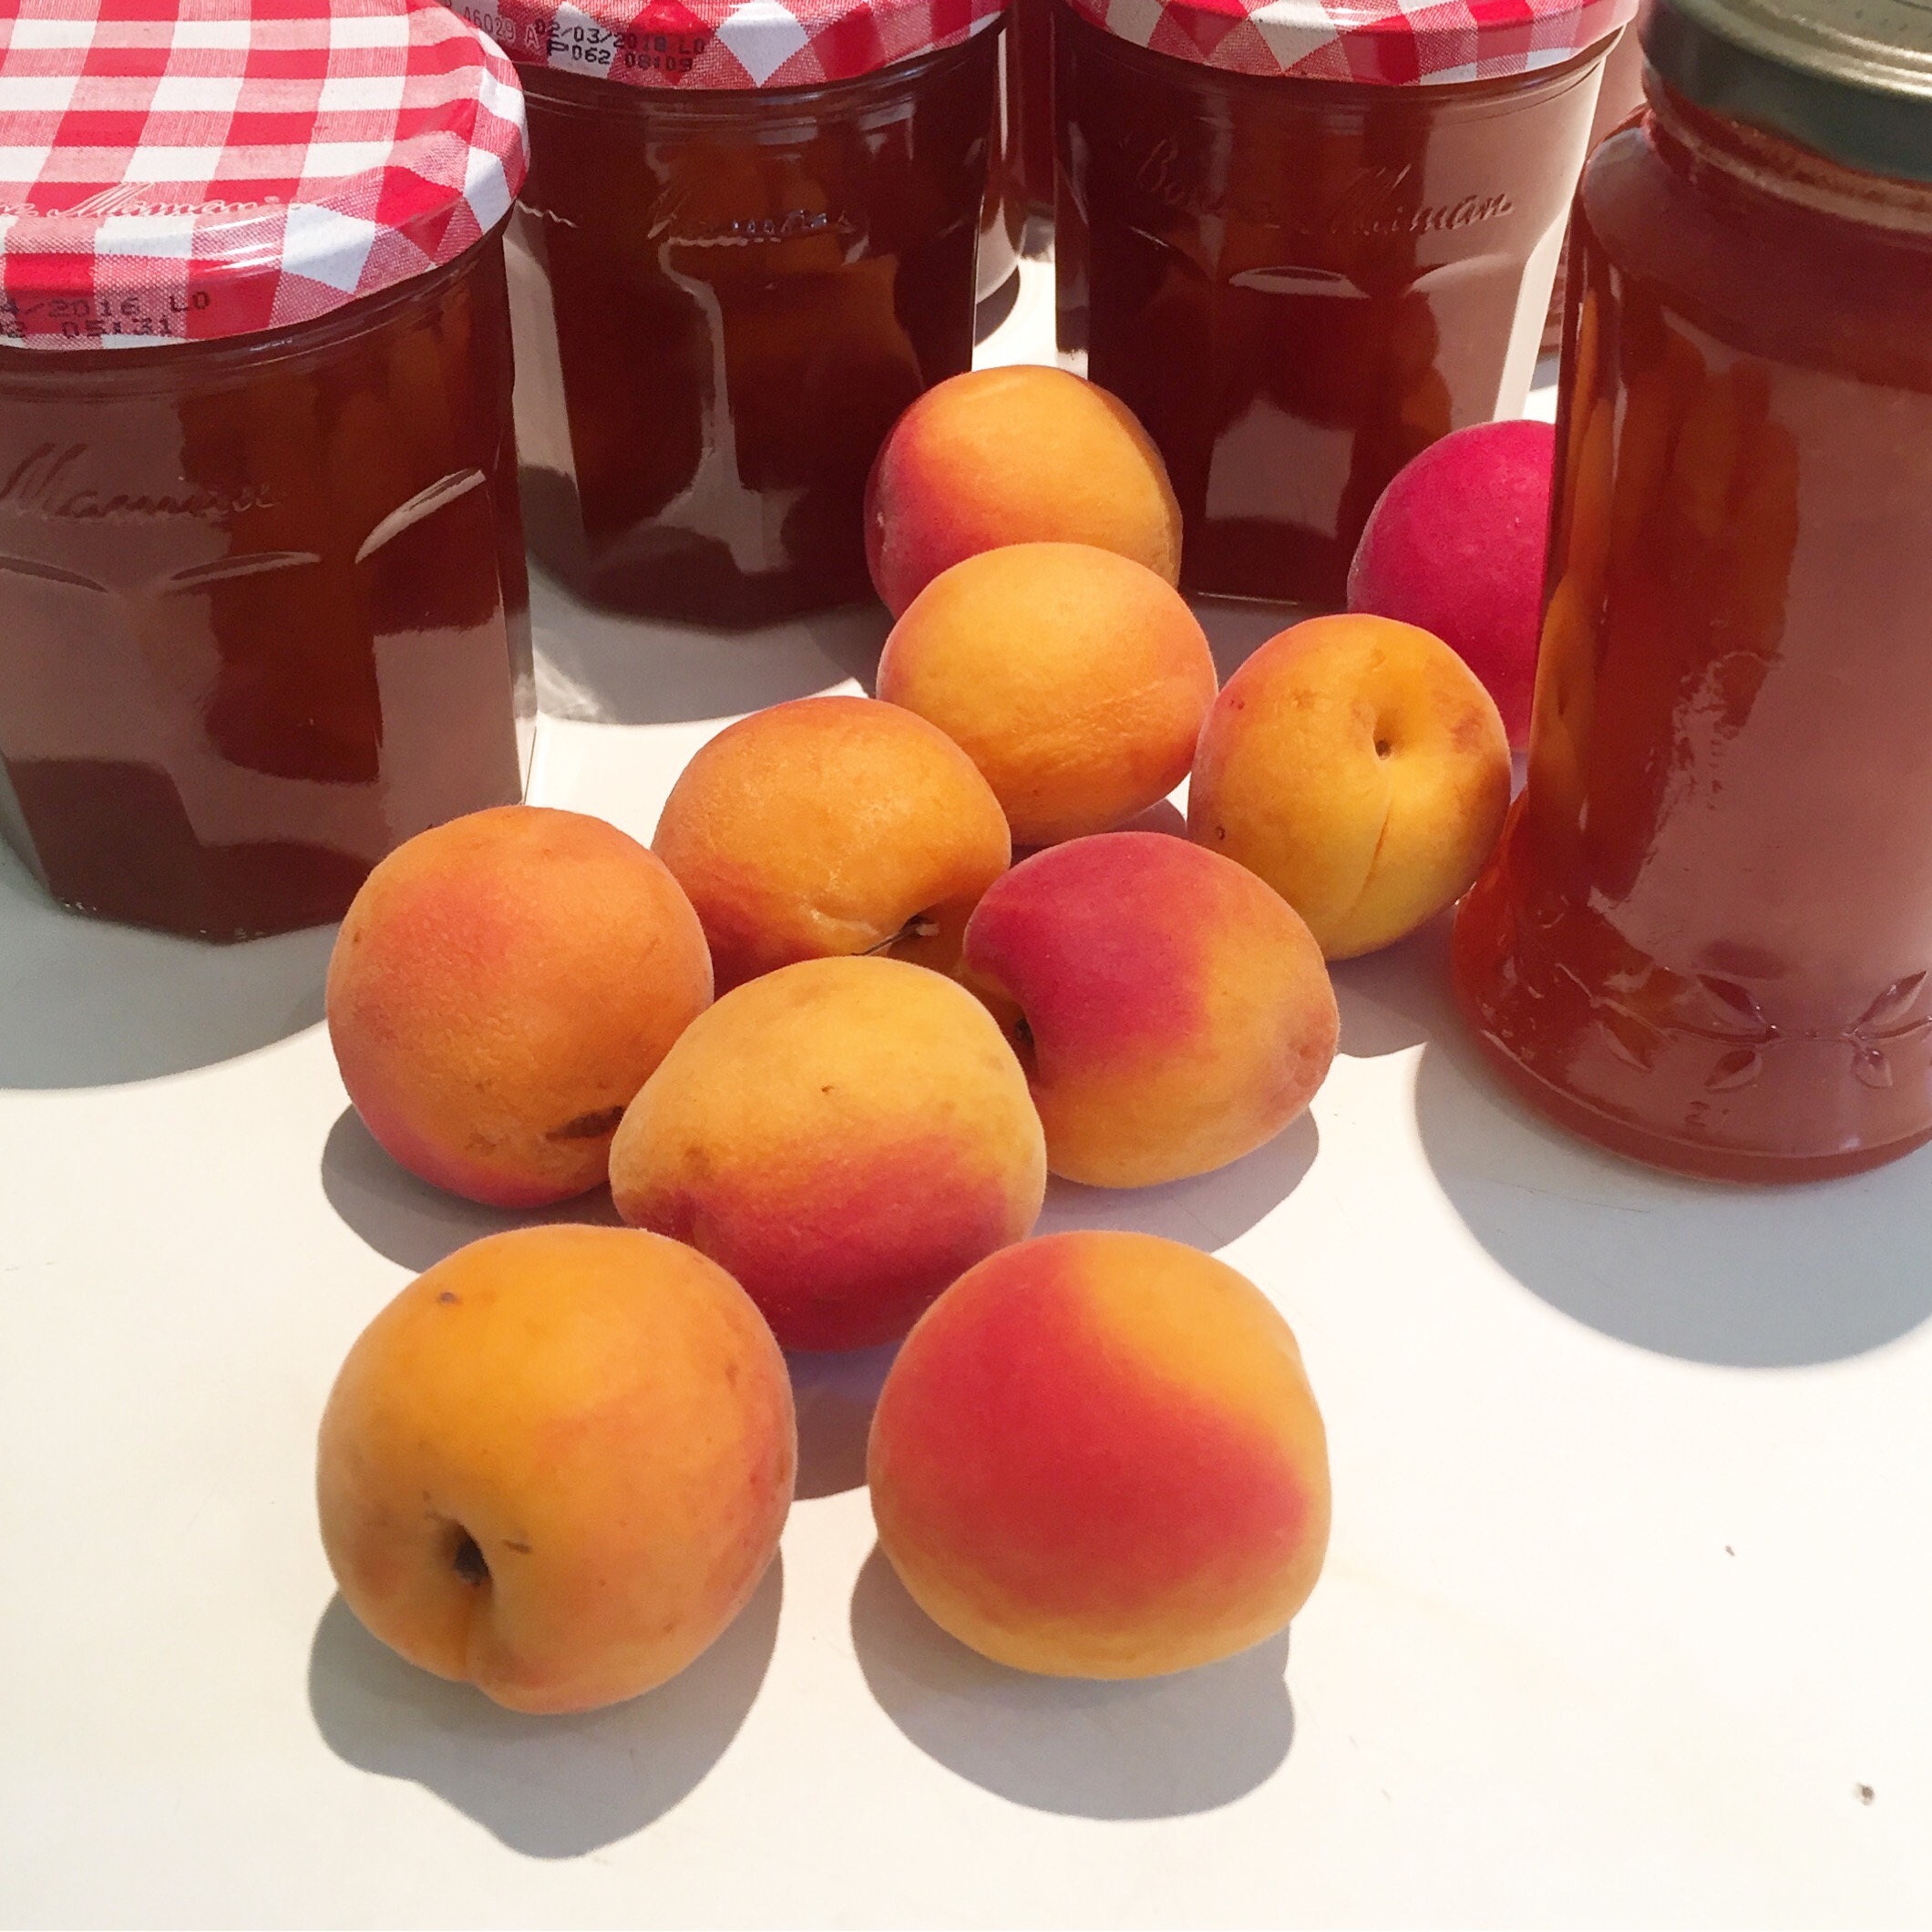
This week I was given a lovely windfall of apricots and as soon as I tasted one I knew that a large pan of bubbling jam would be on the next day’s agenda. Produce straight from the source exudes the most pungent aroma and delicious flavour that no commercially grown item can match and to be able to preserve this in either a jam or bottle is really worthwhile – particularly for the middle months of the year when stone fruits like these are a mere memory.

As I was stirring the pan full of rich amber preserve, I was considering how best to write the instructions for you to make your batch. So many books and articles have been written on the subject of jam making which can be daunting for anyone attempting their first batch. As I mentally checked off terms like ‘setting point’ ‘pectin’ ‘sugar liquid to fruit ratio’, I realised how complicated the explanation to produce a pot of apricot jam was going to become. Having also in the past followed these complex instructions meticulously, only to be left with a runny fruit syrup for my efforts, I knew it needed simplification – and the ajna chakra. So my friends, if you have some beautiful apricots that you want to be spreading on your sourdough in July, this is the way to do it:

Take a deep inhale and a long exhale and know that you can make jam.

Put a china saucer or plate in the freezer. Weigh your apricots after you have halved them, removed their stones and chopped them. Put them into your largest pot and add the same weight in sugar, 3/4 cup of water and the juice of two lemons. My batch was 11/2 kg apricots and 11/2 kg sugar. Over a low heat, stir your potion until all of the sugar has dissolved. Now increase the heat and bring your jam to a rolling boil. Stir from time to time, so that the apricots don’t stick to the base and burn.

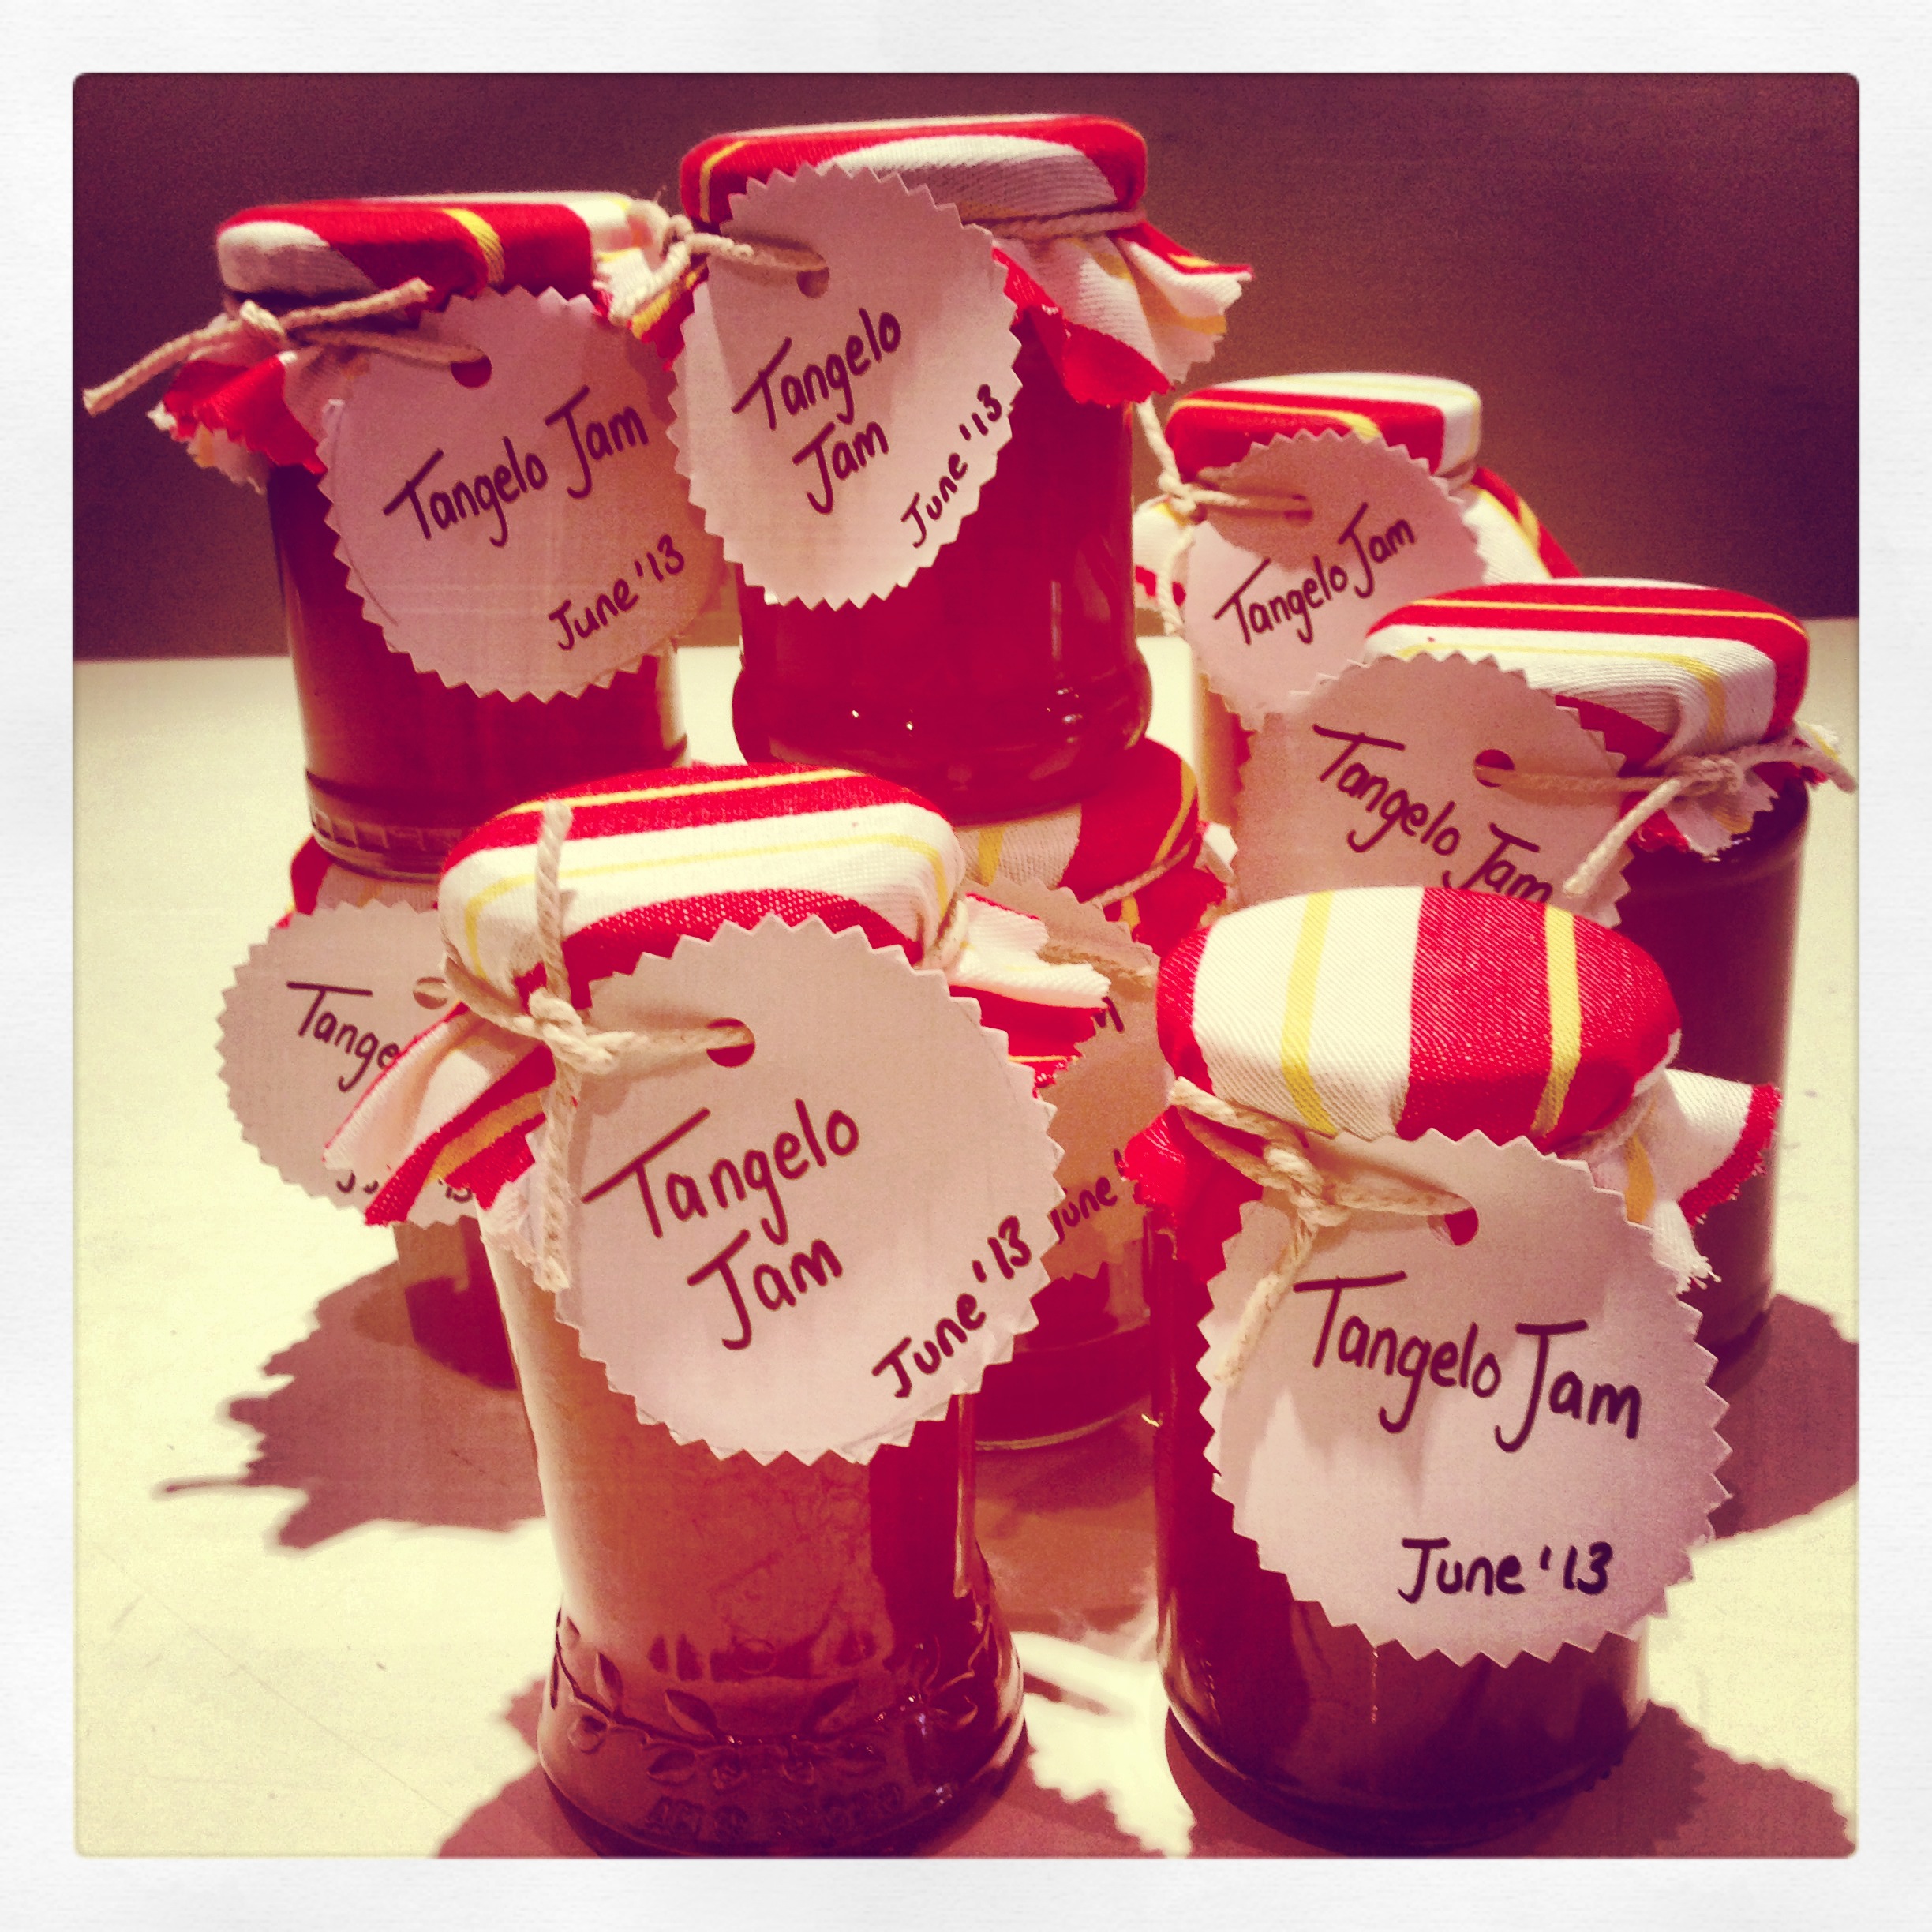
Now for your ajna. Look at your pot and if it has been boiling for a while (15 minutes) and is darker in colour, it might be time to test to see if the jam has set. Get your saucer from the freezer and drop a teaspoon of hot jam onto it, waiting until it cools a little. If your little puddle of jam wrinkles a little when you push it with your finger, you’re done. It’s time to take the pot off the burner, let it settle for a minute and then pour your jam into hot steralised jars (100 degrees in the oven). If it has not wrinkled, it will need to boil for a little longer.

These instructions may sound imprecise, but that is the nature of jam making. You will know when your jam has set because you will look at it, taste it, think about and trust your judgement. Step away from fear, panic and doubt, afterall this is simply a pot of fruit mixed with sugar and you are a fabulous person.


img_0142

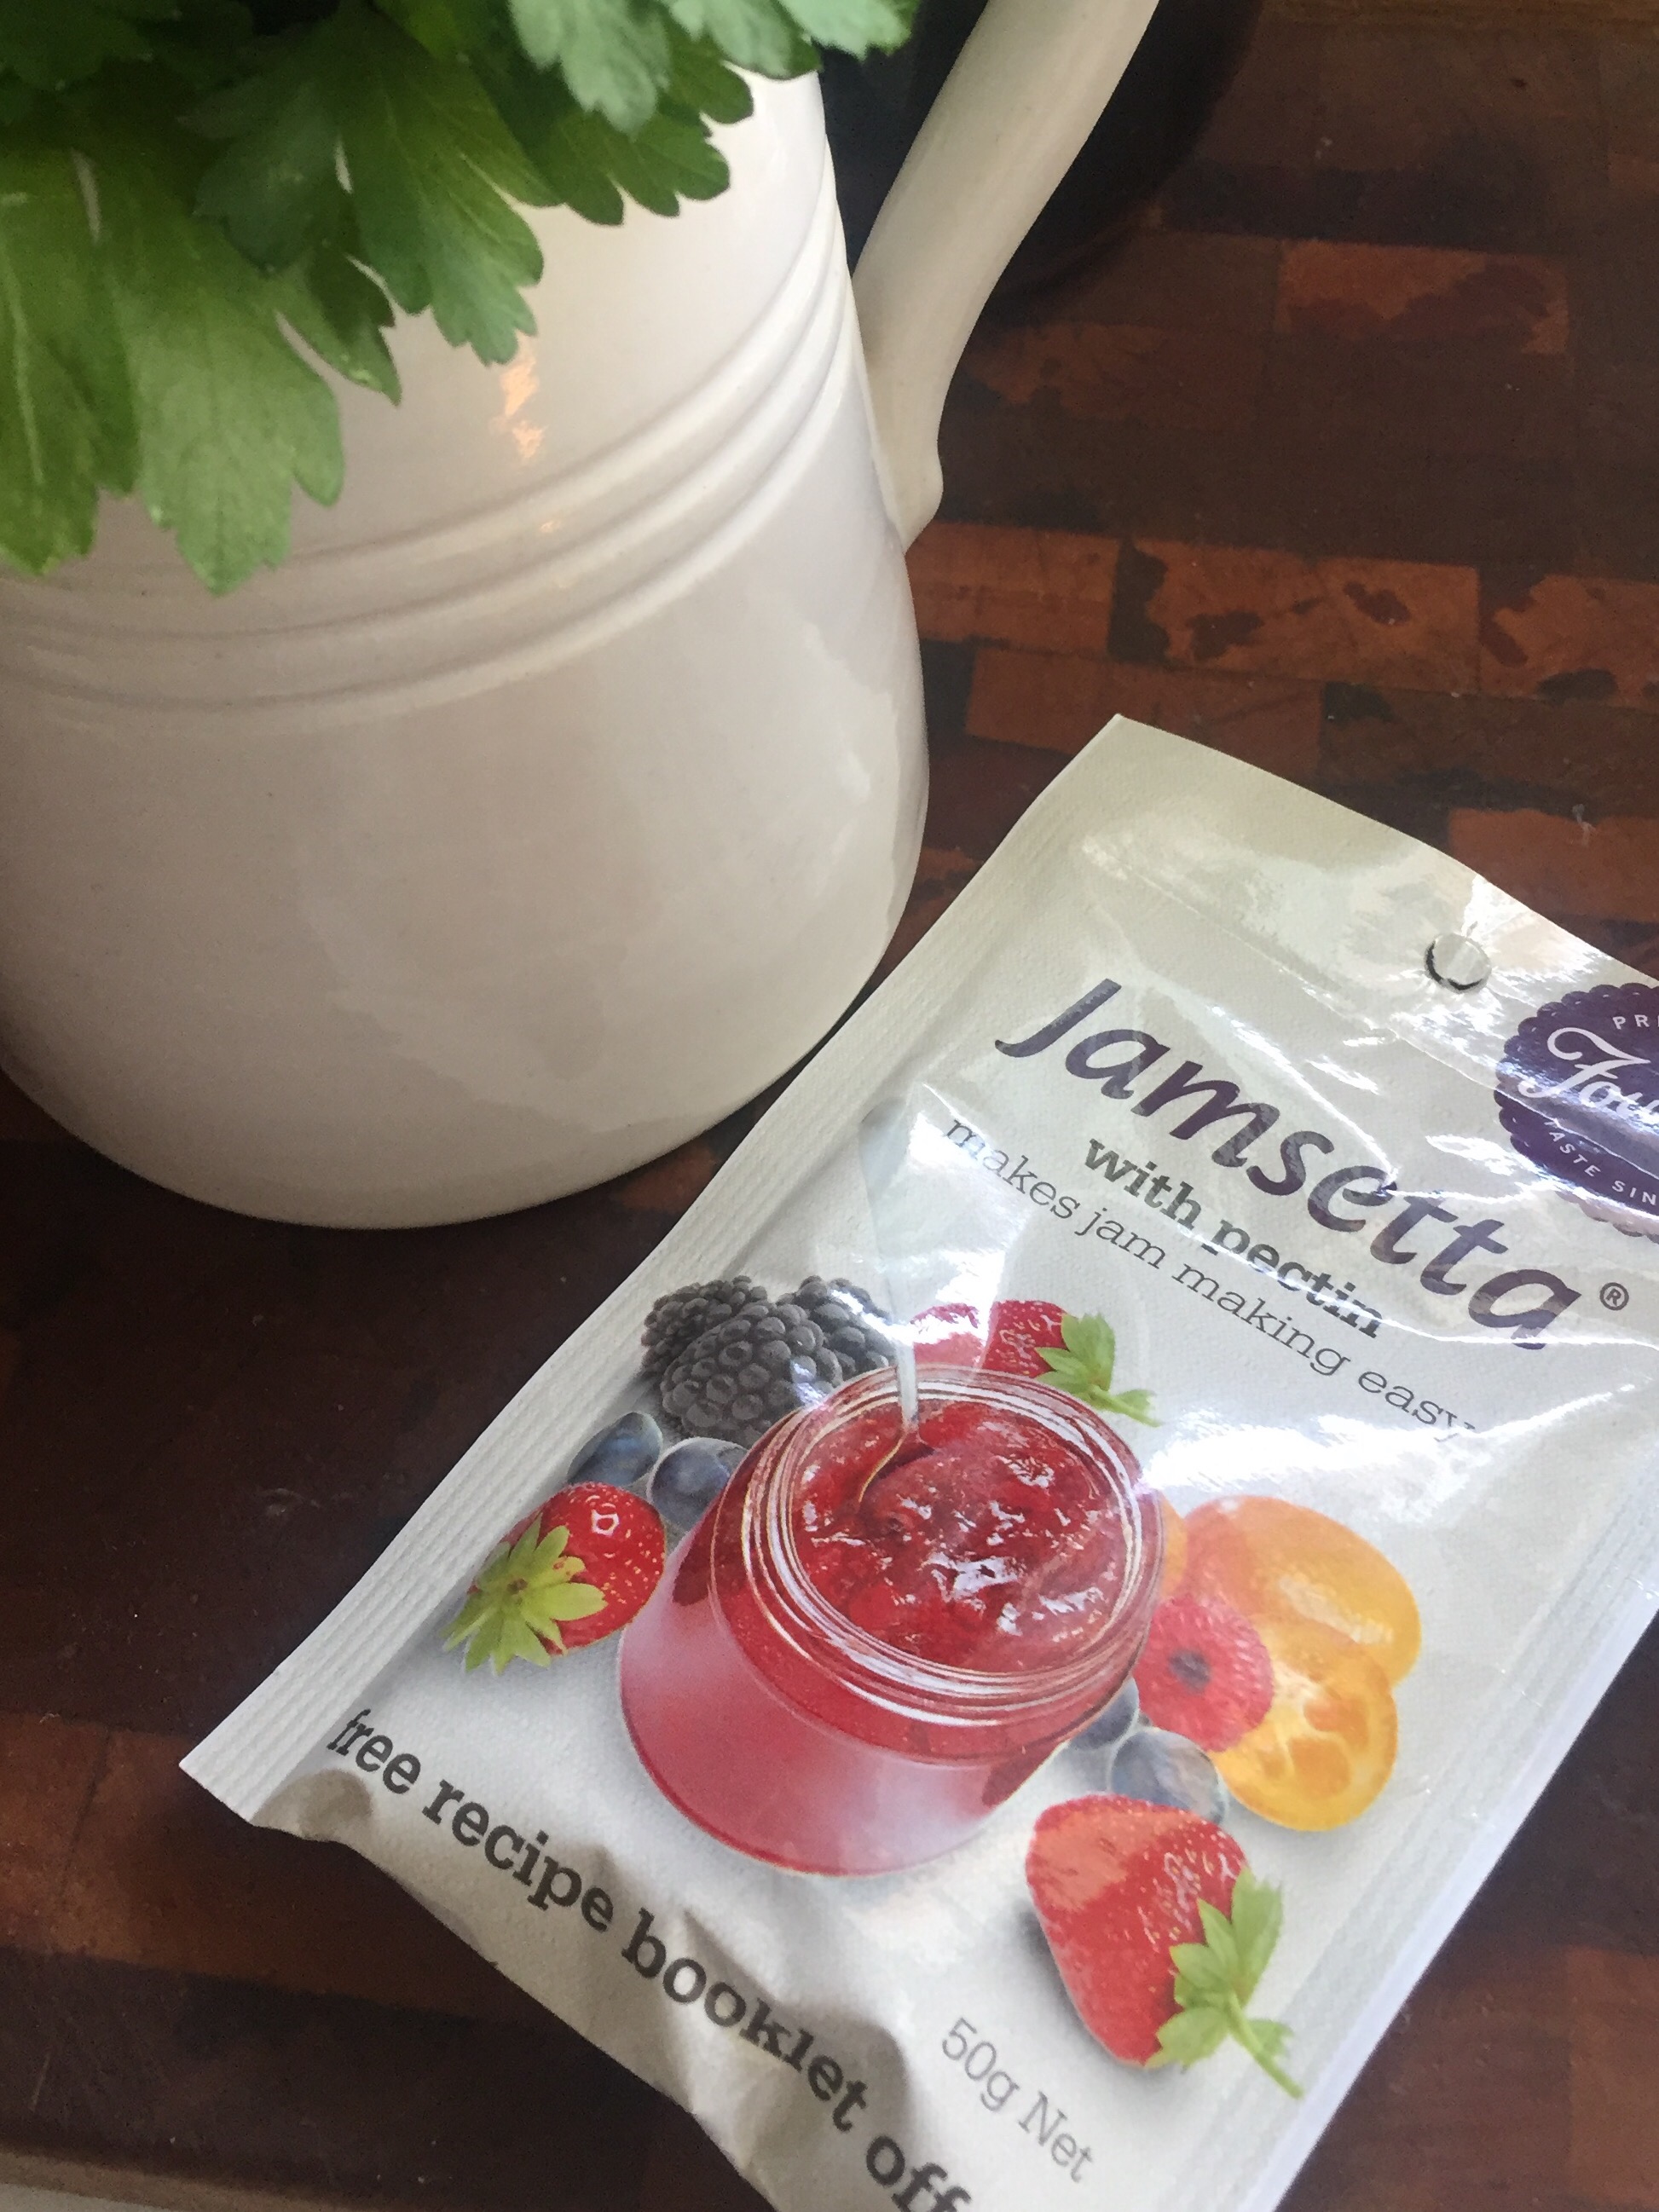
PS if you are not yet comfortable with your ajna and the puddle refuses to wrinkle, a packet of this stirred into the mix will restore your jam and your confidence.

Advertisement
family · health and wellbeing · homemaking

Bread

Homemade bread

Man does not live by bread alone. Not a truer word was spake. For a simple gastronomic experience it is a must that it be accompanied by jam, cream, butter or any permutation or combination thereof. And once generously layered with these preserves and toppings it guarantees to satisfy growling bellies whom it has lured by its aromatic welcome at the front door.

As food trends have arrived and departed over the decades (and dare I say centuries) bread in its purest form – flour, yeast, salt and liquid – has stood by unwaveringly witnessing these passages. So basically, the loaves we break today, were broken many times over by our ancestors – with equal pleasure.

To be frank, I don’t grind my millet and bake over coals, but instead harness our kitchen horse – the breadmaker. As pleasing and as therapeutic as it is to knead and prove, I am equally energised by the fact that in the four hours the machine is at work, I can have shopped, cooked, stroked a cat and still have a lovely golden loaf to slice for the afternoon onslaught.

We each have our ‘desert island’ appliances, and the bread machine, although bulky, would be one I would have balanced on the luggage. To be able to have home-baked bread, is truly a pleasure. A loaf of olive bread with pasta, a grainy variety for breakfast toast or a fluffy Vienna with jam and cream in the afternoon are all examples of how our breadmaker adds value to the day.

Before you invest, look around you. Are there family or friends with idle machines that you could press into service? (that was how I was lucky enough to receive mine) The classifieds are another source of pre-loved bakers. However you source your breadmaker, regard it not as a new gadget, but rather a modern tool shoring up the links with your bread-breaking forbears.

Homemade bread, jam and cream

Postscript: and with an ever-expanding supply of jams, marmalades and chutneys on our shelves, what better vehicle is a thick slice of warm bread to transport them?

recipes

Tangelo

Tangelos

Making their brief seasonal appearance as we speak, the impossibly orange tangelo is ready to fill your kitchen with citrusy overtones and your empty jars with delicious jam.

I’m sure it is no coincidence that citrus fruit peaks in mid-winter, its colour pop and tang bolsters us through the insipid range of coolstore/gas ripened produce alternatives. Tangelos make a huge effort – juice laden and vibrant, a bowlful in the kitchen veritably radiates goodwill.

My pantry shelves did not require further stocking, but with such enticing colour and shape, I could not resist purchasing a couple of kilos of these lads. With an interstate road trip imminent and a number of pressing household issues to deal with, they really had to jam themselves. Fortunately they cooperated, so the holiday hosts, the neighbourhood and the pantry shelves all have jars of sunshine to see them through winter.

Tangelo jam

Tangelos are still catching my eye at the local fruiterer, so it’s not too late to wash out those stored jars and boil up a pot for yourself. Not as bitter as marmalade, but far from the syrupy sweet berry preserves, tangelo jam sits brightly in between.

1.5 kg tangelos (about 8 or 9)
3 litres (12 cups) water
1 tbsp tartaric acid (cream of tartar)
2 lemons halved
1.4 kg sugar, or the same weight of liquid to sugar
1 packet of Jamsetta (optional – I always keep one on hand in case jam is not setting. Simply stir a sachet through the mix and boil)

  1. Remove the zest (picture below) from the tangelos using a zester, and wrap in muslin cloth or a clean chux cloth.
  2. Cut the tangelos into quarters and process in a food processor until finely chopped – a little roughly if you like chunky jam.
  3. Place tangelo mixture into a saucepan, with the wrapped zest, water, cream of tartar and lemons. Cook for 30 minutes or until zest is soft. Remove zest from bag and set aside.
  4. Continue to cook the mixture for a further 1 1/2 hours. Strain mixture and reserve liquid.
  5. Return liquid to the heat and add the zest and sugar. Cook the jam for 40 – 50 minutes.
  6. Test for setting by spooning a little on a chilled saucer – it should wrinkle if set.
  7. Pour into sterilized jars and seal.

zesting tangelos

Postscript: do invest in a zester – it makes short work of tangelo rind (which is crucial when you have a car to pack, a house to close down and a 9 hour drive on the horizon….)

recipes

Jam

apricot jam

Tell me who’s going to pass by firm ripe apricots at the market for $1.99 per kilo? Not me, and therefore the kitchen has a distinct aroma of stone fruit about it this week.

Spread (thickly) on toast or dolloped over some creamy yoghurt and muesli, apricot jam happens to be one of life’s little pleasures. With the current prices and the jam sugar I mentioned here, there is no reason why you cannot have a pantry shelf full of it either.

As I was stirring the pot, I noticed one of the ‘feature’ tiles in the splashback and it made me smile.

kitchen tile

I must have cleaned and moved past this tile at least a million times, and today the realisation that an apricot keeps watch over the cooktop, came to be. How often are we looking but never really see?

If you would like to get your jars full this week, use the same recipe as I did for the White Peach Jam. Of course you will have to move quickly, because fresh apricots disappear quickly if like me, you live with a group of fruit bats…

apricot jam and apricot

recipes

Peachy

white peach jam

Preparing a batch of jam takes you into a bubbling, aromatic, peaceful world from which you emerge with the satisfaction of having turned the season’s finest into a delicious concoction to be enjoyed throughout the coming year.

Peach season is something we only dream about in the depths of a drizzly winter. To be able to capture some of this summer magic and bottle it for those bleak days, is a wonderful thing. White peaches seem to have a flavour unique to themselves and when they are still slightly tart, they produce beautiful jam.

Having recently discovered jam setting sugar, I am reluctant to return to the plain variety. It takes the guesswork out of the setting process, as the pectin is distributed through the sugar for you. If you only have regular sugar, use it and maybe toss in a couple of sachets of jam setting powder (available in supermarkets).

To sterilise your jars, rinse them and stand them in the oven with the lids off at 100 degrees celsius while you are preparing your jam. They can be filled, straight from the oven (with care).

peach jam

1.6kg white peaches (or yellow if that’s all that is what you have)
1kg jam setting sugar
10g butter

  1. Make two long slits in the skin of each peach with a sharp knife. Pour boiling water over peaches and let stand until the skin begins to peel (about 10 minutes).
  2. Peel off skins, remove stone and chop peaches finely. Weigh chopped mix, you need 1kg.
  3. Add 1kg of chopped peaches to a large pot and add the sugar. Stir over low heat until the sugar has completely dissolved.
  4. Add the butter and increase heat. Bring to the boil without stirring.
  5. Allow to boil for 4 minutes. At this stage the jam should be set – test by spooning a small amount onto a saucer that has been chilled in the freezer. If it stiffens a little it is ready.
  6. Pour into hot, sterilised jars and seal immediately. Makes about 5 standard jars.

Postscript: If you have time, package your jars with some fabric hats and paper labels – with christmas around the corner, they make a lovely gift.

jam labeling