homemaking · recipes

Stash

chocolate cherry nut refrigerator cake

At any time you care to name, there can be at least five of these chocolate biscuit slab cakes under our roof. As odd as that sounds, it is the plain truth, and if you would like this to be your reality, read further.

Once upon a time we had a dishwasher. Alas, on one dark and stormy night, to my horror it leaked everywhere and was certified beyond repair. My greatest fear was that we would never survive the interval of time that would elapse whilst a replacement was sourced and installed. It may be, that we would have to (gulp) wash dishes. In the kitchen sink. By hand.

As today’s therapists will purport, exposure therapy is the most effective treatment for eradicating irrational fear. Accordingly, we exposed ourselves to dirty crockery, soapy liquid and hot water and within a week I realised that not only did we survive without a dishwasher, life had become less complicated. Suddenly there was nothing to unpack, load or maintain. Our dishes were always ready to use, not backed-up waiting for a ”full load” and plunging hands into warm water whilst gazing into the garden through the kitchen window, was indeed pleasant. So the decision was made, family life would continue on without a dishwasher.

A simple enough solution but now, what to do about the gaping underbench void left by the departed.

Well this is what I did – I created a stockpile storage solution or as the children affectionately term it, the ”Doomsday Preppers Cupboard”. I simply fit out the space with an Ikea storage drawer system and concealed it with a pull across curtain. These drawers are filled with wonderful supermarket buys. Multiple purchases of nuts, canned food, pasta, dried fruit, cereals, and other assorted weekly staples, when the prices are really low. Having a healthy supply of all of the essentials without the pantry clutter is an effective way to operate in the kitchen.
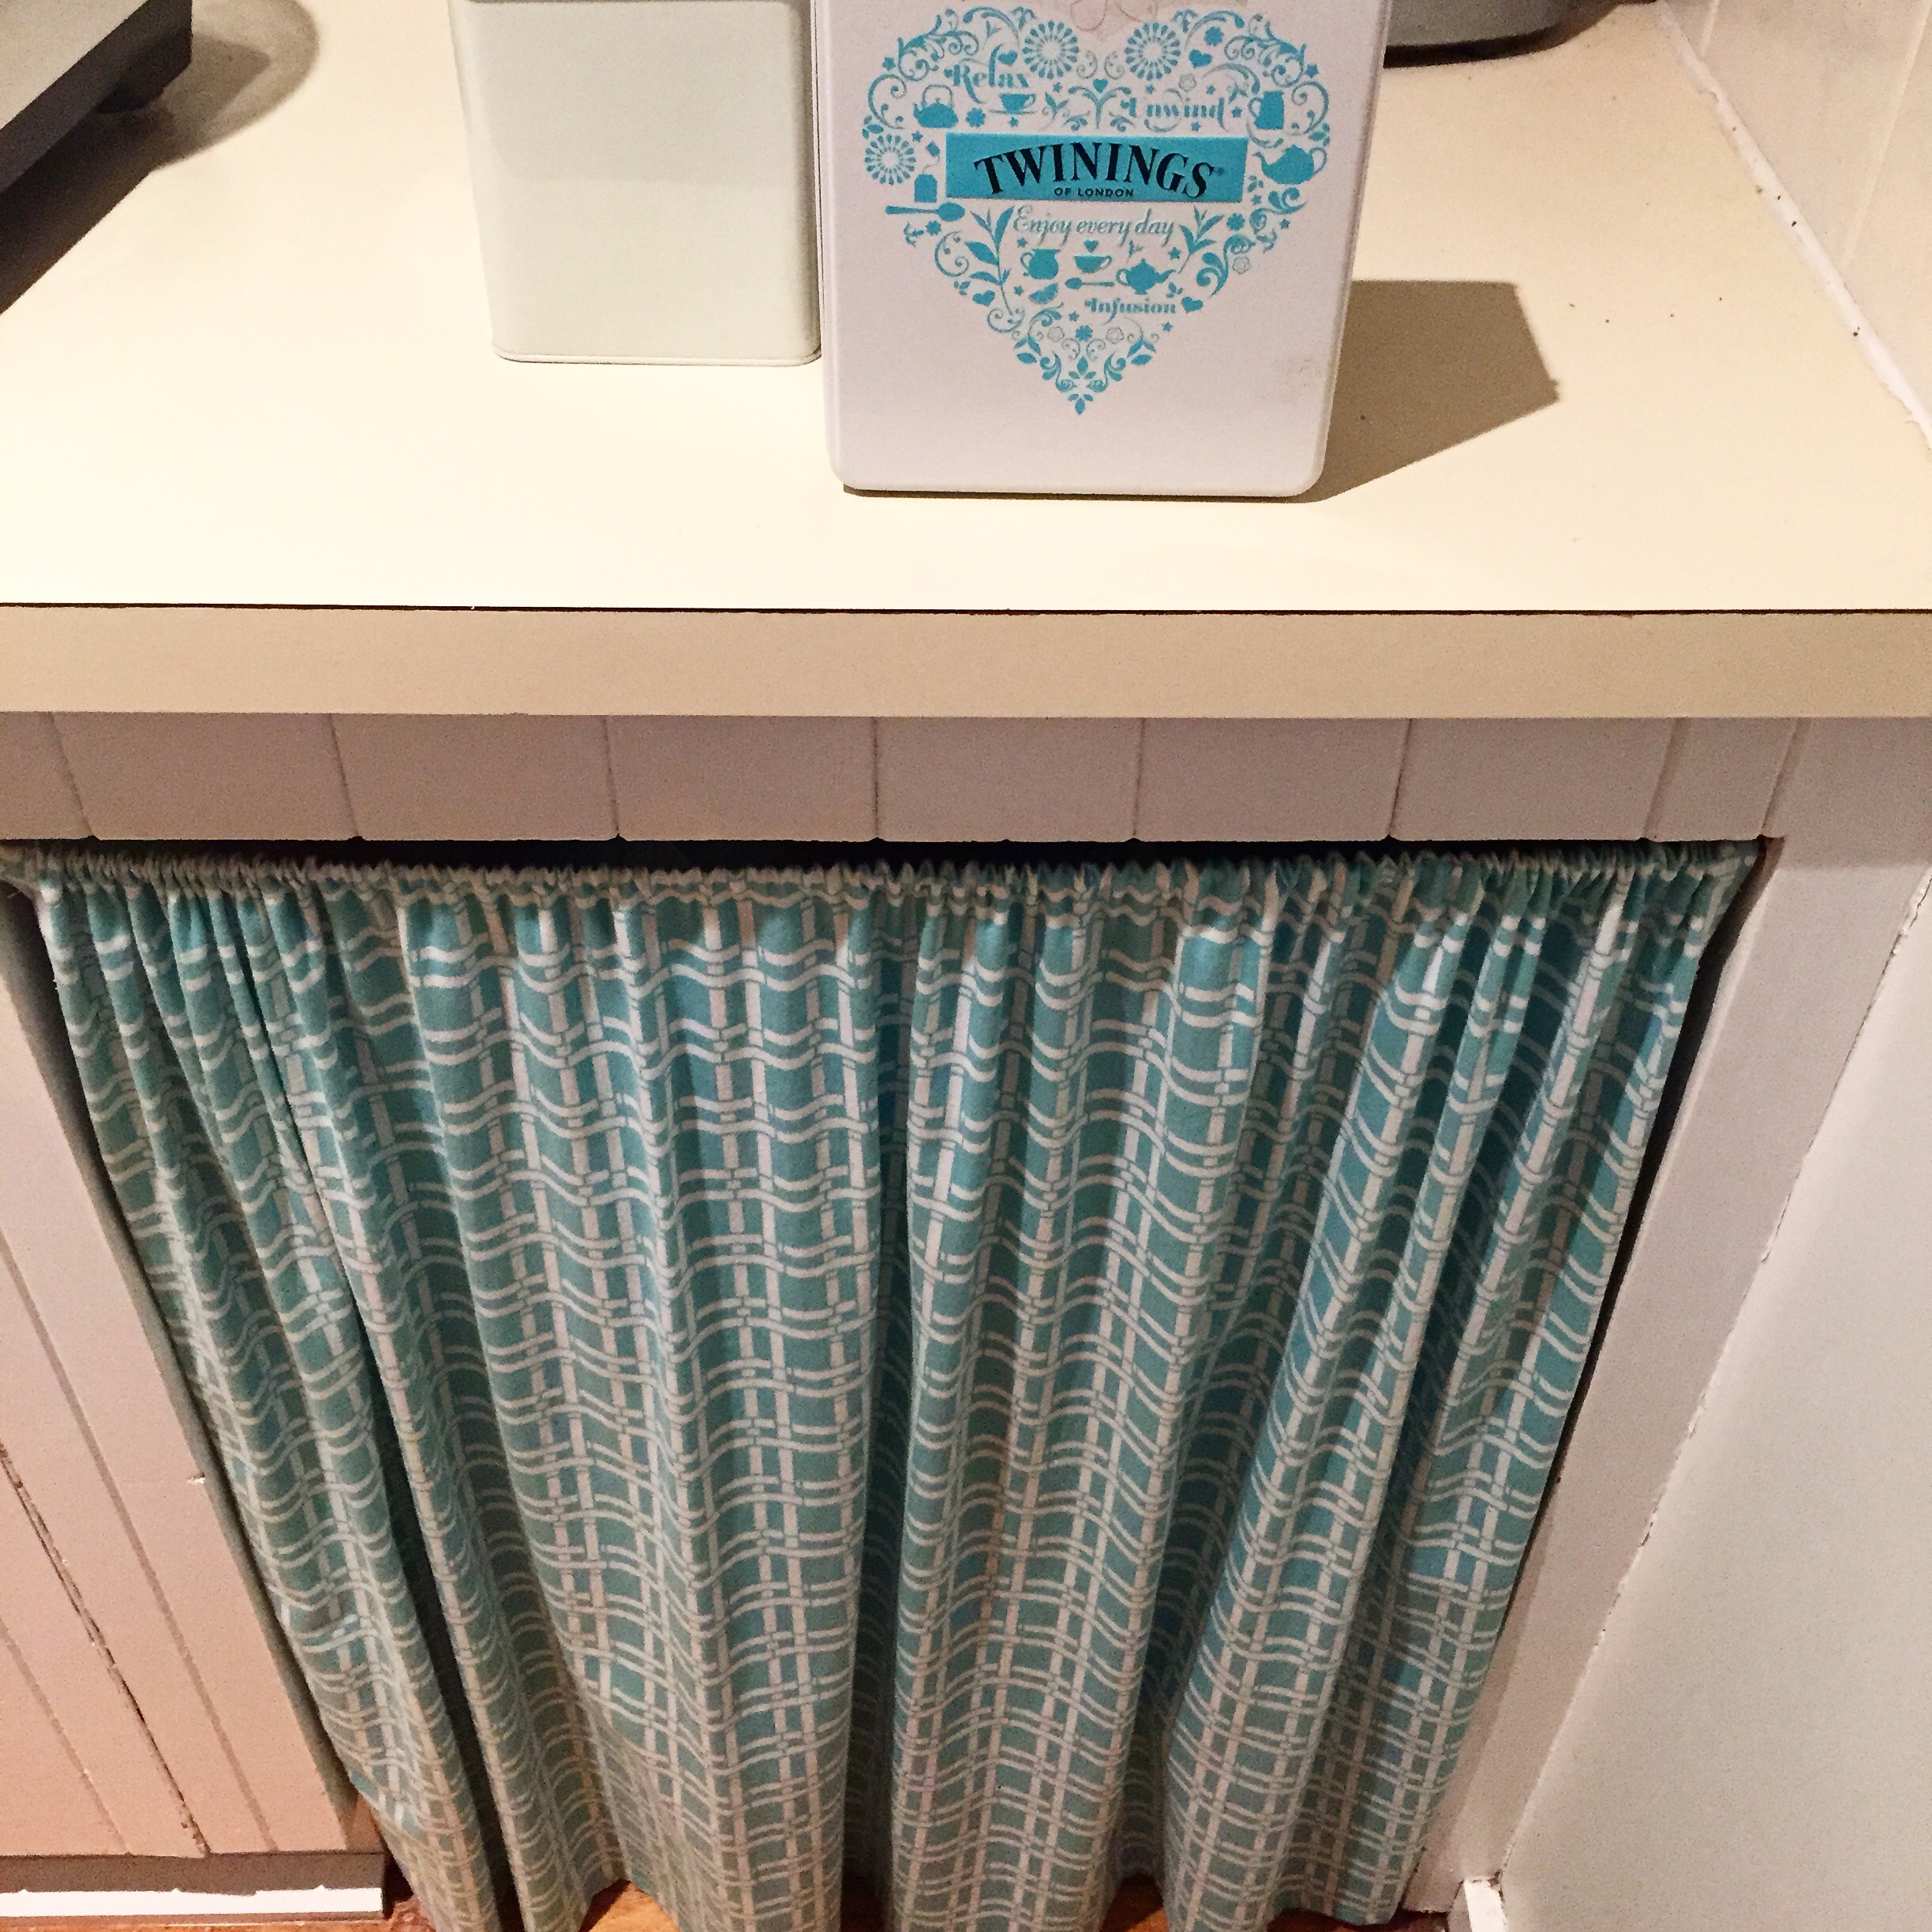
A stockpile to draw upon not only saves a considerable amount of money spent on the yearly grocery bill but enables you to pull together a Chocolate Biscuit Refrigerator cake at a moment’s notice. All of the ingredients for this recipe can be plucked from the stockpile, with the exception of eggs and butter, which are basics I always have on hand.

chocolate refrigerator cake 150g butter
100g golden syrup
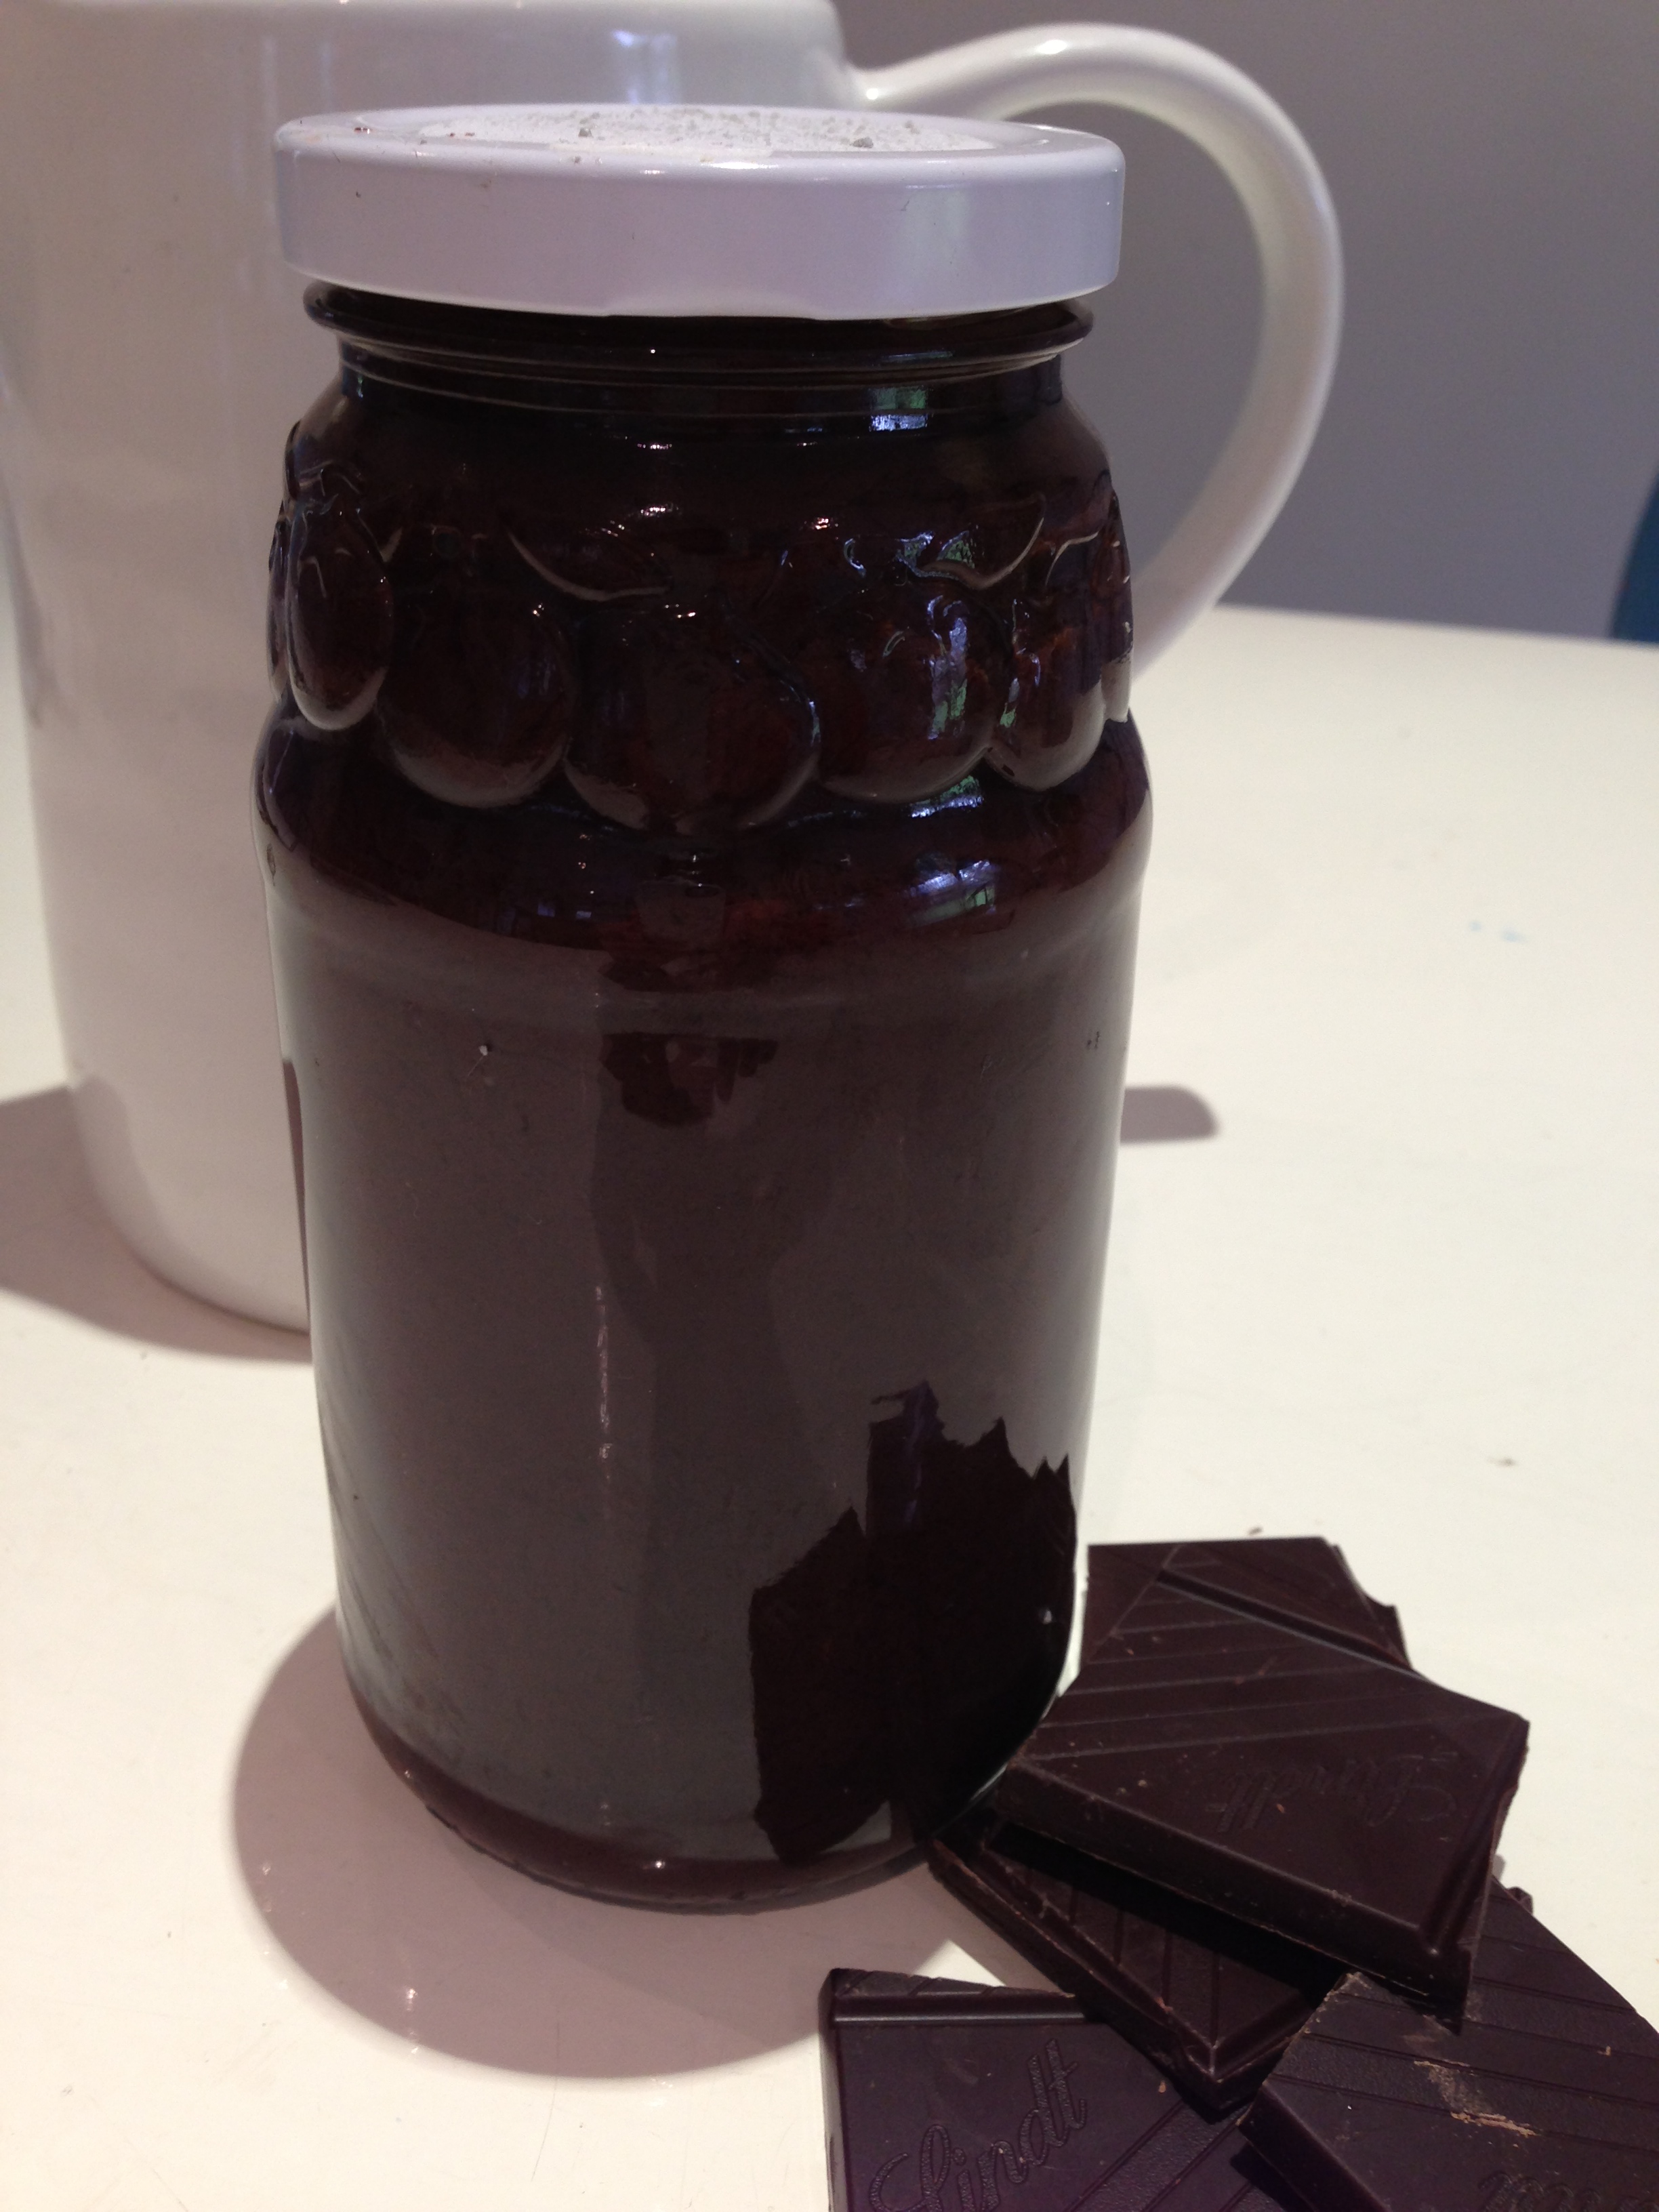
200g dark chocolate ,chopped
1 beaten egg 350g plain sweet biscuits (Marie, Milk Coffee, Digestives etc), broken into chunks
60g walnuts
60g sultanas
100g glacé cherries
75g pecan nuts

  1. Line a square or rectangle baking tin with baking paper.
  2. Melt the butter and golden syrup together in a saucepan and bring to the boil.
  3. Add the chocolate, reduce the heat to its lowest setting and stir until the chocolate has melted.
  4. Gradually add the beaten egg and continue to stir until the mixture has thickened a little.
  5. Remove from the heat.
  6. Combine biscuits, walnuts, sultanas and half the glacé cherries in a bowl. Pour the hot chocolate mix over this dry blend and mix together.
  7. Spoon  the mixture into the prepared tin, pressing it down firmly.
  8. Put the pecan nuts in the bowl that contained the chocolate mixture and stir them around to coat them in the chocolate.
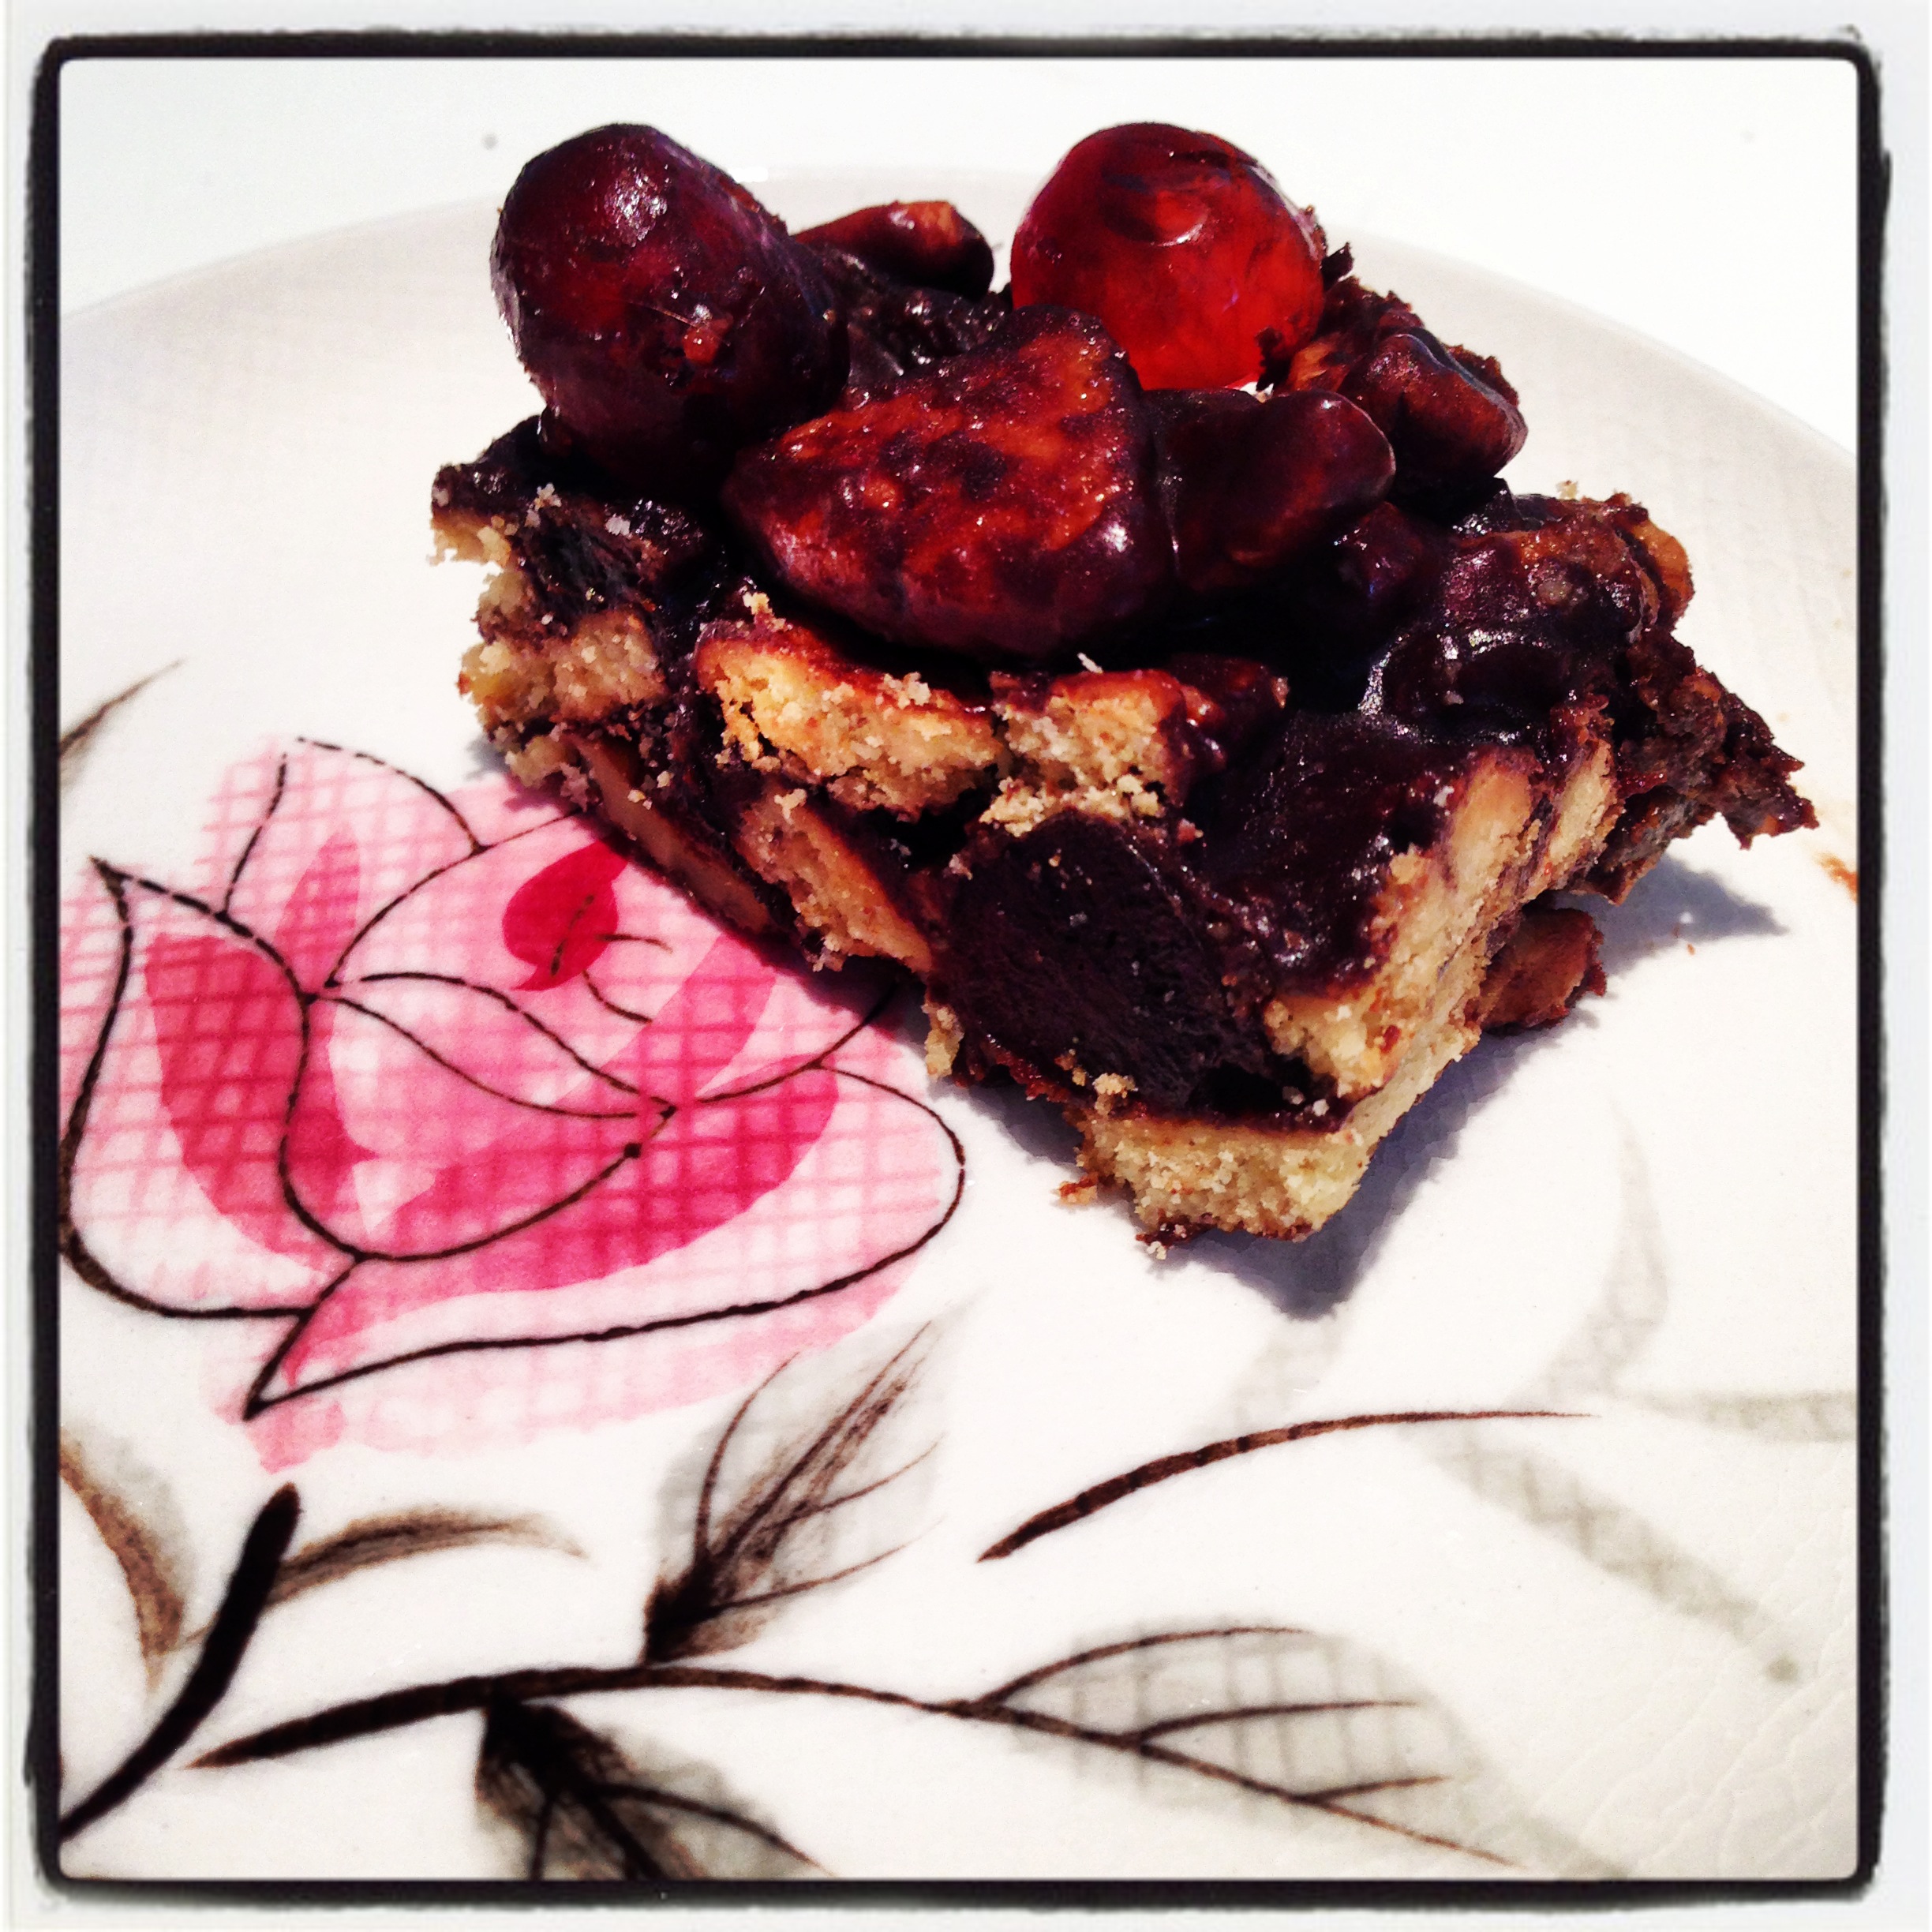
  9. Scatter the pecans and the remaining glace cherries over the cake,
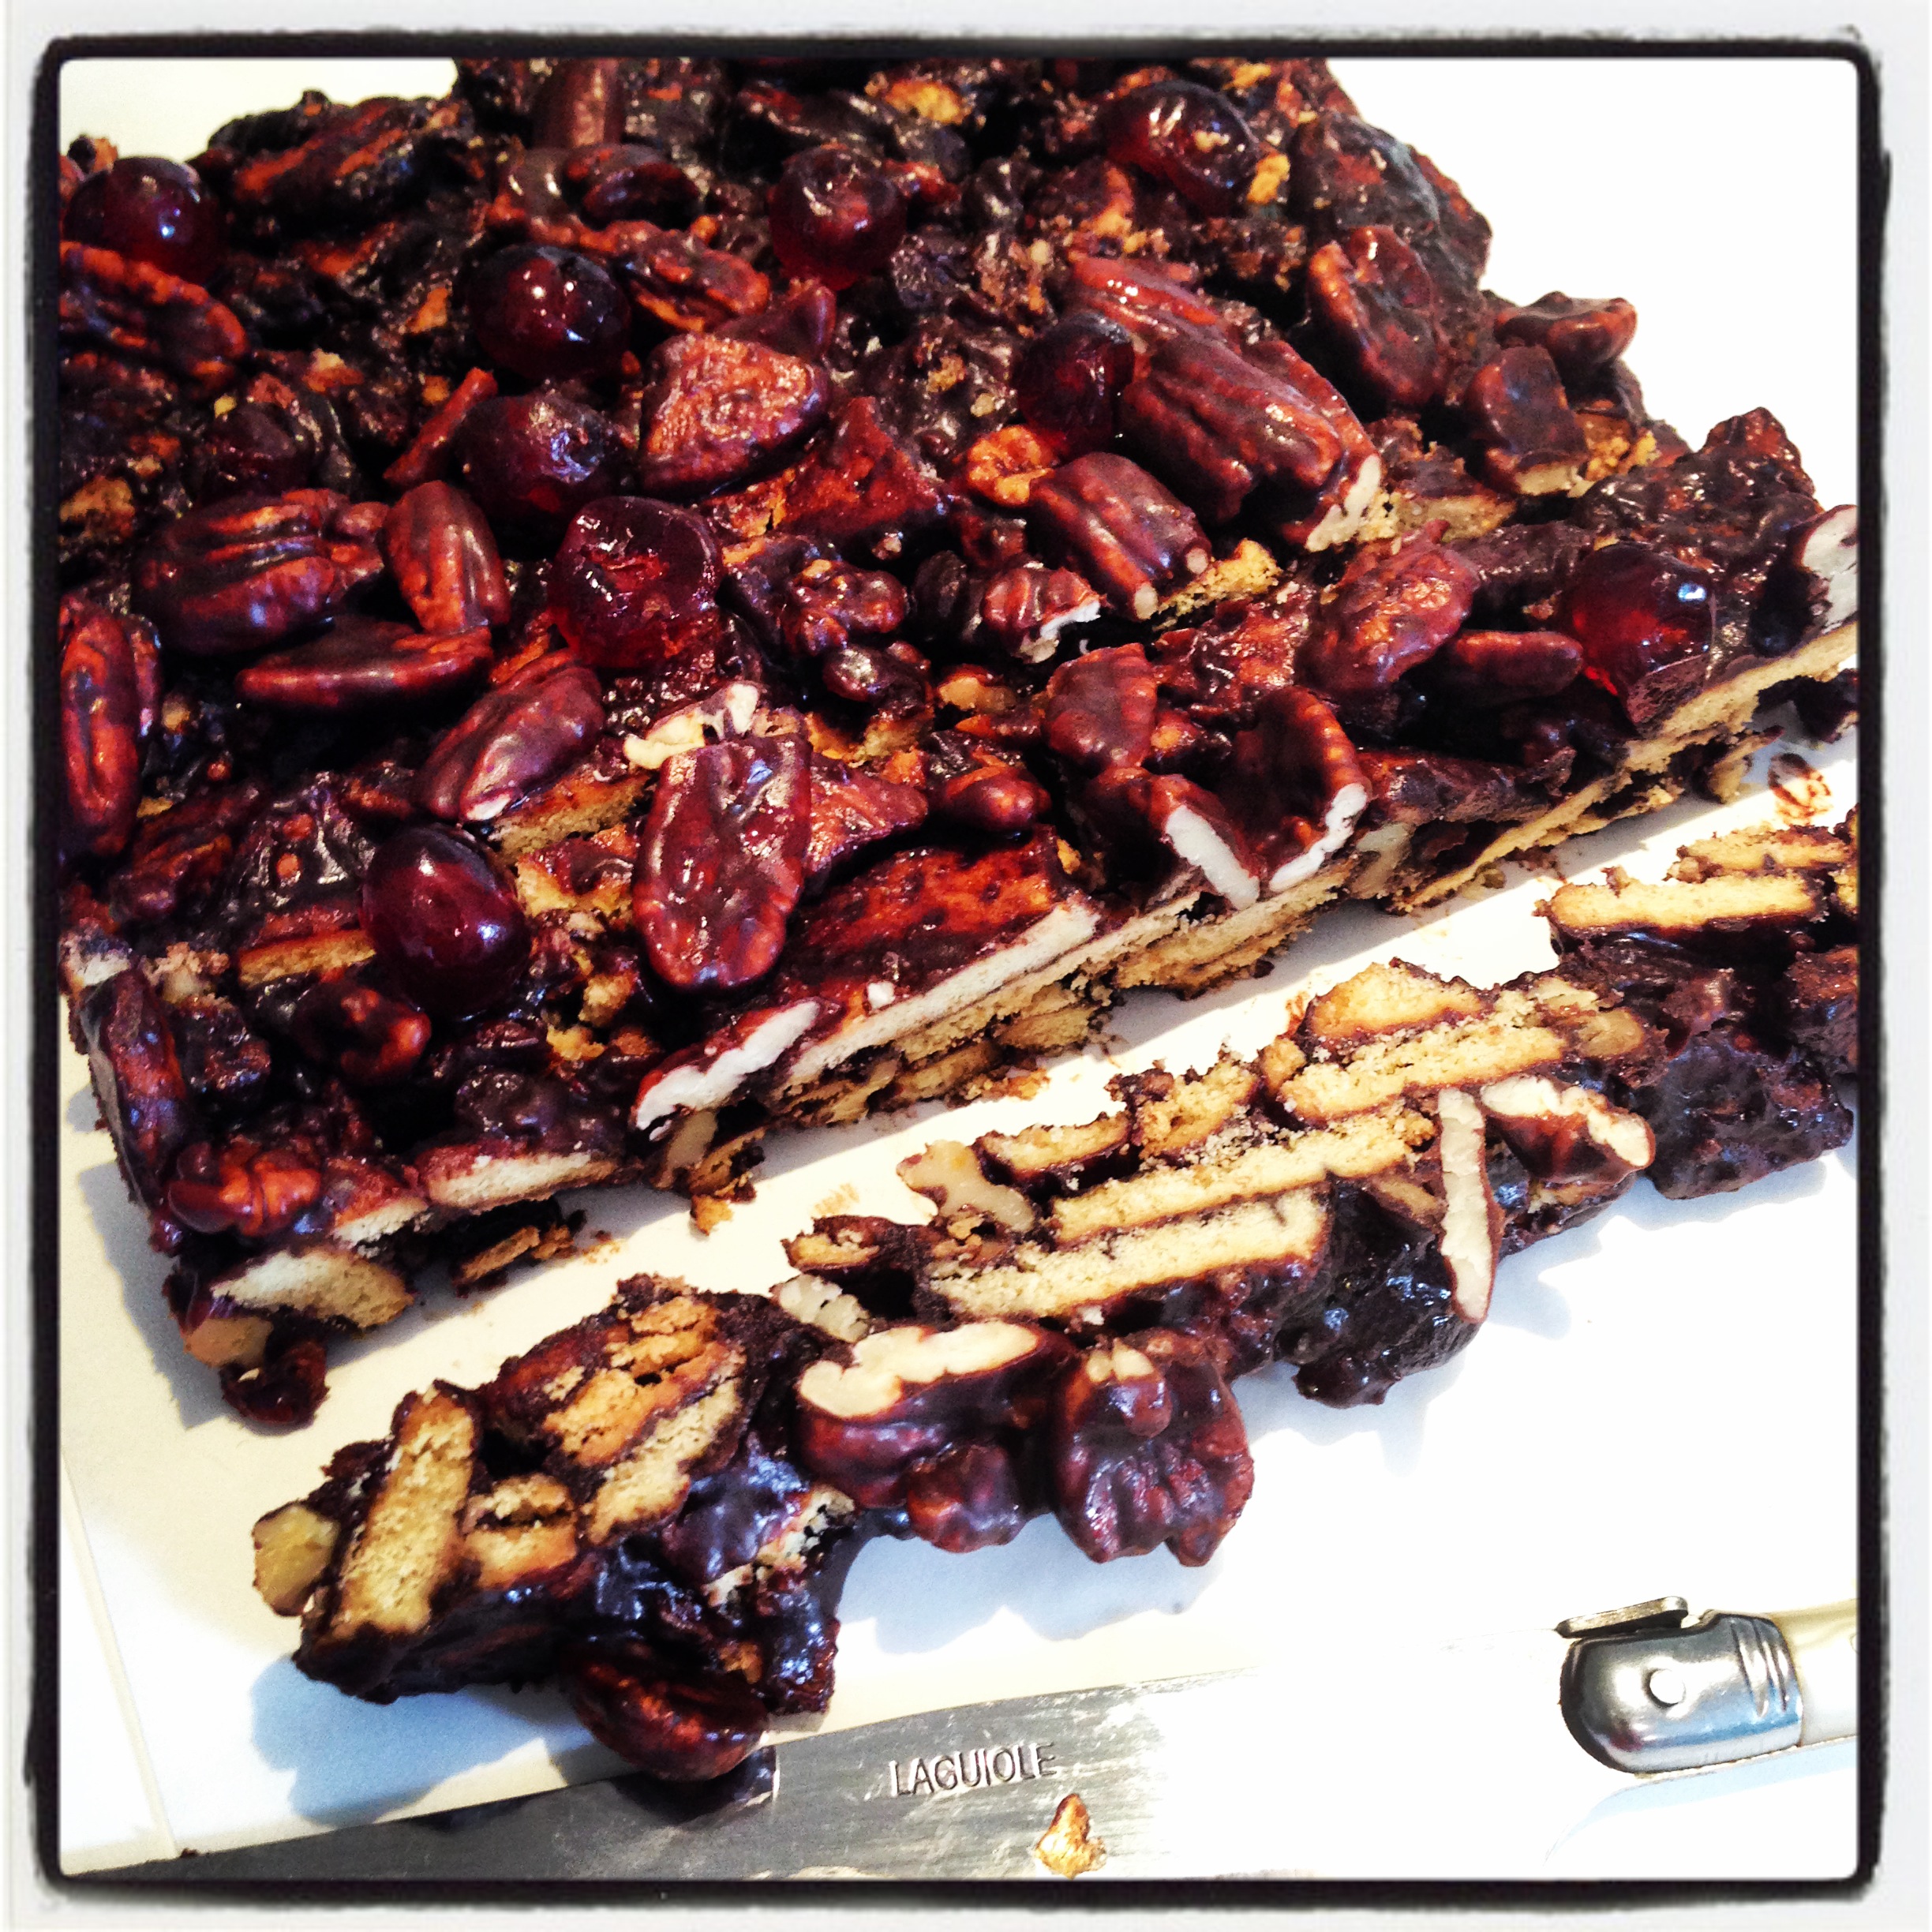
  10. Refrigerate for three hours or until set, then cut into slices of the desired length,

Wash up your dishes – by hand.

a piece of chocolate refrigerator cakePostscript: Not only will your stockpile hold the constituents of a Chocolate Biscuit Refrigerator cake, but also the foundations of most week night family meals.

Advertisement
recipes

Sundae

chocolate fudge sundae

Washing flapping in the breeze, windows thrown open, lush green grass, blue skies and sunshine – time to move the heavy pudding basins to the rear and bring forward the delicate glassware. Lavishly topped ice-cream – a visual as well as a culinary feast. How could anyone spy an ice-cream sundae and not be transported to jubilant times? Springtime, term break and ice-cream – the holy trinity in our household.

The simplicity of a sundae – when these were made I couldn’t help but wonder why we don’t make them more often. Within ten minutes, everyone is digging furiously into lava topped vanilla mountains, enjoying shards of toasted nuts and sticky cherries in the process. Not only this, but with the lure of a sundae, all manner of promised household chores are miraculously completed.

For the maker, the ultimate comfort comes from the security of owning a shiny jar full of fudgy sauce, that at a moment’s notice can be warmed and poured.

chocolate fudge sauce

If you seek similar reassurance, this glossy rich chocolate sauce is easily blended and not only makes winning ice-cream sundaes but is perfect to dig a spoon into after everyone has gone to bed.

1 cup cream
3/4 cup condensed milk
1/2 cup brown sugar
1/4 cup cocoa, sifted
180g dark chocolate, chopped
50g butter
vanilla ice-cream
crushed nuts (toasted if you have the time and inclination)
maraschino cherries (or tinned, bottled or fresh)

  1. Combine cream, condensed milk, sugar and cocoa in a medium saucepan and stir over low heat until sugar dissolves and mixture is smooth.
  2. Increase heat to medium so that mixture is simmering and cook for 3-4 minutes, stirring.
  3. Remove from heat and add chocolate and butter, stirring until melted and smooth.
  4. Scoop ice-cream into individual dishes, pour over sauce and top with crushed nuts and cherries.

This lovely rich fudgy sauce goes a long way, so store in a glass jar in the refrigerator, and warm gently in the microwave when required.

fudge sundaes

Postscript: sundae dishes, relics of simpler times, are a dime a dozen in thrift shops. Pick up a matching set, or make up a mis-matched crazy collection. Should you tire of sundaes (unlikely) these dishes make great tapas, taco or antipasto accoutrement.

recipes

Flexible

Nutty Lemon Slice

Flexibility is the key. To what you may ask. To everything, actually. To peace, contentment and dare I utter the most platitudinous word of recent times, happiness.

In case you’ve not yet realised, things don’t always go the way we desire, and the botheration of this is not the situation itself but usually, the internal fuss we are making of it. If only we replaced the mental energy exerted on resisting the issue with a more solutions focused outlook, then equilibrium could be restored without delay. Some incredibly gifted individuals I know are masters of this process and I hold them in great esteem, as this is not a skill that comes easily in my camp. I continually marvel at these sages who can turn interruptions into social opportunities, disasters into adventures and failed cakes into puddings. All the while with a smile. I keep them near and watch with awe in the hope that some of their creative thinking will cross the airwaves and seep into my soul.

So as I  wait for this esoteric process to take place, what better way to while away time than to prepare a slice. And this slice is flexibility personified. The biscuits can be anything: gingernuts, shortbreads or butternut snaps. The lemon will interchange with an orange and providing you chop them, the nuts can be any unsalted variety you have packaged away. So in fact this Nutty Lemon Slice, could be reworked by you to become the Ginger Orange Pistachio slice, the Shortbread Lemon Walnut slice or the Chocolate Orange Pecan slice. It’s your call, examine the contents of you pantry and be flexible.

250g pkt Scotch Finger biscuits
1 tbsp grated lemon zest
1 cup desiccated coconut
1/2 cup chopped pistachios
1/2 cup sweetened condensed milk
125g butter
1 3/4 cups icing sugar
3 tbsp lemon juice
1 tbsp butter, softened
1/4 cup chopped almonds

  1. Line a slice tray with baking paper.
  2. Crush biscuits in a food processor and combine in a bowl with zest, coconut and pistachios.
  3. Stir milk and butter in a saucepan over low heat until melted and combined then pour over dry mix.
  4. Mix well and press into the base of the slice tray. Refrigerate for 1 hour.
  5. To make icing, beat icing sugar, lemon juice and butter together and spread over slice base (add a small amount of hot water if icing is too stiff to spread).
  6. Sprinkle with almonds. Wait until icing has set before cutting into squares.

Get your coffee happening.

Nutty Lemon Slice afternoon tea

Postscript: still waiting….

health and wellbeing · recipes

Crunch

To have a jar filled with toasted grains, nuts and seeds sitting on the countertop, to be scooped from when a nutritious snack is in order, is a wonderful thing.

As our chilly grey mornings have now turned to sunny ones, I’m ready to rest the tight-knit oats and opt for a more scattered breakfast – in the form of granola. Such a simple breakfast it is, with everything seedy and nutty premixed, that all that’s left to do is add the skim milk and you’re away.

The granola in our kitchen really earns its keep, as not only does it provide a breakfast staple, but is regularly topped with yoghurt and a splodge of jam to keep body and soul together between meals. Occasionally it has even been known to be the ‘crumble’ on top of hot stewed apples and passionfruit.

Granola really is a mix of grains, seeds, nuts, spices, dried fruit and a sweetener, and how you put yours together will entirely depend on the sorts of ingredients that meet your approval. Here are mine, feel free to add and subtract as you will (and should you come up with a winner – keep me updated).

6 cups oats
1 cup almonds
1 cup pepitas
1/2 cup sunflower seeds
1/2 cup sesame seeds
2 tsp cinnamon
1/4 tsp salt
1/2 cup maple syrup or honey or rice syrup (depending on the flavor you prefer)

Pre heat the oven to 325 degrees celsius.

Toast sesame seeds gently in a frying pan and cool. Combine oats, nuts and seeds in a large bowl. Mix well. Add the cinnamon and salt and mix through. Warm the syrup or honey in a saucepan so it comes to a pouring consistency and add it to the mix. Turn the granola over thoroughly so that it is all well coated with the sweetener.

Spread the granola over a very large (or two) baking sheets lined with baking paper and place in the oven. Bake for 30 mins, regularly opening the oven and turning the mix so it browns evenly. When it is browned to your liking, remove from the oven and cool before storing in a sealed jar.