craft

Twitter

Twitter purses

With the vast majority of our social networking taking place on-line these days, it’s nice to occasionally log off and devote some time to developing deeper social connection. In our complex web of daily human interaction, opportunities arise that require more concrete acknowledgment of others than simply a ‘thumbs-up like’ or a :). Some eye contact, some heartfelt words and a handmade gift will lift the spirits of another to far greater heights than any clicked icon will ever manage.

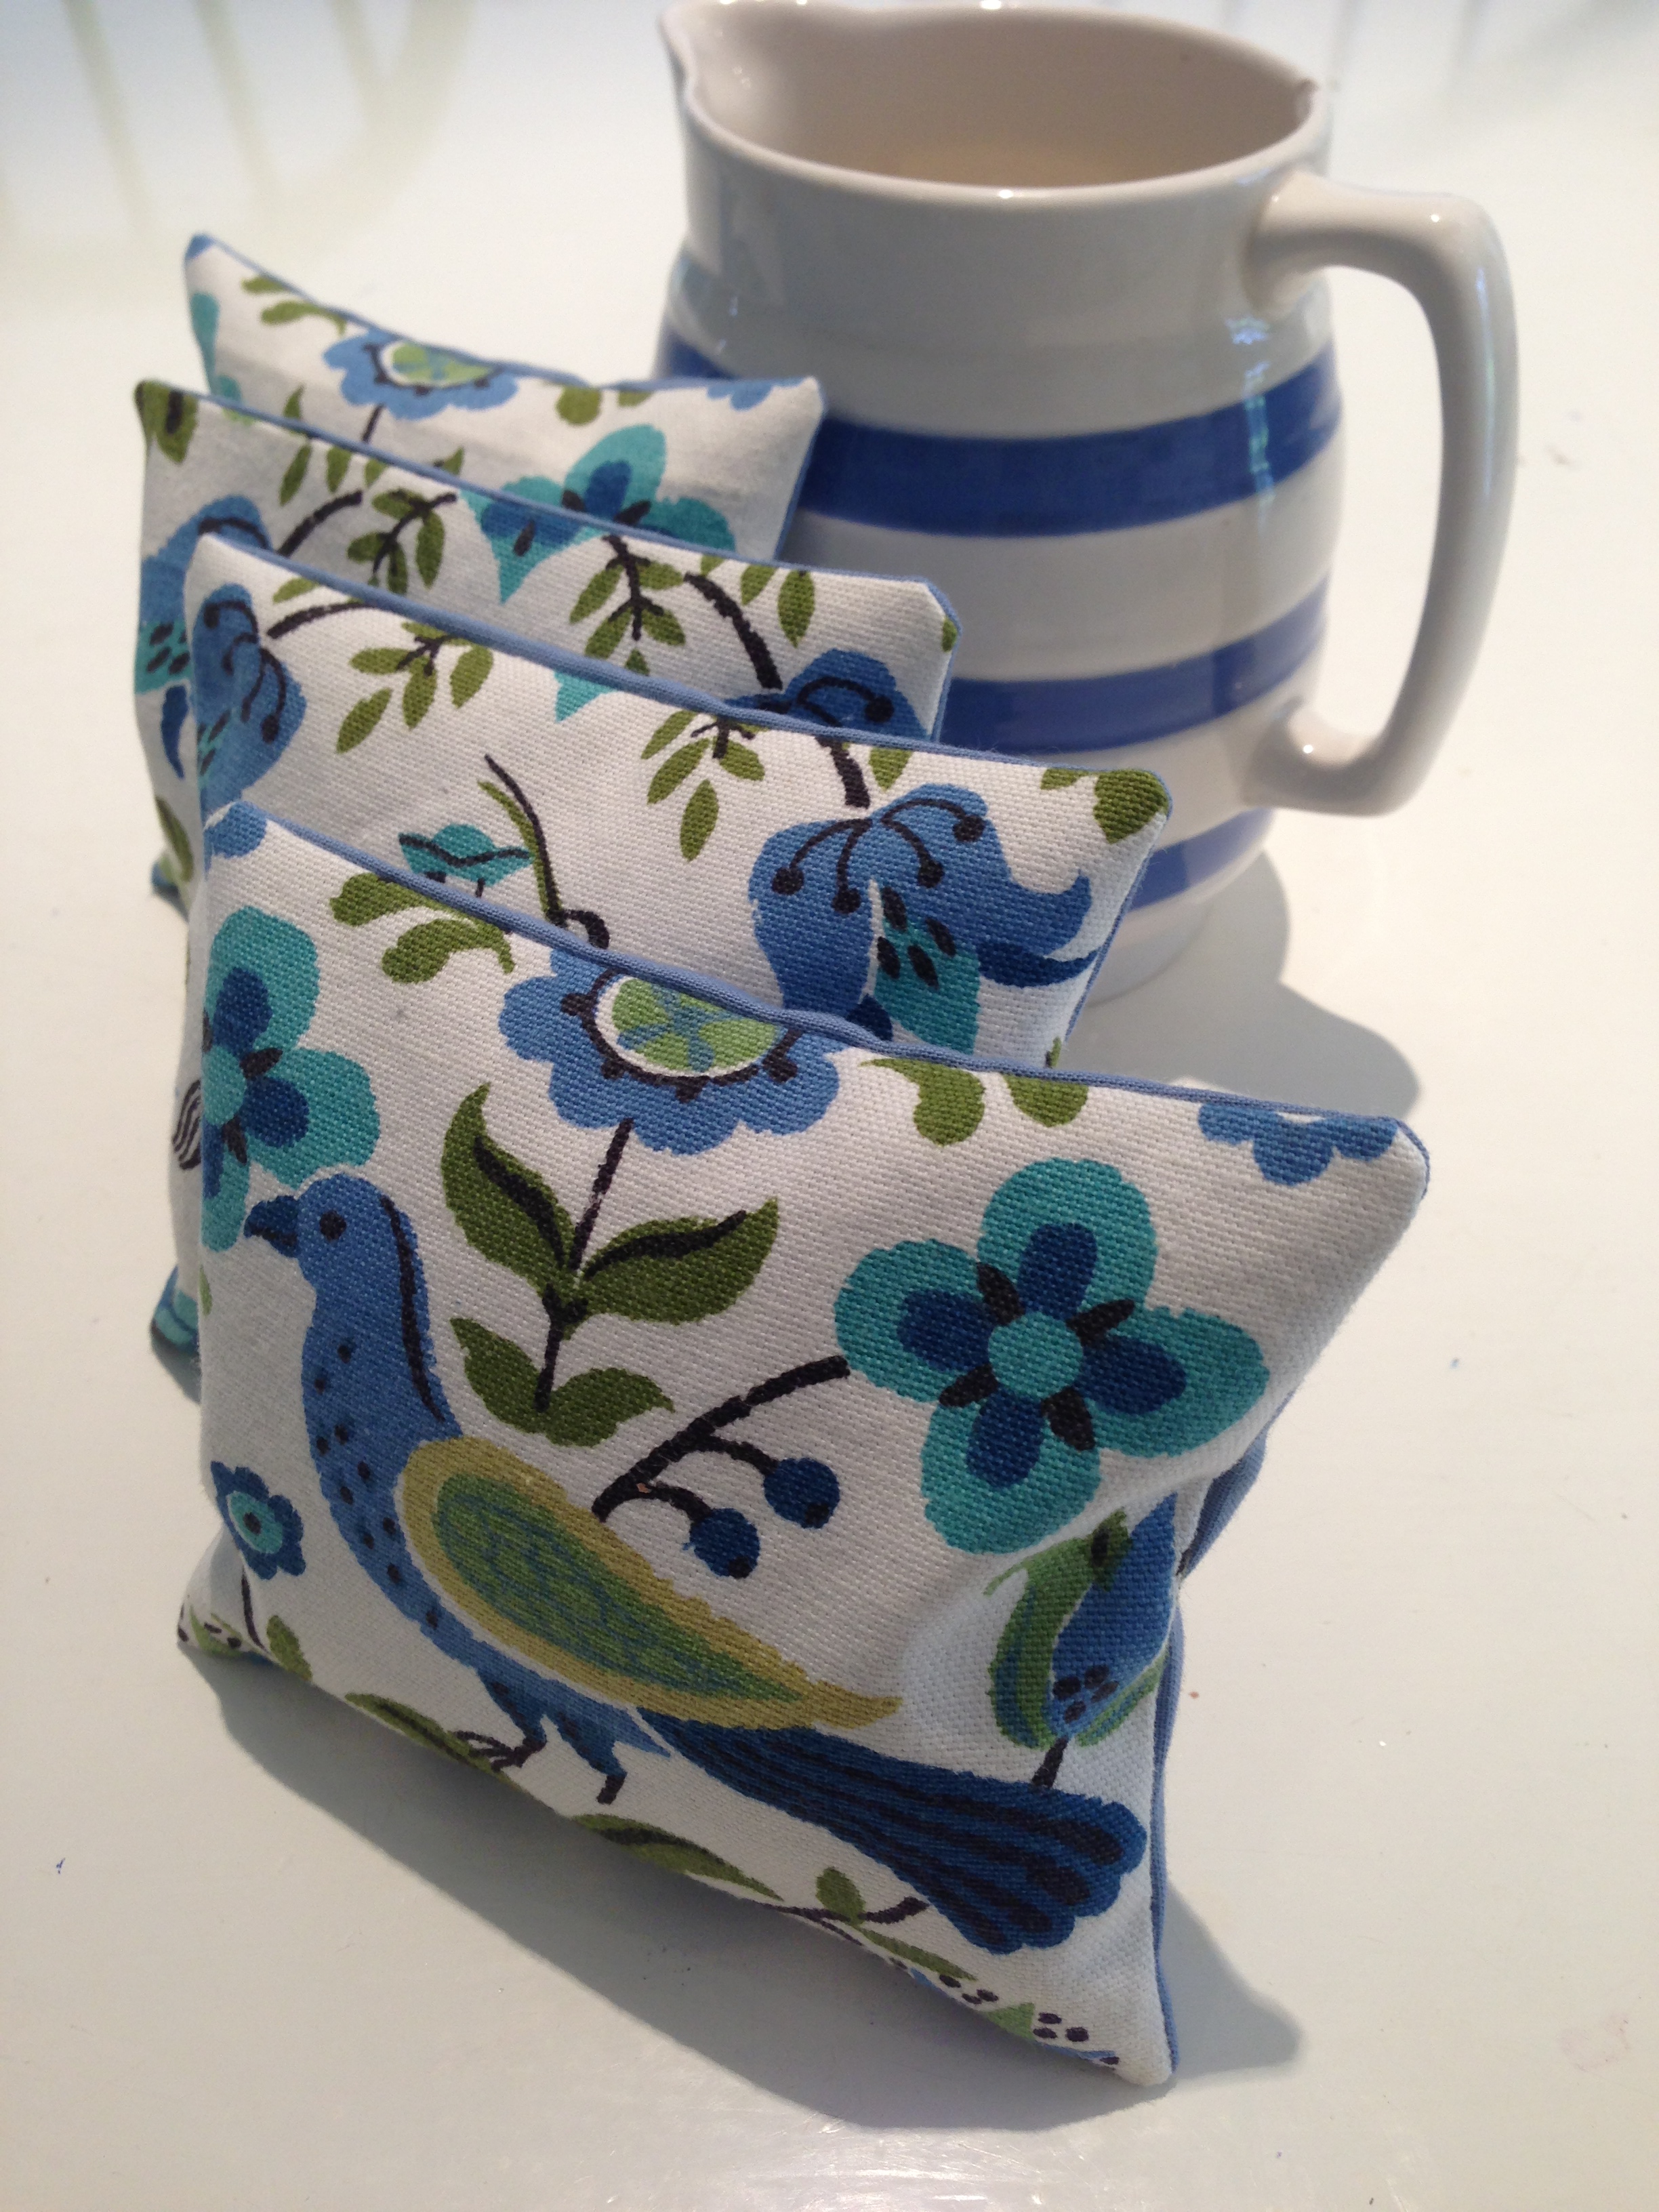
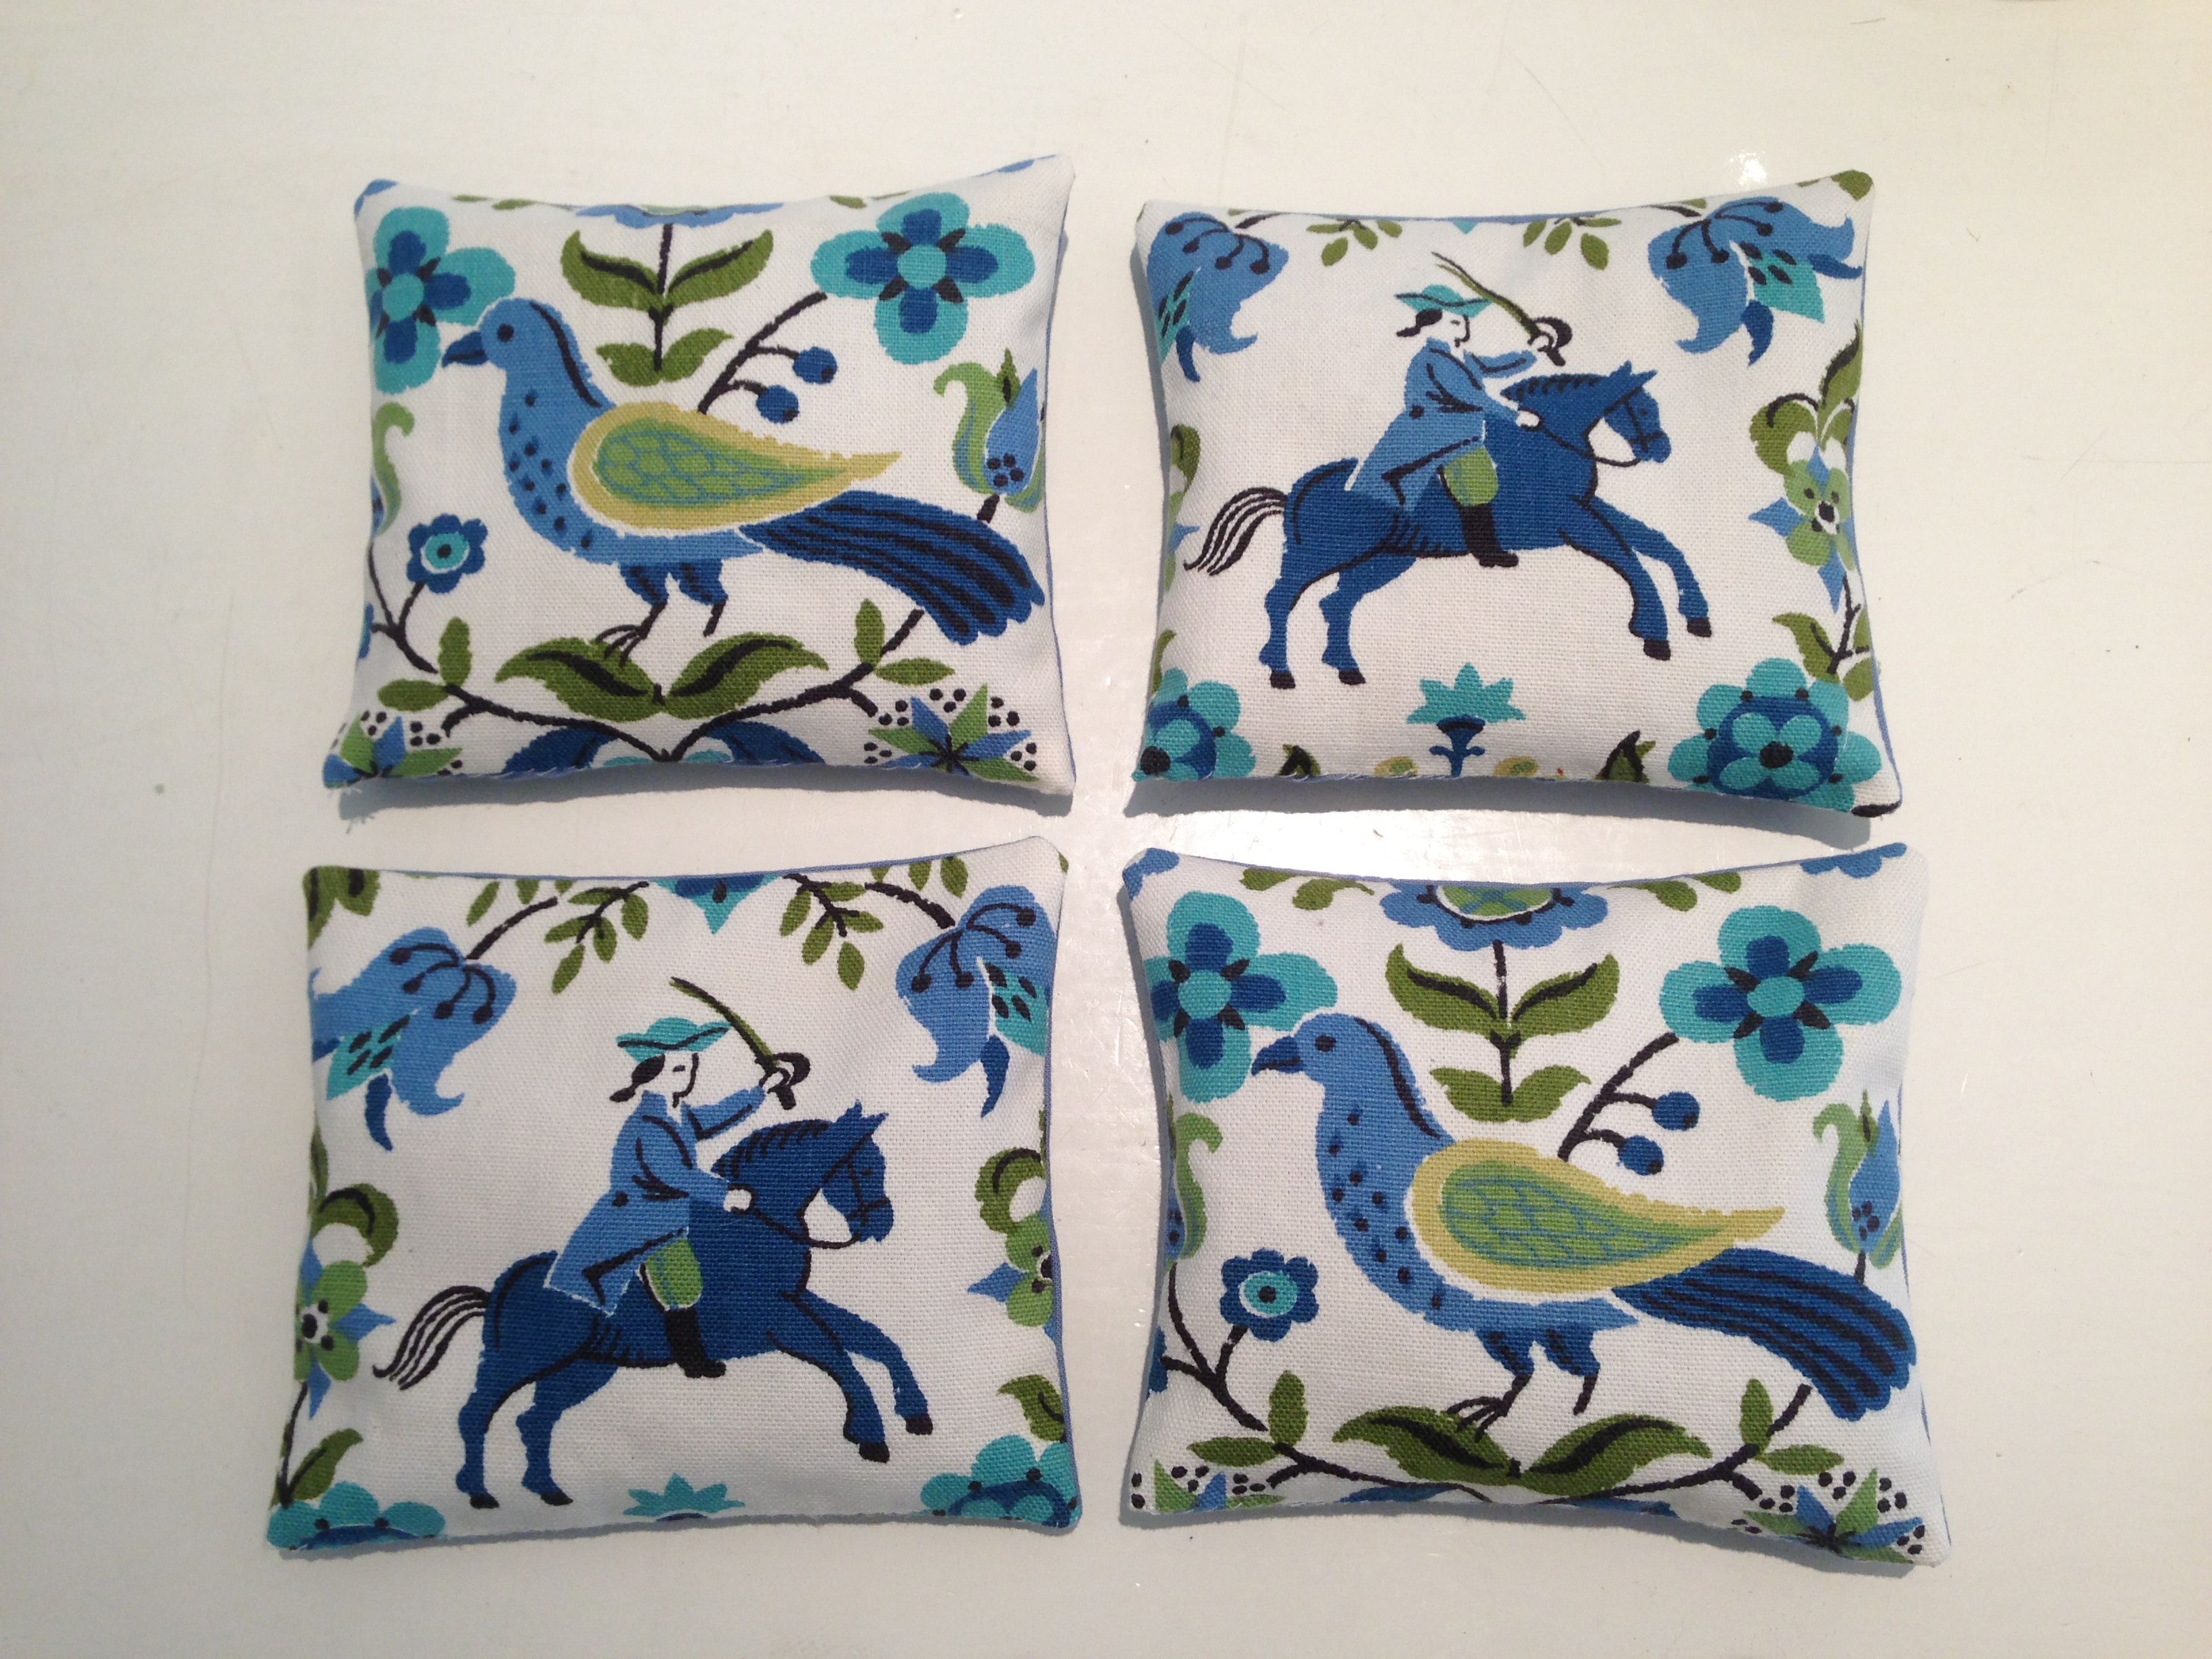
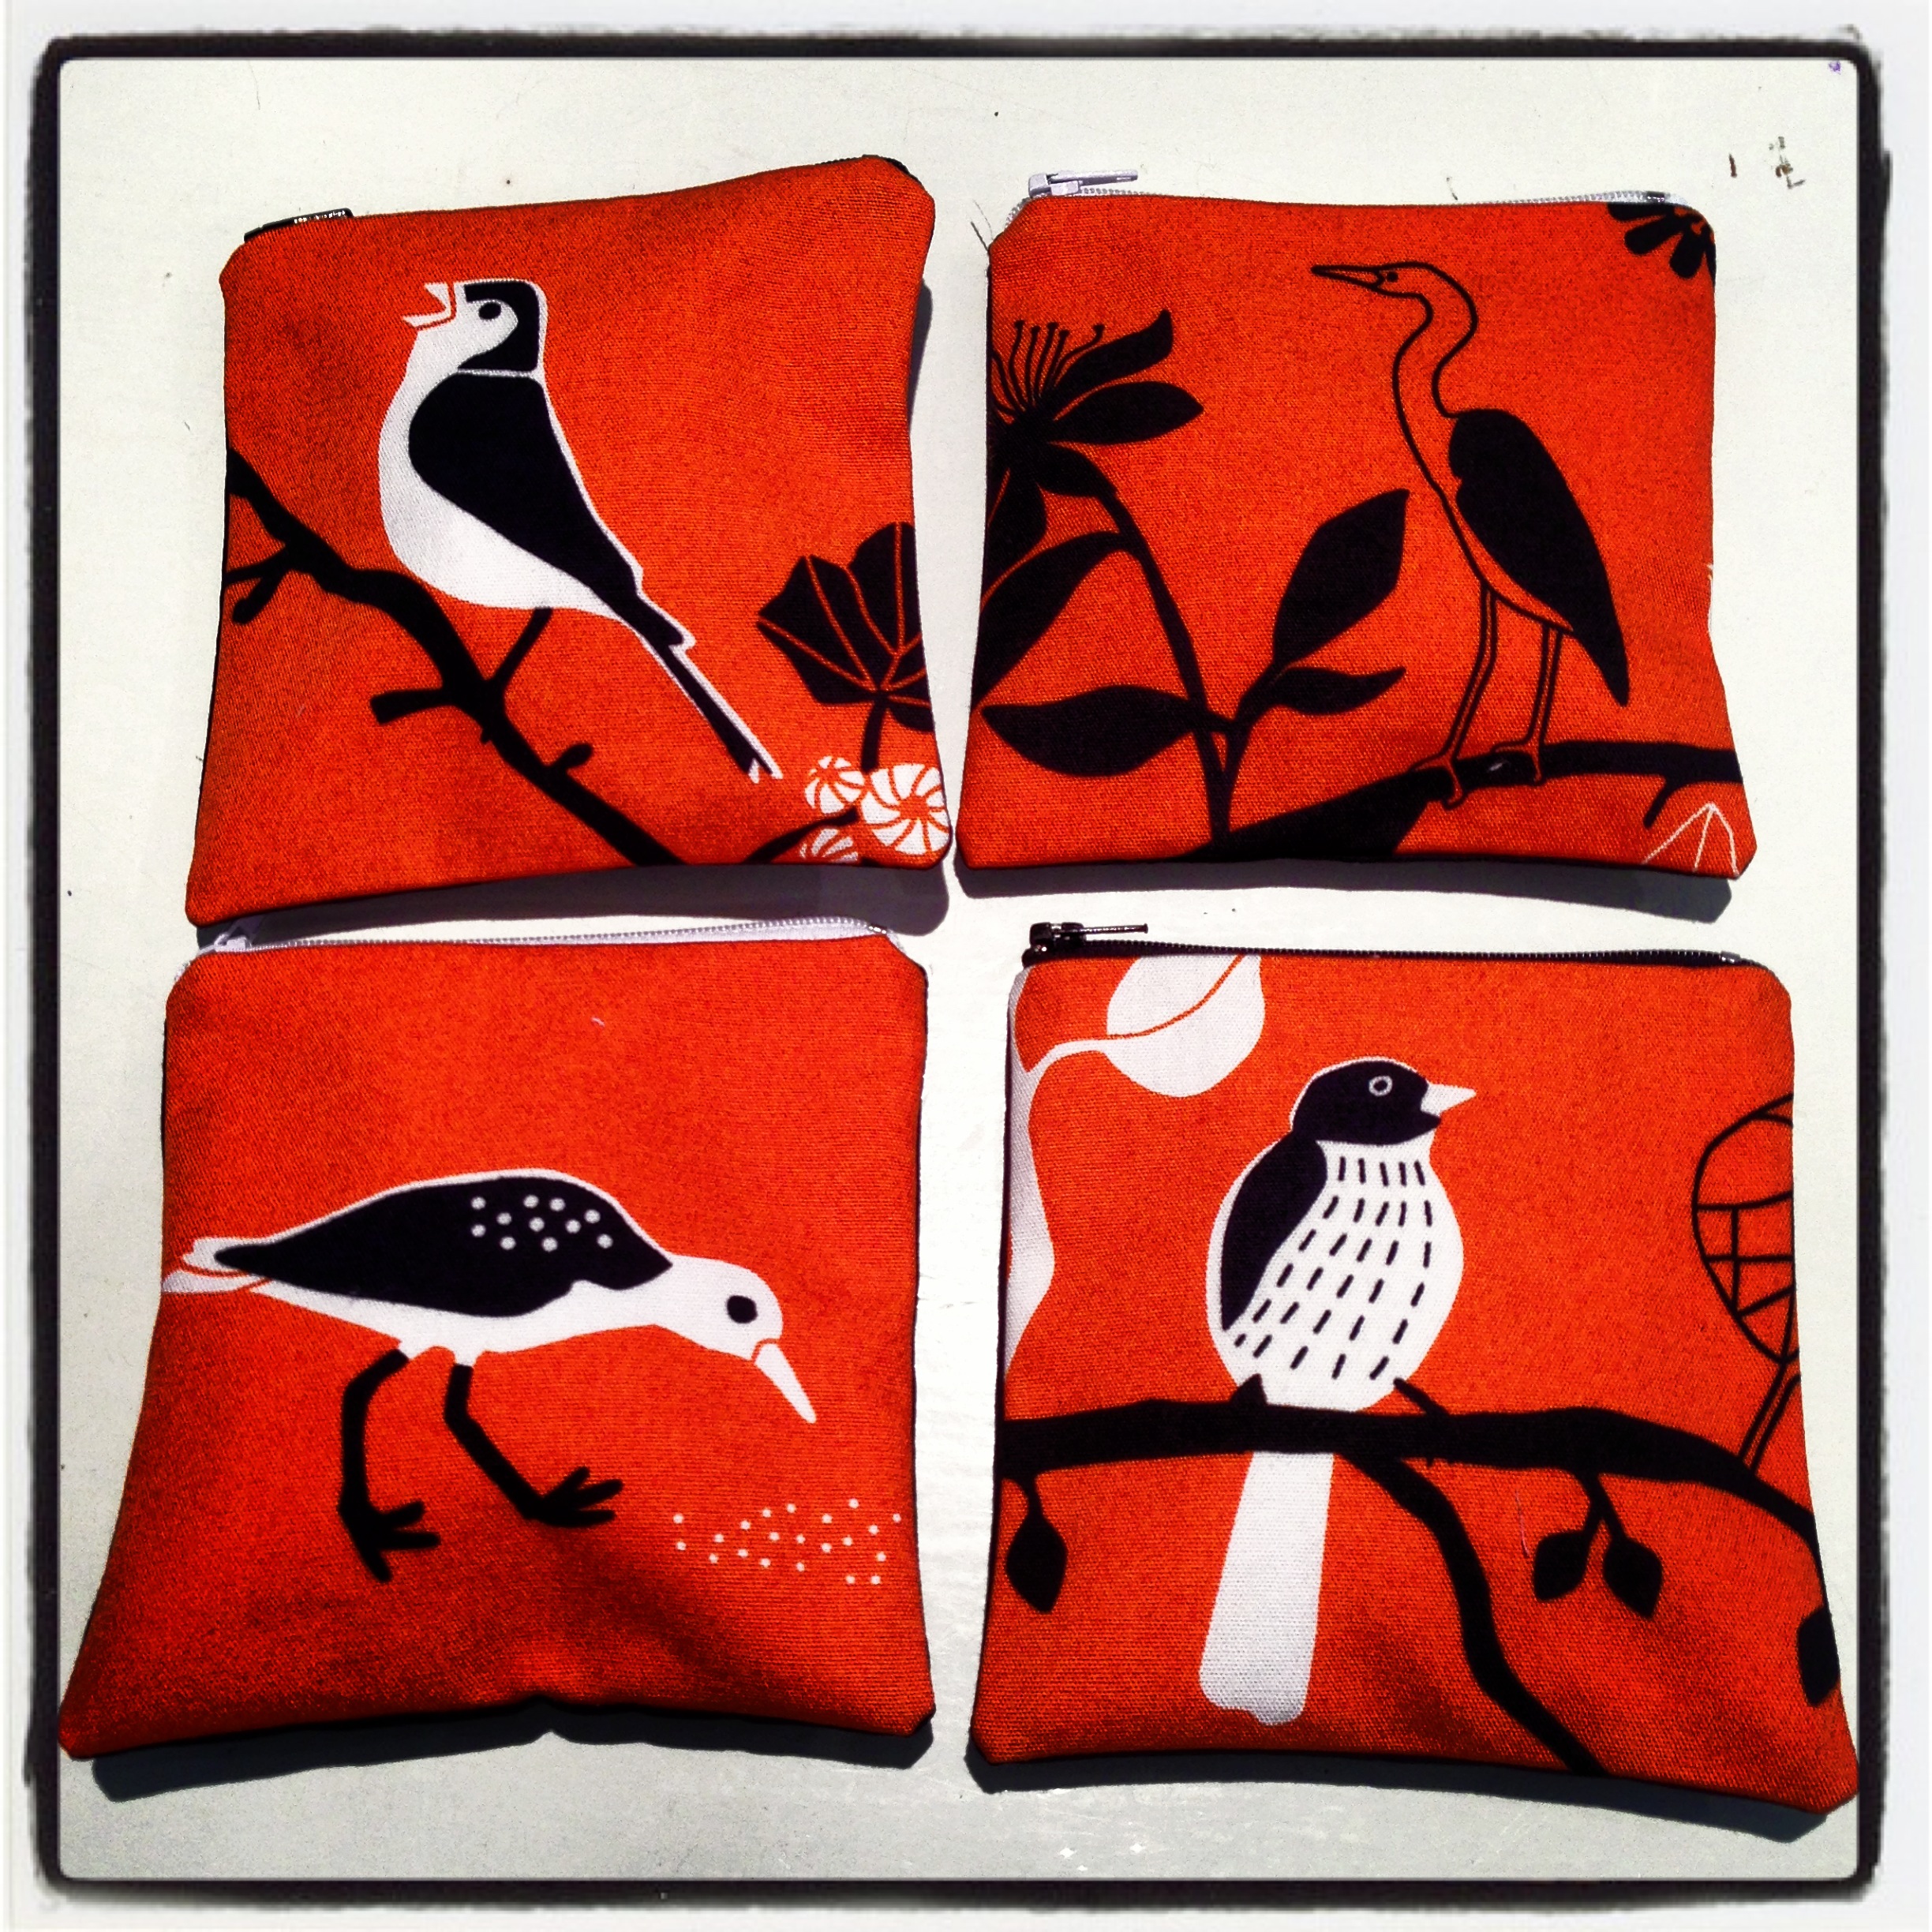
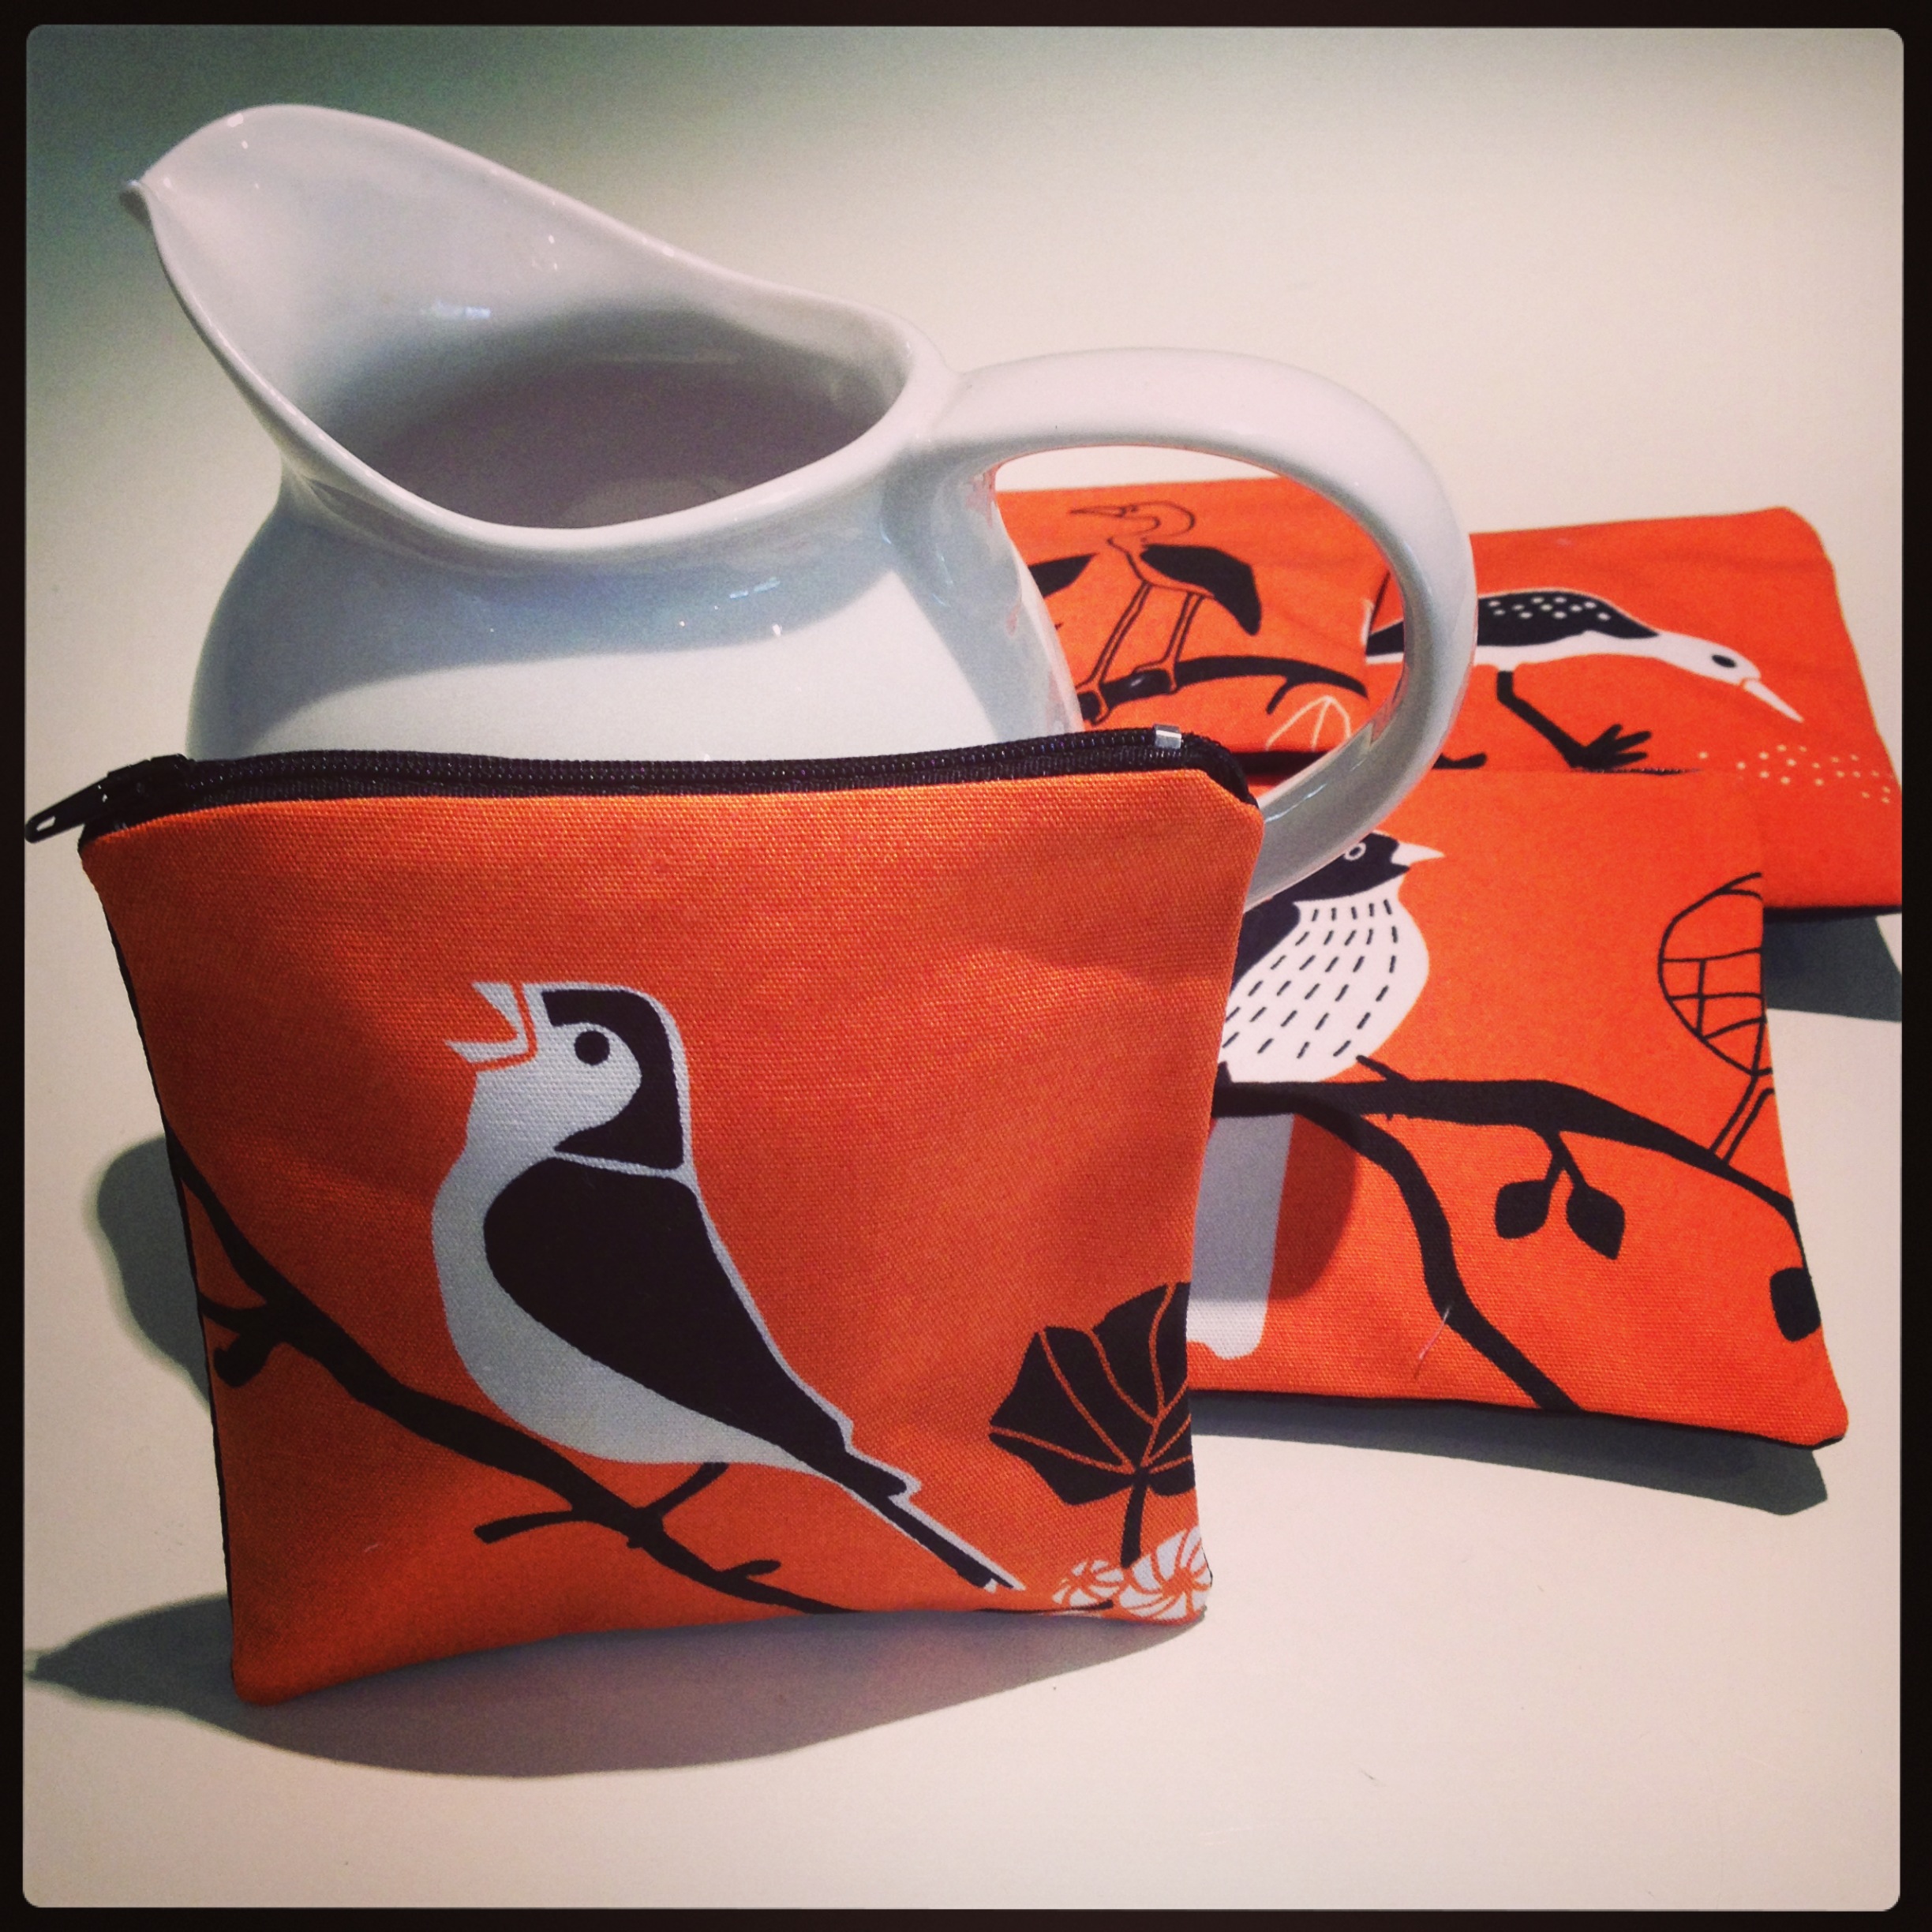
It might be a cake taken into a neighbour, some freshly cut herbs brought in to a work colleague or a collection of recent photos with a note put into the post to a distant relative. Whatever it is, you can be sure that the gesture will be remembered, well after the form is no longer. For me, these zippered twitter purses seem as good a token as any to make this happen – little pouches to contain and release good wishes to the owner from their grateful maker.

Twitter purse pieces

To gather your own flock of twitter purses to acknowledge the goodwill of others, you simply need an afternoon and the following steps:

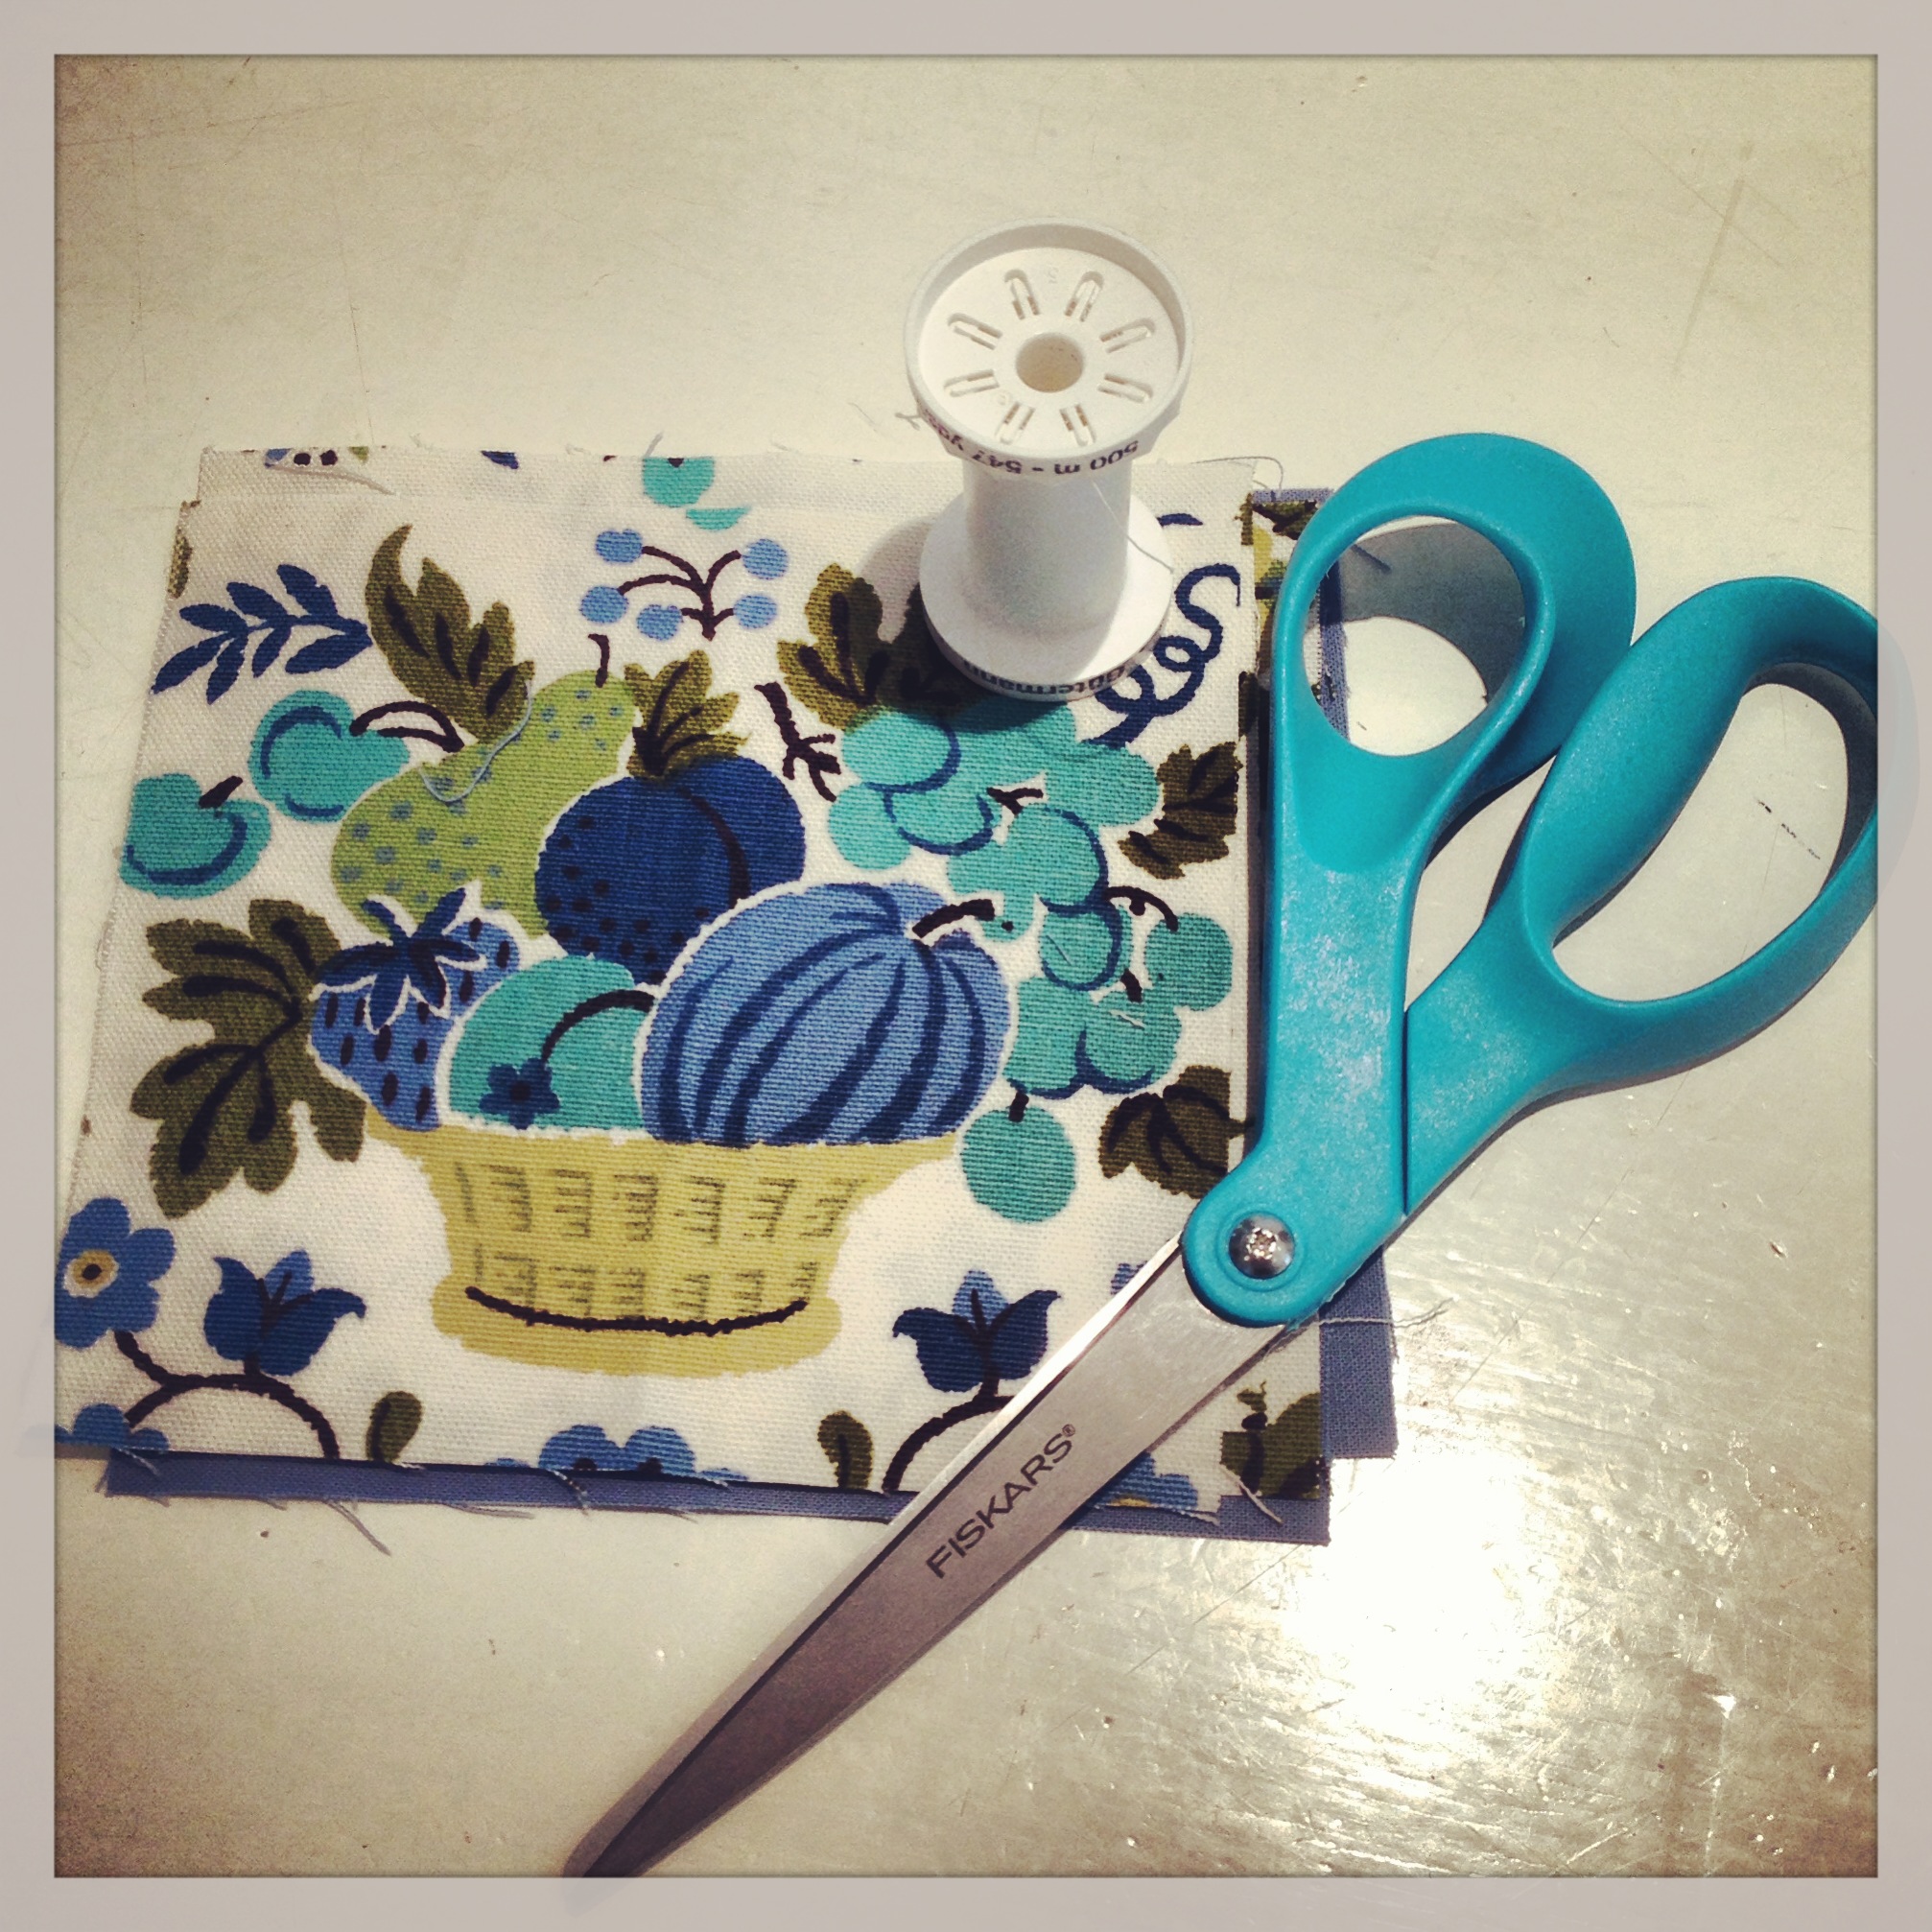
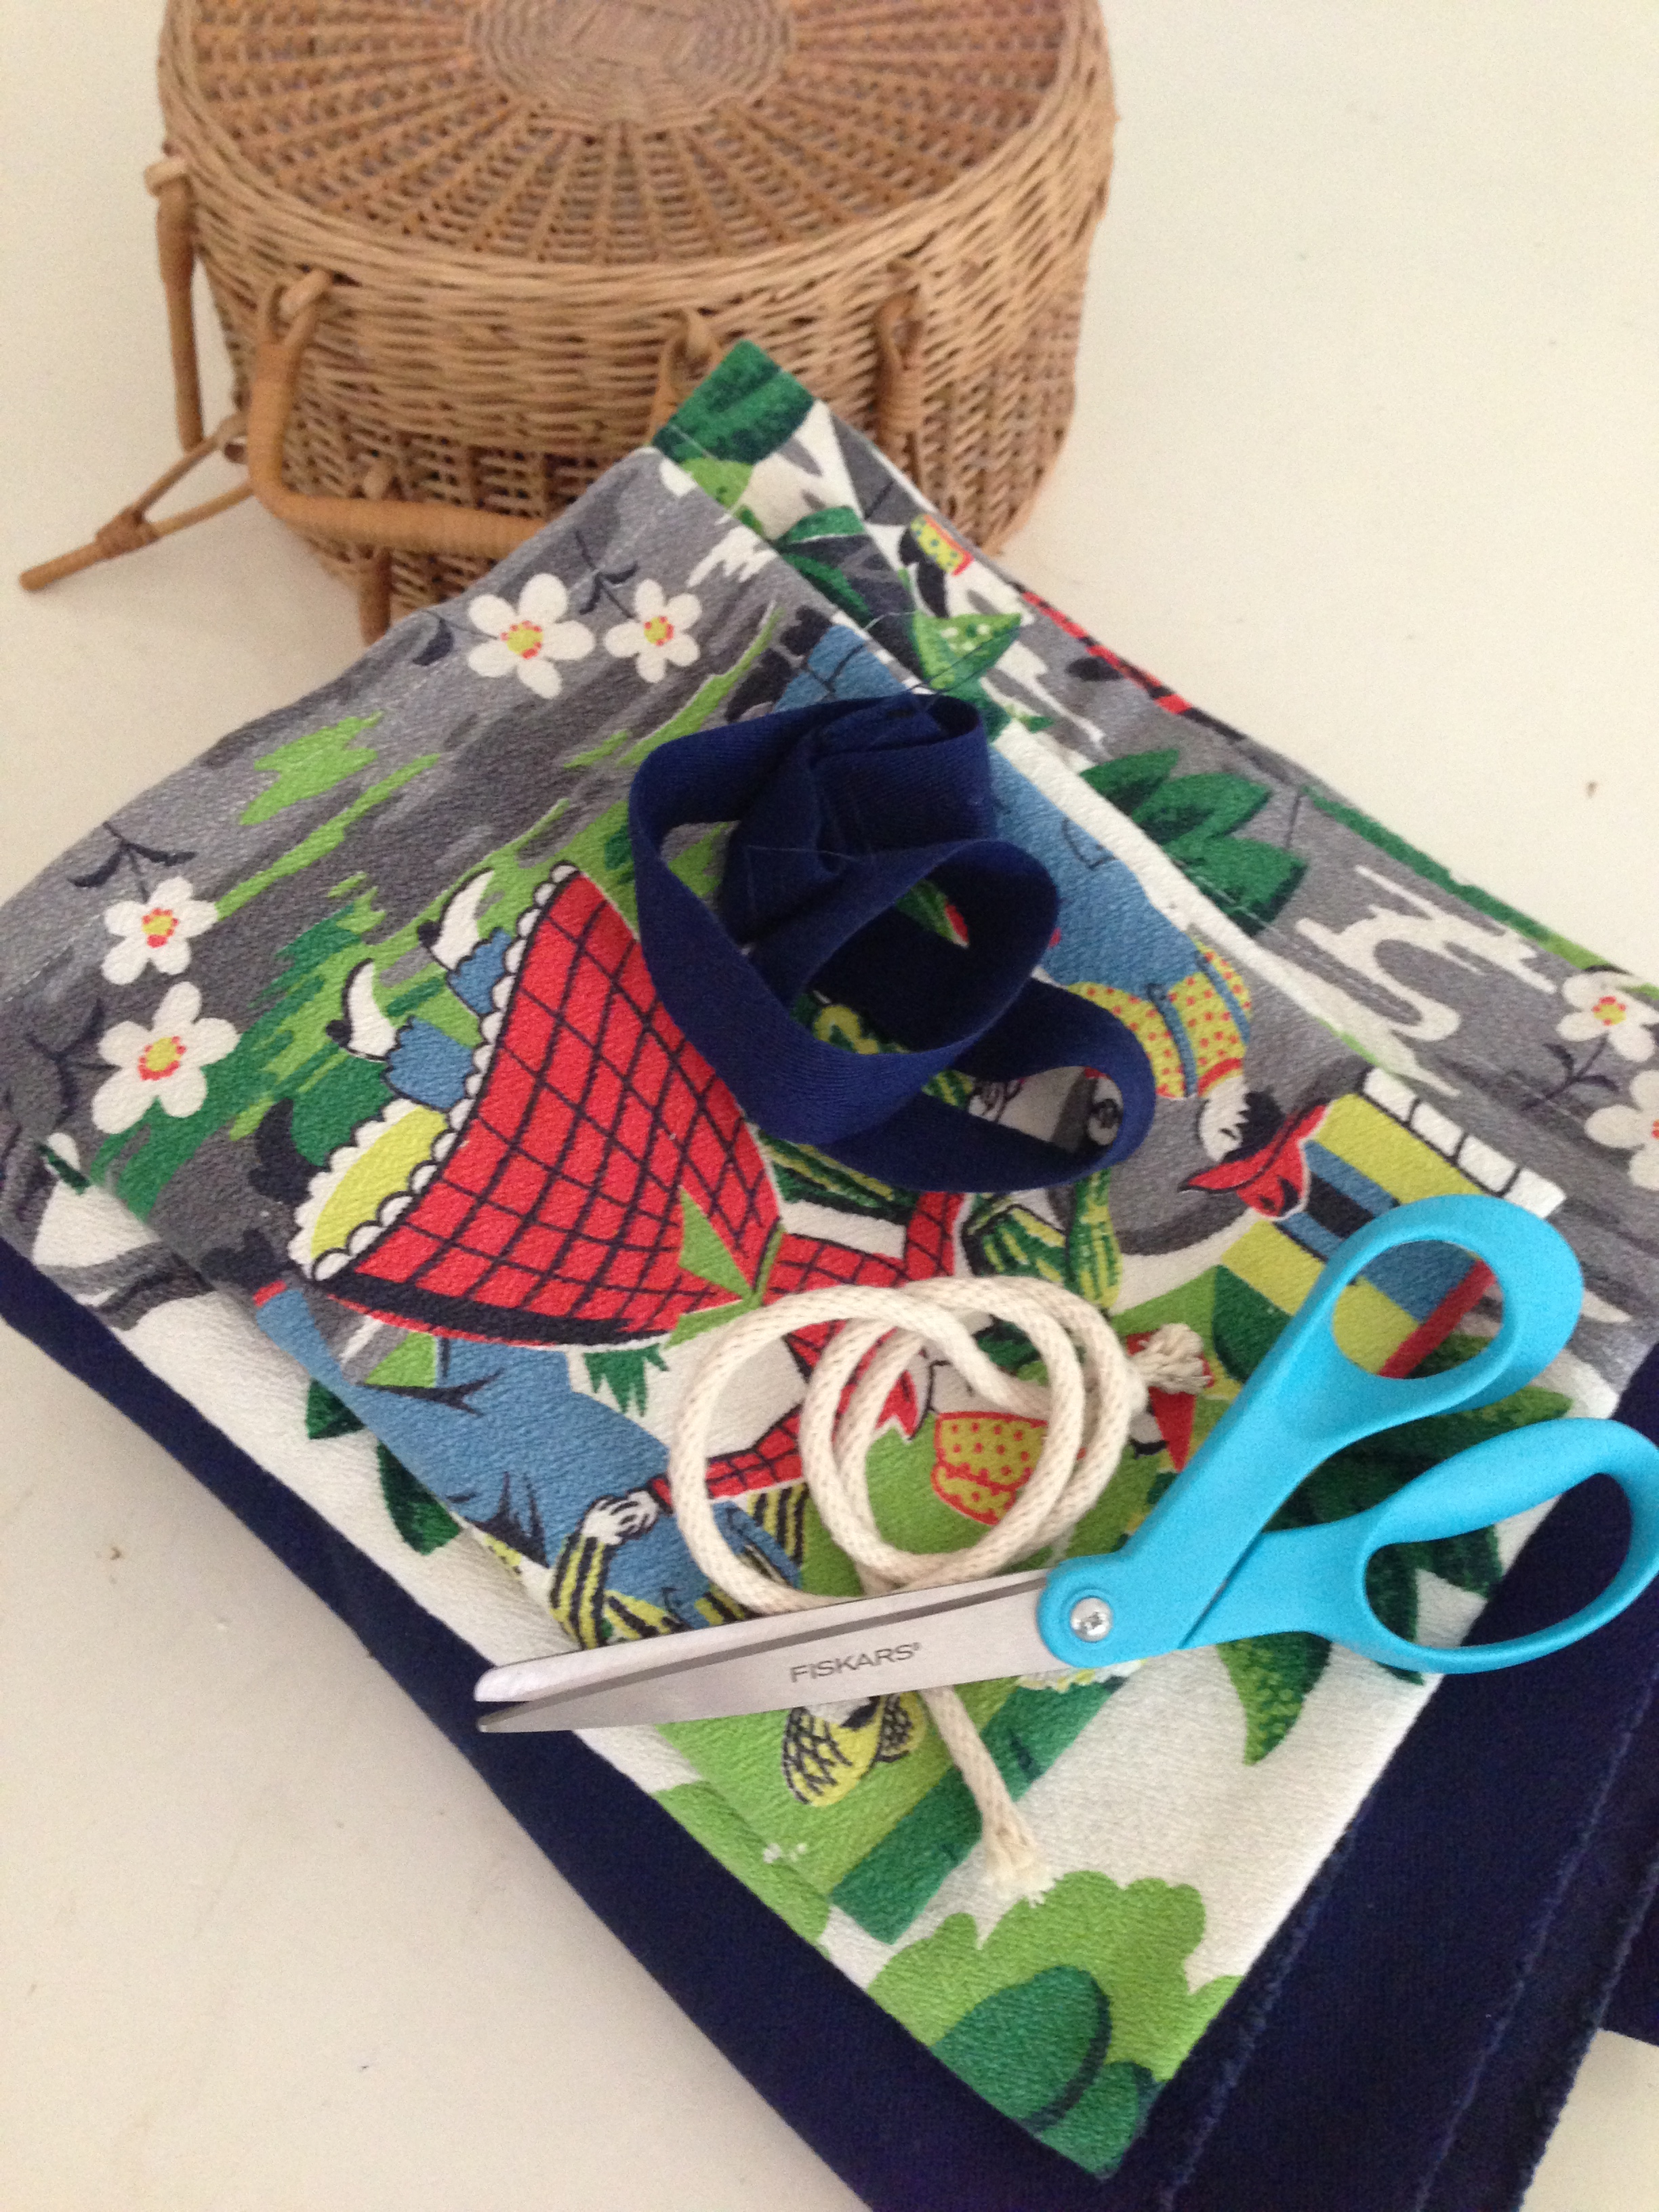
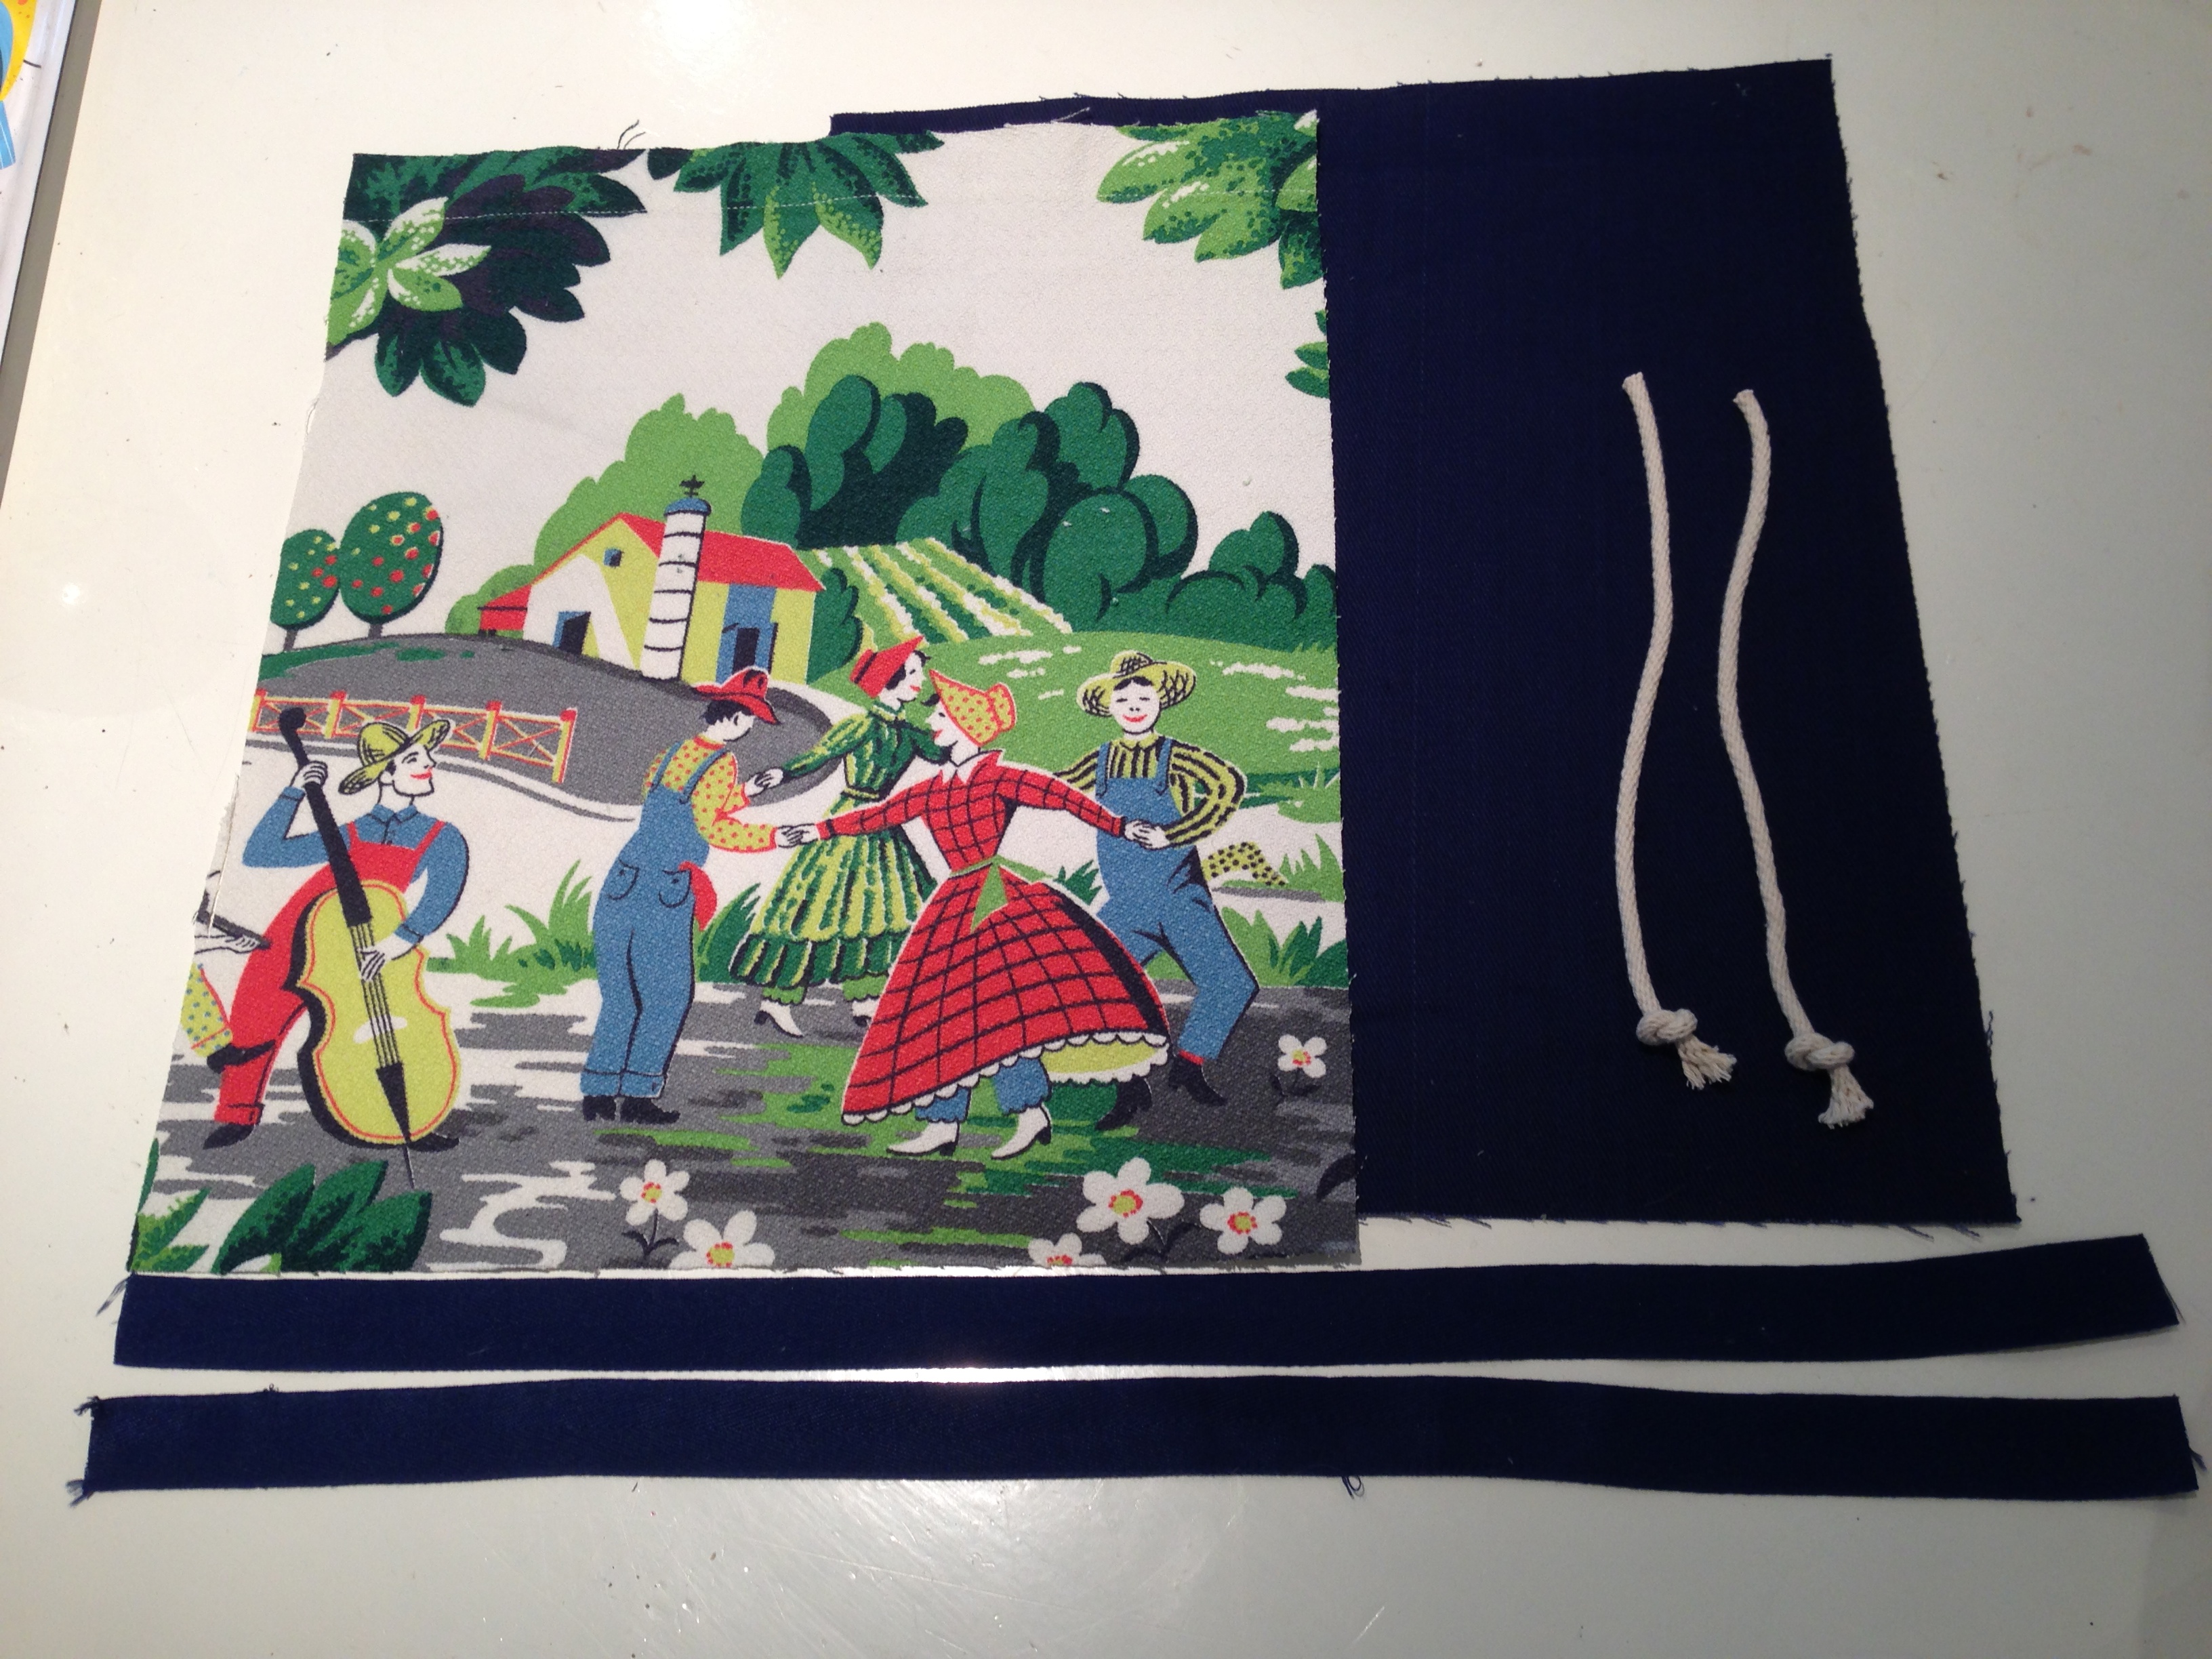
  1. To create a purse the size of these birdies, you will need 4 pieces of fabric measuring 5 1/2 x 5 1/2 inches – 1 front piece, 1 back piece and 2 inner lining pieces. You will also need a 5 inch zipper and some matching thread. (see above) If you want a larger size, cut your fabric to the desired dimensions and simply buy a longer zip, remembering it needs to be 1/2 inch shorter that the fabric pieces.
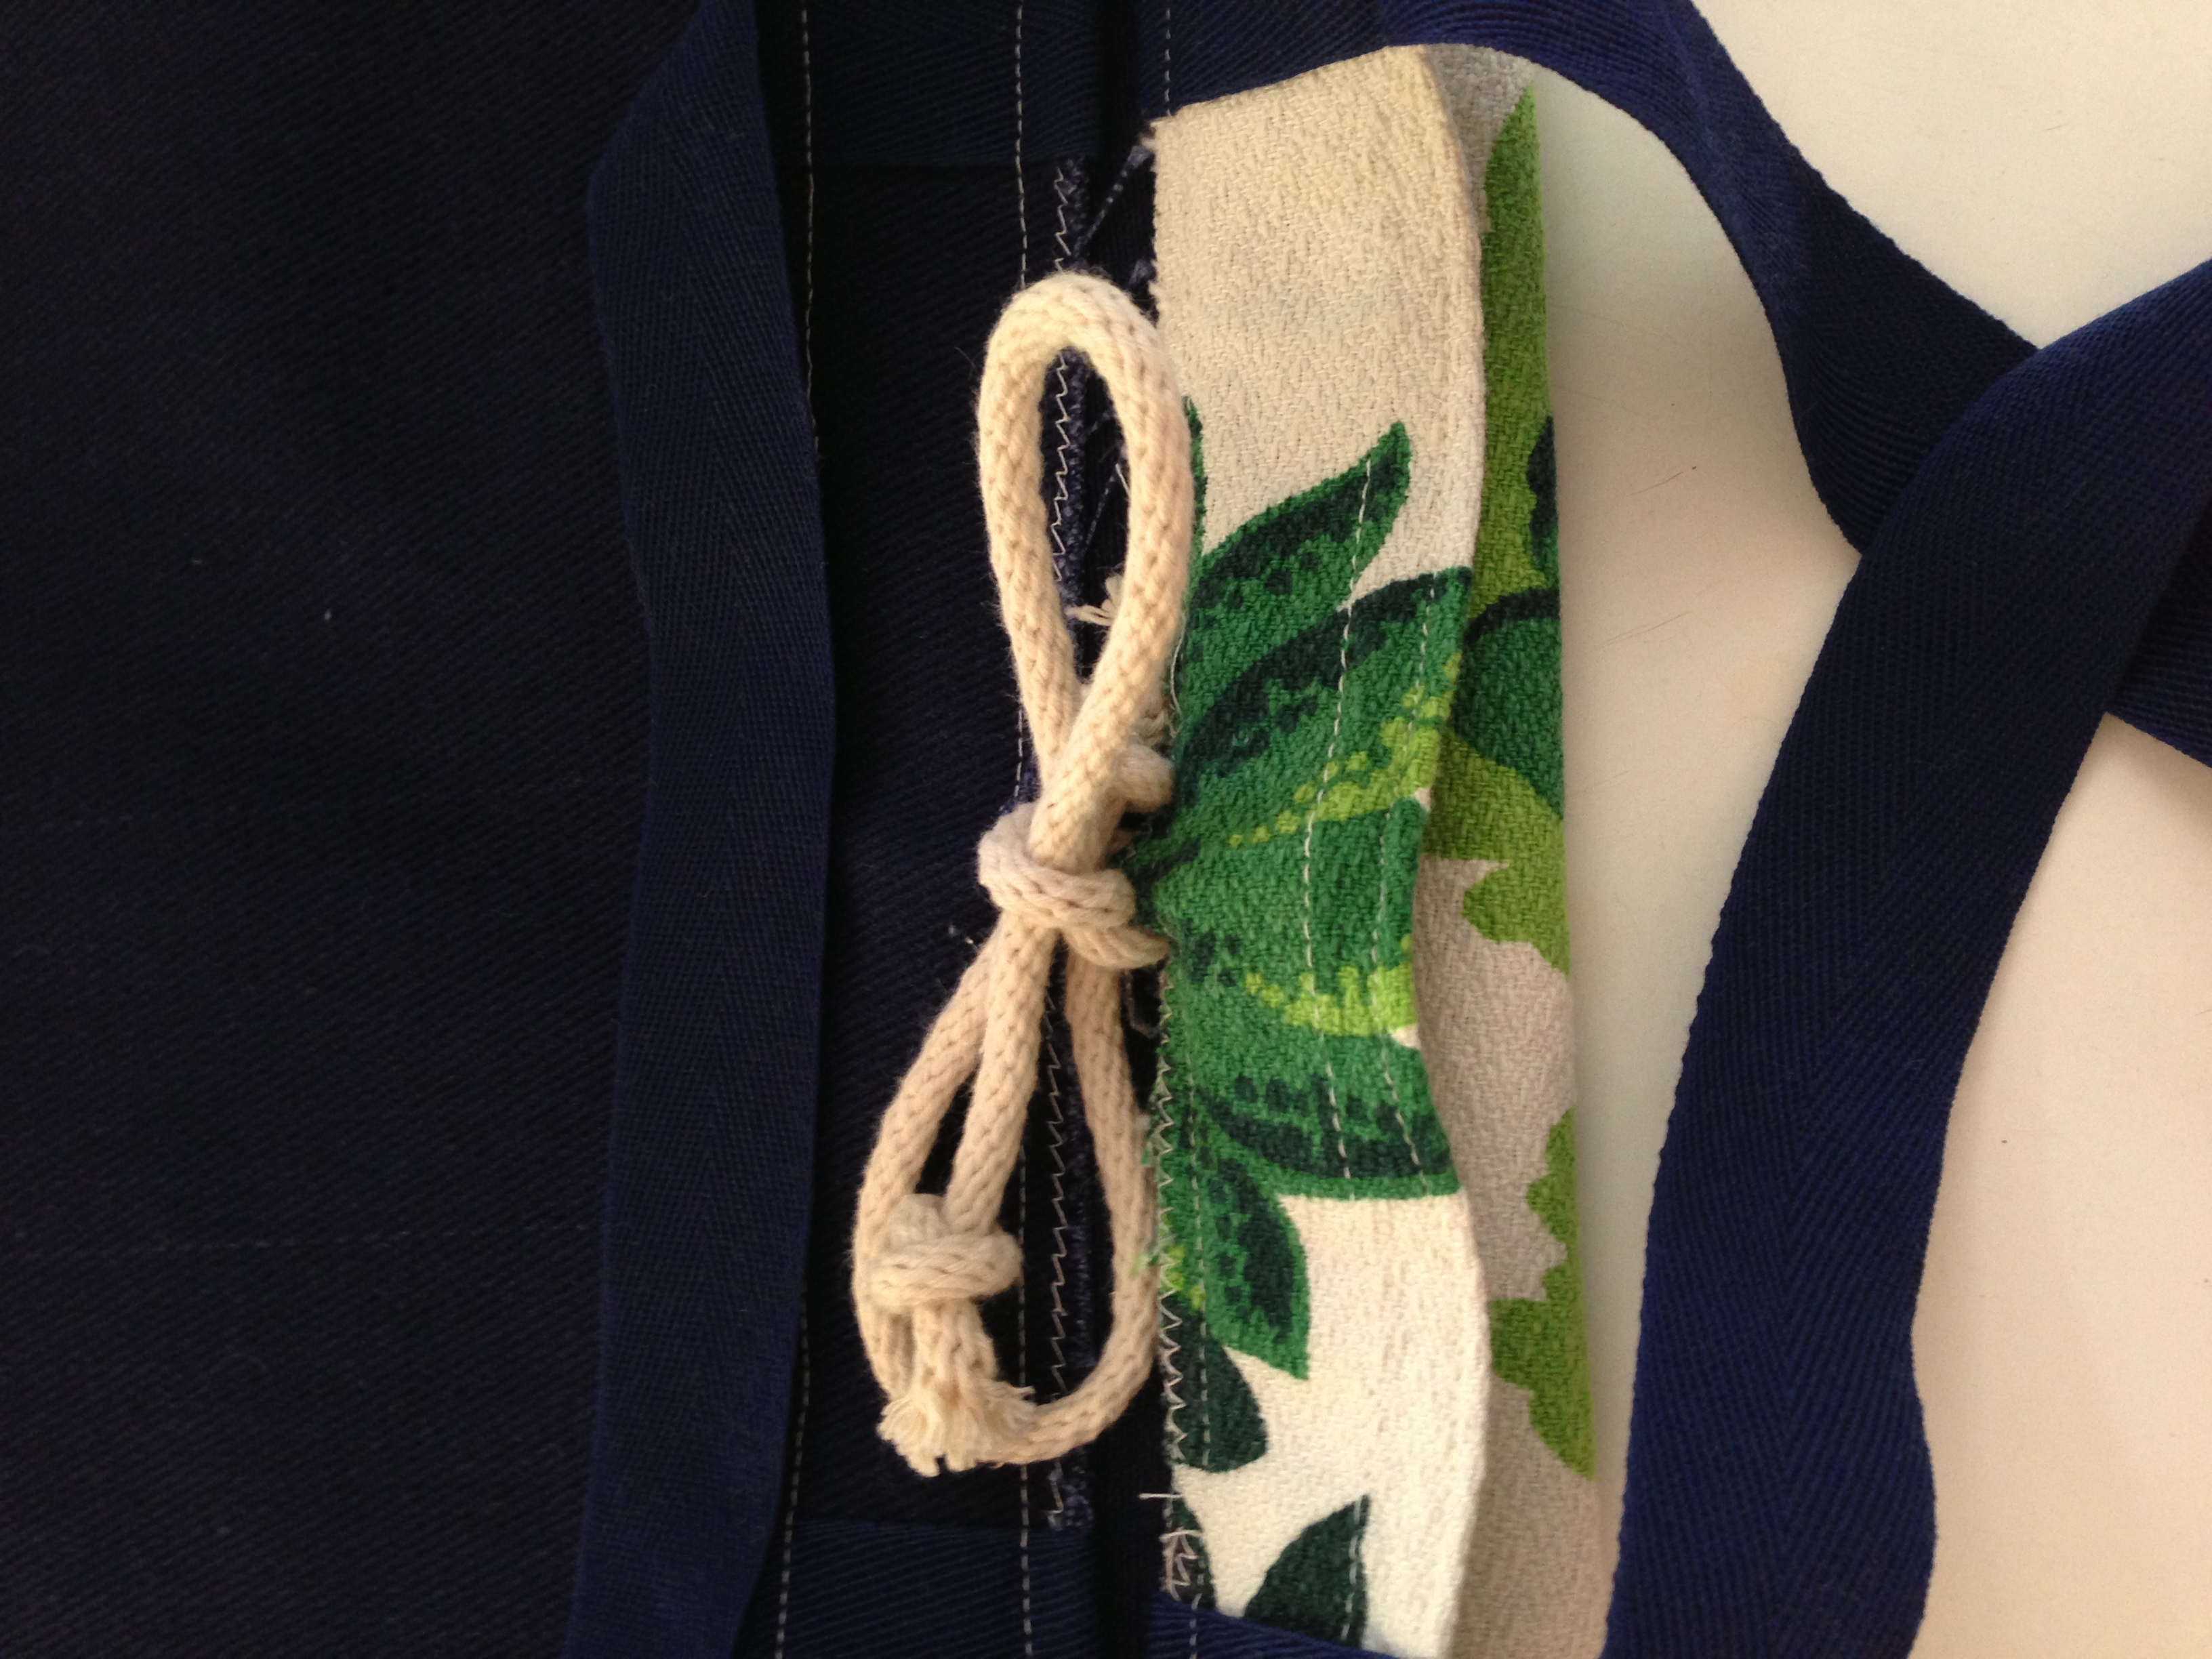
  2. Twelve 22 will walk you beautifully through the process of inserting the zipper and finishing the purse – I used 1/4 inch seam allowances for mine.
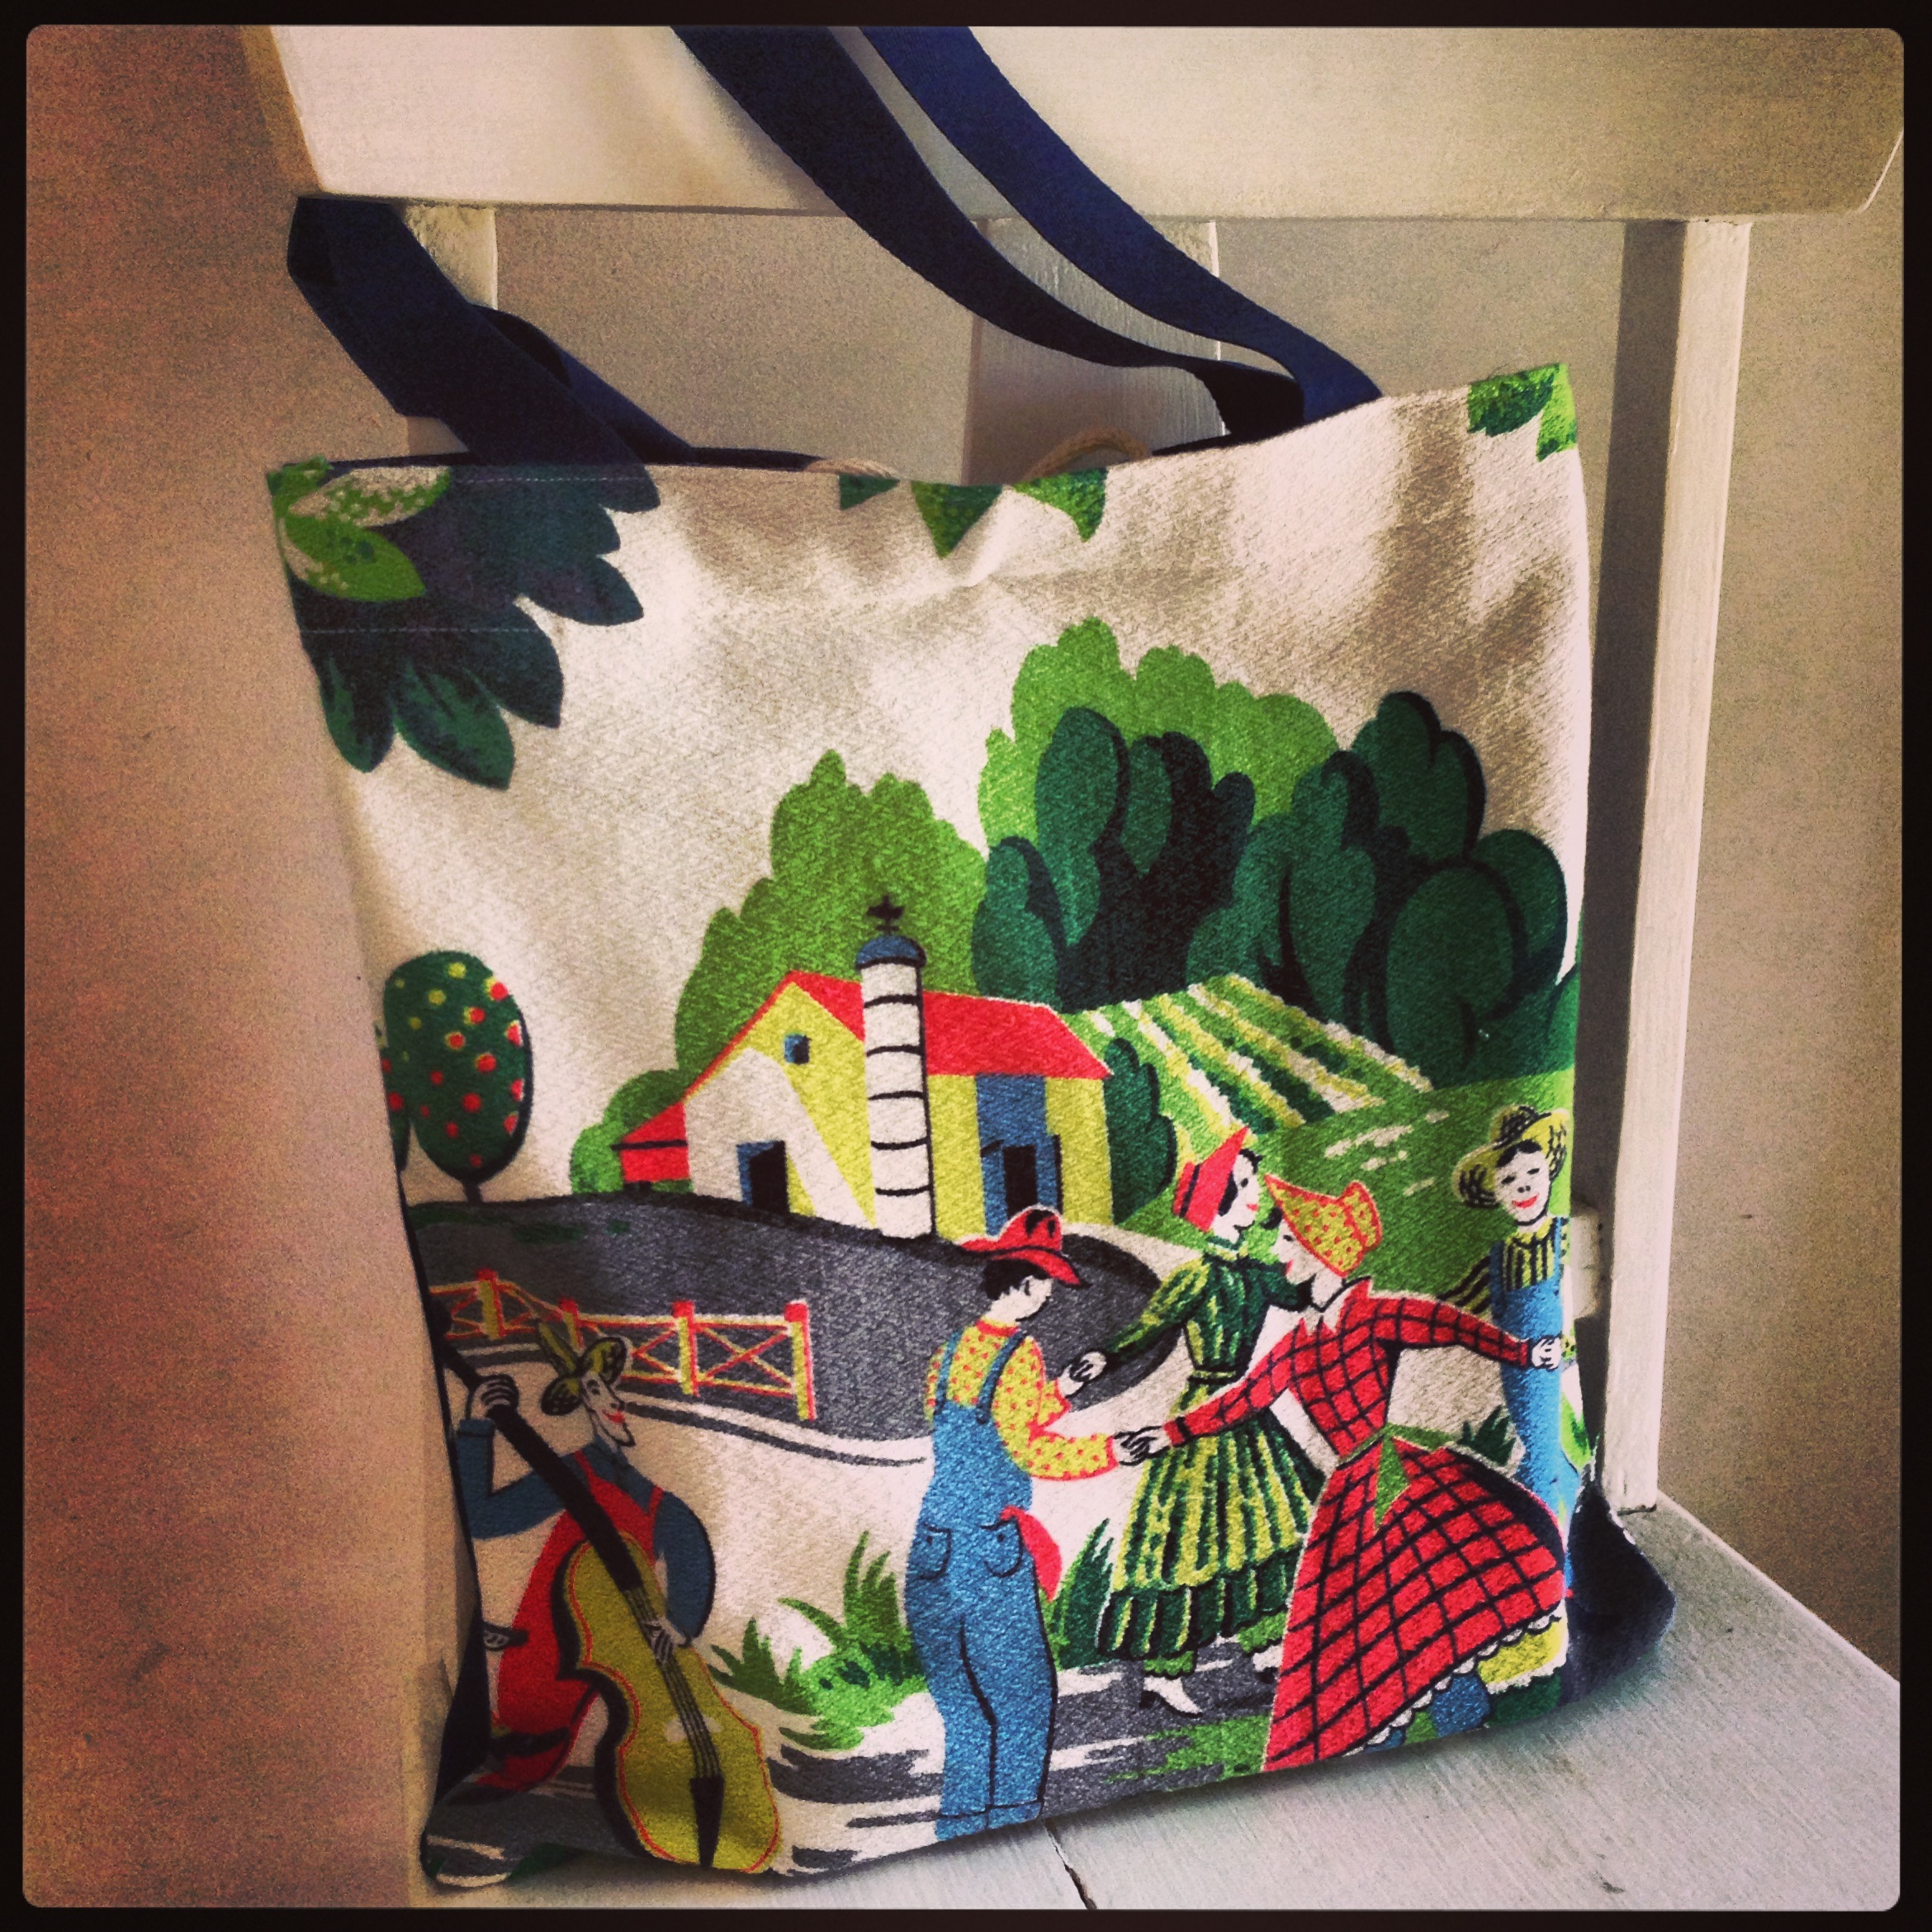
  3. Press your finished purse carefully and pop some tissue paper inside to give the purse form if it is to be gifted.

Twitter zippered purses

Postscript: My feeling is, that the recipient of your twitter purse will receive more gratitude from you than any line of 140 characters could ever convey.

Advertisement
craft

Scraps

lavender sachets

Often the charm of individual graphics are lost in the overall ‘busyness’ of beautifully designed fabrics. This can have its advantages though. If ever you have spent time gazing at curtains or upholstered furniture, and suddenly a creature materialises that you may have looked at and not seen on so many occasions, it can seem like a reward for your patient observation. So it was for me, when a second inspection of a leftover remnant from our cushion covers revealed hidden gems. And as such, that was how lavender sachets came to be this week.

four lavender sachets

Maybe some sachets need to ‘come to be’ in your home too. If so, when you have settled on your piece of fabric, it is a matter of deciding what size to cut your shapes. Mine measured 5 x 5 1/2 inches, simply because they were the best dimensions to capture my images. Once you have your shape measured and cut all you need do is:

  1. Cut a backing piece from plain fabric to the same dimensions.
  2. Pin both pieces right sides facing and sew around the two sides and top edges.
  3. Turn your sachet to the right side and press under 1/4 inch of the open edge.
  4. Fill with lavender.
  5. Hand sew the bottom edge closed.

If you make an afternoon of it, you will finish up with lots of sachets – some to keep and others to gift.

The whole business of producing a pile of lavender sachets is a rewarding one. Employing skerricks of treasured fabrics with limited yardage for little else, does good things for the soul. Spending an afternoon in lavender infused surroundings does likewise. And that sense of productive satisfaction settling within as the finished articles stack together, that intrinsic reward humans seek, which cannot be purchased but only experienced from a job well done, is the unanticipated by-product of this simple process.

lavender sachet ingredients

Postscript: with a special day on the horizon, it may be opportune to have some set aside for those treasured maternal figures who like these hidden gems, often blend into the background of our busy lives and really deserve the spotlight.

craft

Tote

Barkcloth Dancing

We’re doing a happy dance here, and while it may not be accompanied by a farmer on a bass fiddle, it has been triggered by the satisfaction of making a new bag for the season.

When a piece of fabric as evocative as this one comes my way, it would be ‘downright unneighbourly’ to fold it away in a dark cupboard for posterity. These farm folk need to be on show, and having filled every conceivable space in our home with artsy scatter cushions, a tote bag was the obvious solution. In fact, for that awkward 20 minutes, too scant to devote to a book and too lengthy to eat cake, this project is just the ticket.

Not one to reinvent the wheel, I am directing you promptly to this tutorial, where, if you can sew a straight line on a sewing machine, you’ll also have reason to trip the light fantastic!

Gather your supplies:

tote materials

and cut them out like this – front and back 16 x 14 inches, handles 22.5 inches each.

cutting out the tote

You’ll also notice two pieces of rope, which are my tweak on the original, because I like the security of a closed-up bag. Just slip each piece under the centre of each top fold before you sew your two straight lines. (If this is not making sense it is because you haven’t gone and visited the Purl Bee 20 minute tote tutorial that I directed you to earlier).

inner tie

Should you be a rail commuter, uni student, incidental shopper or an iPad, keys, make-up bag, wallet kind of gal, then this tote is going to cut it.

finished barkcloth tote

Postscript: and while a hoedown-style jig may not be your preference, I’m sure you can execute a quick Harlem Shake to celebrate instead.

craft

Patch

freeform patches

If for no apparent reason, the desire to combine colour takes hold, then patches are an ideal way to express this –  from both a time and cost-effective viewpoint.

As one season merges into the next, so does the desire to take on a different set of activities. What was viewed only a matter of weeks ago through a blaze of brilliant heat as an onerous task, now in the crisp morning freshness appears as one to be harnessed with relish. As our Autumn days are settling into place, energy once depleted by soaring temperatures has been restored. I am moving into my inventive phase right now, which I feel certain is triggered by this seasonal change. The desire to create has once again taken hold, and so a series of patches have been born.

patch on the back of the jacket

Layering colours and securing them with thread that introduces a further hue, is a very satisfying way of passing time. As you cut and match, compare and contrast, a multitude of impressions pass through the mind – and none of them relate to shopping lists, drycleaners or dishwashing liquid.

Patches are simple to build:

  • cut a freeform shape from felt
  • cut a smaller freeform shape from a printed fabric scrap that will fit within the felt shape.
  • overstitch the printed fabric onto the felt shape.
  • blanket stitch around the edge of your felt piece.

Once your patch is complete, the decision to be made is where it will reside. Mine spend time on my denim jackets, sometimes on a satchel and once on a cushion. (Small stitches with fine cotton are best to attach with).

Why should the trees have all the fun with colour?

bird on my jacket