recipes

Syrup

Lime and Pistachhio syrup cake

In the wake of the recent tsunami of chocolate, a citrusy slice of syrup cake is a welcome relief. Dipping a forkful into creamy yoghurt with some added pistachios for crunch, is a very satisfying way to doff your hat to the passing of another egg-laden seasonal celebration.

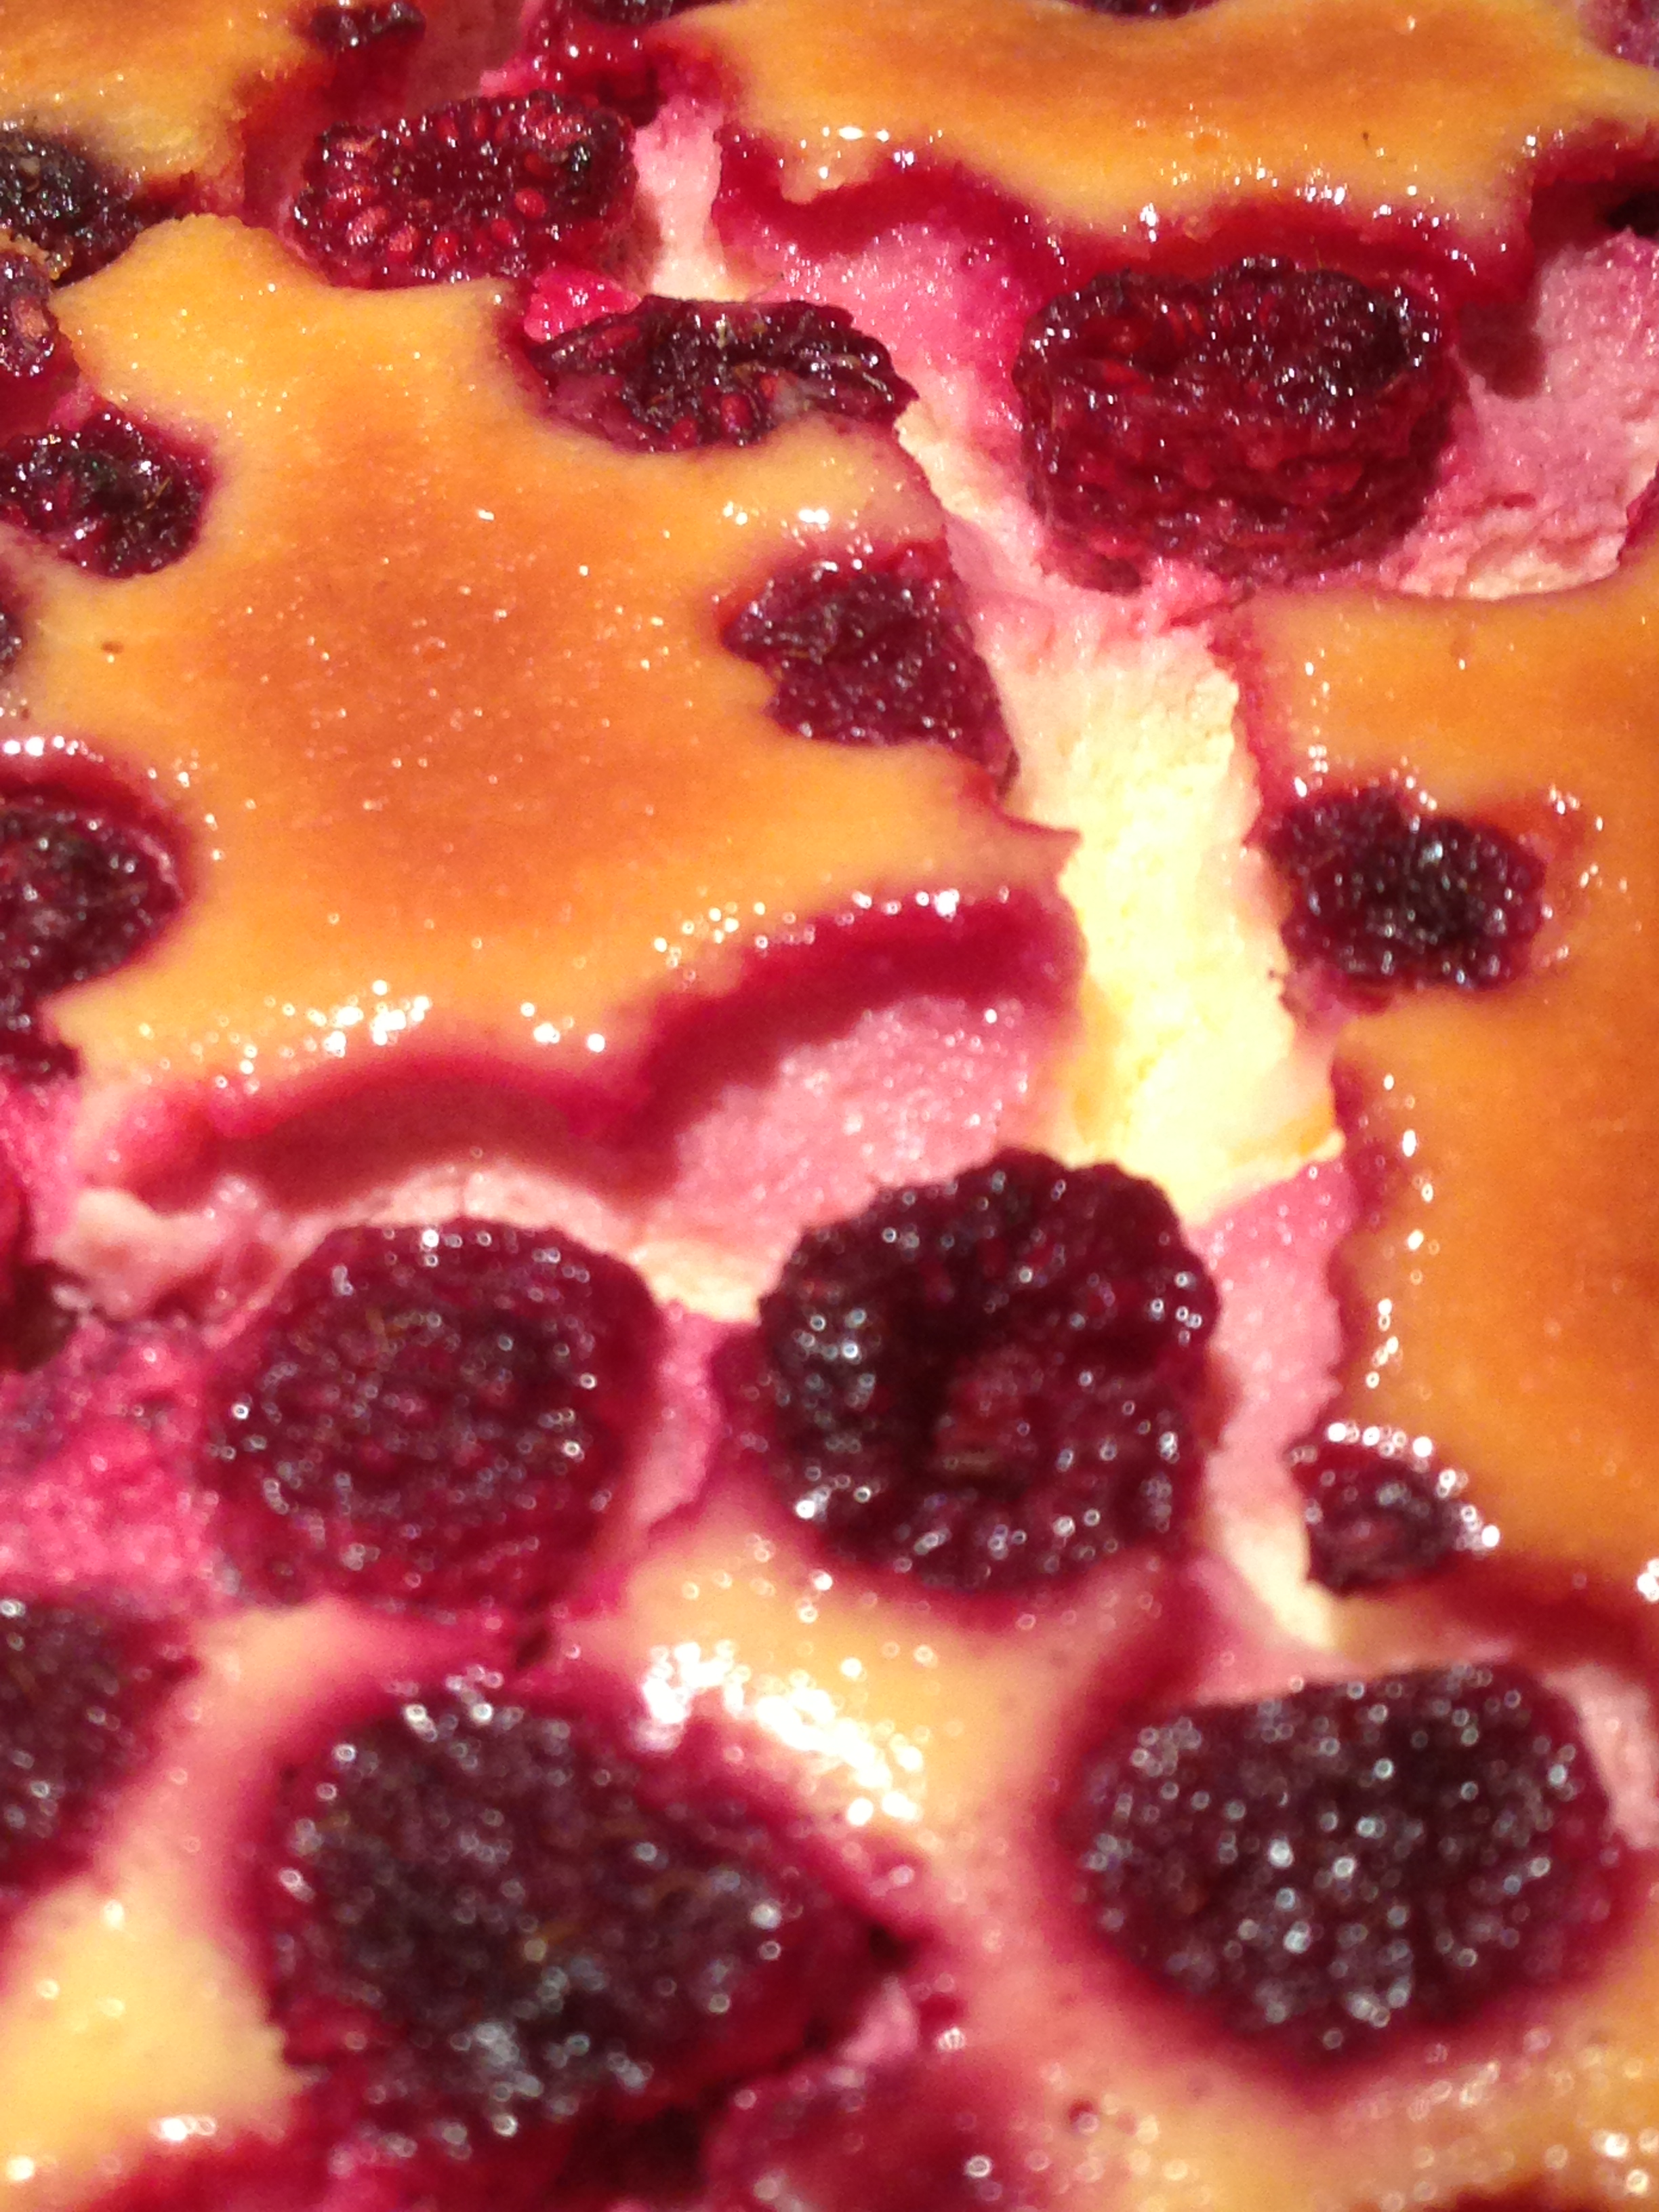
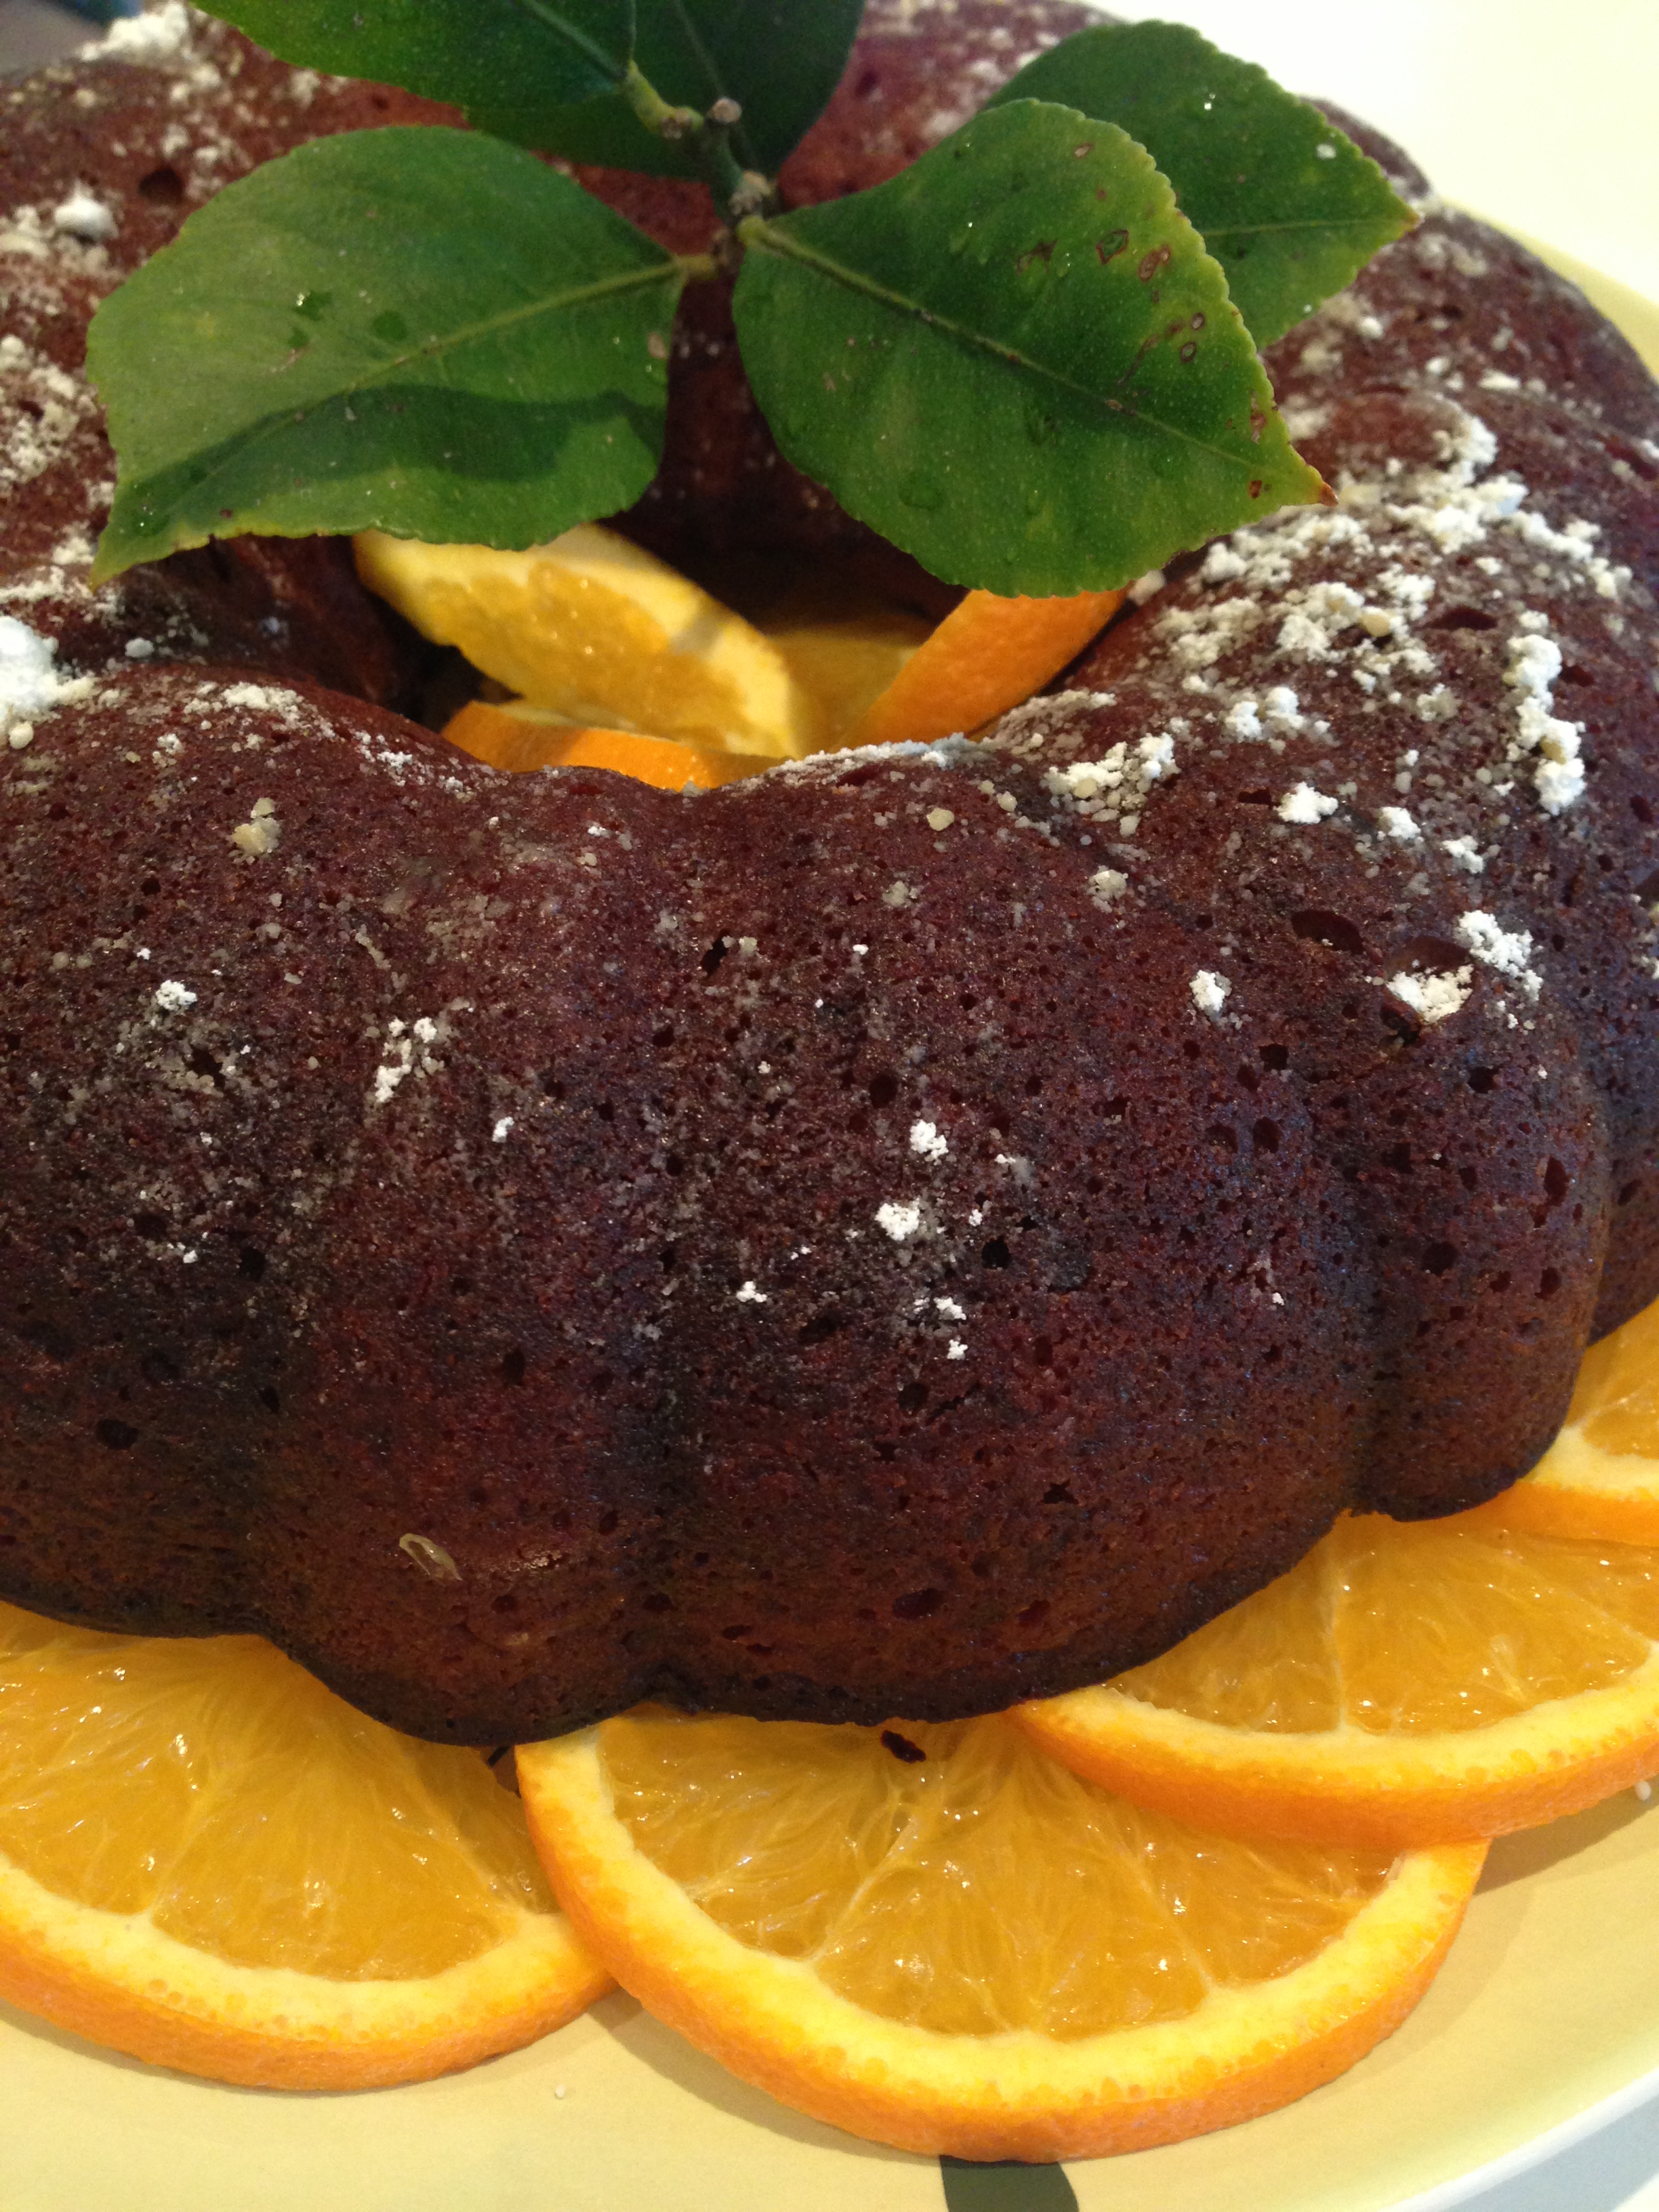
As a spacer to all of the chocolate that faced one at every turn in this house, I seized upon this cake recipe from Amber Rose to serve as an easter dessert. It is quite middle-eastern in its make-up – with its composition of pistachios, almonds, honey and orange blossom water. Being syrupy by nature, this cake makes a wonderful dessert – the moisture and sweetness yielding almost a pudding consistency.

Orange blossom water is available at continental delicatessens or if you live in a swish neighbourhood – your local supermarket! Once you have a bottle in your possession, this Lime Cake with orange blossom and pistachios, can be your easter antidote. (Don’t forget to snap off a small branch of your backyard citrus for a very authentic garnish)

225g plain flour, sifted
2 tsp baking powder
pinch of salt
80g almond meal
100g pistachio nuts, toasted in a pan and chopped
2 eggs
250g honey
250g greek style yoghurt
150ml olive oil
grated zest of 1/2 lemon
grated zest 1 lime

syrup
100g honey
juice of the lime
1 tbsp orange blossom water

  1. Preheat oven to 180 degrees celsius, and grease a fluted cake tin.
  2. Mix the first five dry ingredients in a bowl. In a separate bowl, mix together the remaining six ingredients.
  3. Make a well in the centre of the dry ingredients and pour in the wet ingredients. Mix until combined and then pour into the greased cake tin.
  4. Bake for 50 minutes or until an inserted skewer comes out clean. Cool in the tin.
  5. To make the syrup, boil 150ml water and the honey together for 5 minutes. Add lime juice and boil for another minute. Add the orange blossom water.
  6. Use the testing skewer to pierce holes all over the cake and gently pour the syrup over the cake.
  7. When the cake is completely cold, remove from the tin and serve with extra yoghurt and chopped pistachio nuts.

lime, orange blossom and pistachio cake

Postscript: should you still be wading through the aftermath of chocolate eggs, a friend of mine dispensed with hers ingeniously by making large batches of chocolate custard with them in her thermomix – just a thought.

recipes

Baked

baked raspberry cheesecake

If you can measure, mix, pour and bake, then there’s no reason why this delicious specimen can’t be cooling on your benchtop, as this one did on mine recently.

I have no ability to take in the intricacies of an intriguing story or keep track of a workplace crisis and cook simultaneously – something must be ignored, usually the food. For that very reason, when friends are dining, I need to make sure as little attention as possible needs to be given to food after the gathering arrives.  A baked cheesecake is a clever culinary solution, as it can sit cooling its heels in the refrigerator from the day prior – its flavours rounding out beautifully by serving time. That being, not a thread or mere detail of the latest goss is lost, when all that is required is to slice and pass.

And as this recipe yields such a generous cake, there is plenty left over for neighbourhood coffee banter the following morning.

To ensure you miss nothing either at your next do, get this simple Baked Raspberry Cheesecake happening in your oven well in advance.

250g packet of Granita or other sweet biscuits
125g melted butter
250g softened cream cheese
250g ricotta cheese
3 eggs
1 cup sugar
1 cup sour cream
1 tbsp grated lemon rind
3 tbsp lemon juice
1 tbsp cornflour blended into 1 tbsp water
a generous handful or so of fresh or frozen raspberries

  1. Process biscuits to crumbs and then add melted butter. Process briefly until combined.
  2. Press this mix into the base of a large greased springform cake tin and place in the refrigerator.
  3. Process all of the remaining ingredients EXCEPT the raspberries until smooth.
  4. Pour this mix over chilled base. Sprinkle raspberries evenly over the top.
  5. Bake in a preheated 150 degree celsius oven for approximately 50 minutes or until cheesecake has set.
  6. Chill in the refrigerator until firm. Serve with thick cream.

raspberry cheesecake

Postscript: should you not be in possession of a food processor, don’t walk away. The biscuits can be crushed with a rolling pin and the filling beaten with a hand mixer.

craft

Scatter

tomato cushion

Whilst others are resting on their laurels, we are resting on our tomatoes right now.

If you cast your mind back to this post you may remember the lovely bowl of tomatoes as the featured image. Not wanting to hide my snaps away in a darkened drawer, but having very little vacant wall space these days, the search was on to unearth a new way to keep this appealing image in my field of view. So how about a scatter cushion?

tomatoes in a bowl cushion cover

If you too have treasured images that you wish to keep in the spotlight, the simplest way to go about this is to have the snap of your choice printed onto fabric. Then it’s just a matter of finding a coordinating remnant to back it with and a cushion insert to give it the final shape.

Due to the nature of this household ie pets and children, it was essential that I added a zipper to mine, as it will be spending a considerable measure of its life rotating in the washing machine. Don’t be discouraged if your sewing confidence is not up to zippers right now, four straight seams is all you need, and maybe choose a low traffic area for your creation to reside.

tomato cushion supplies

Postscript: should you be interested in placing an invisible zipper in the base, here is a brilliant tutorial that will get you exactly the result you are after.

family · health and wellbeing

Cottontail

Easter Bunny

Coming your way soon.

Have a happy one.

Postscript: illustration courtesy of the youngest (and most excited) household member.

family · health and wellbeing

Chores

Betty Crocker Cookbook

Whilst flipping through a 1950’s copy of Betty Crocker’s Cookbook, I came across this cracking gem.

I’m not sure which of the concepts snared my attention first. Was it the glaring absence of ‘mindfulness’ (that lady is definitely not living in the moment) or was it the odd collection of pastimes that she defined as ‘pleasant’? I mean, does the mental picture of striking your partner across the head with a golf club make the vacuuming easier? Do thoughts of being caught in a gale force wind on a yacht get the washing dry any faster? And really, visions of reclining on sand in formal dress would not prompt me to scrub any harder. Perhaps though, images of dancing with your lover while your husband looks on enviously, could make the ironing less tedious….

However, after spending a relatively extended period of time on this planet, I have come to understand that chores are what they are, and the sooner (meaning younger) we come to grips with this, the more internally settled we become. (And that philosophy forms the basis of why the dependents in this household are destined to become indentured servants.)

washing the bike

The plan is, rather than wistful thoughts of gaming parlours or train surfing, their focus will be on the spokes of the wheel, and should any notions of nightclubs or bars creep in, they will be rapidly suppressed by the passion to remove every leaf from an outdoor crevice.

sweeping up the leaves

And hopefully by the time they reach a decent age, any dream of a casino or like gambling den will be fiercely overshadowed by the love of freshly cut grass.

mowing the lawn

All flippancy aside, what I have learnt is that the dread and reluctance toward a chore is inversely proportional to the personal reward gained at its completion. To stand back and admire a neatly clipped garden bed, a freshly made bed or a tidied out cupboard, remarkably outweighs the initial abhorrence of the prospect. And what I do know for sure, is that there are opportunities to experience this pleasure time and time again.

Postscript: There’s a verandah that needs sweeping, so I’m off to harbor me some pleasant ones……

recipes

Leftovers

chicken and leek pie

Apart from the usual positives of sharing a roast dinner with the neighbours, another perk came in the form of a new idea. What usually becomes of the remains of a roasted chicken in this house, is sandwiches and dog scraps (in that order). Never has a scrumptious chicken, leek and mushroom pie ever crossed my mind as the finale for these birds.

Fortunately, I have a kitchen savvy pal living right opposite, who was not only quick to point this out, but even speedier to extract the leavings and seal them in an airtight, assuring me they were perfect for such a purpose. As we cleared and reset for dessert, she had rattled off her method, which as I scraped and stacked, I quickly committed to memory. The following night, the family received such pie – a far cry from dog scraps.

If you can keep this plan in mind after your next chicken roast, I am able to attest that the end result is going to be: happy families and disappointed dogs.

1 leek
200g button mushrooms
75g butter
2 tbspn flour
500ml chicken stock
2 big handfuls of shredded cooked chicken
2 sheets puff pastry
milk to brush

  1. Slice leek and mushrooms thinly.
  2. Melt butter in a large frying pan and cook leek and mushrooms until soft.
  3. Add the flour and mix thoroughly. You will have a thick mass.
  4. Gradually add stock, stir and cooking until you have a consistency that you like for your pie filling.
  5. Add the chicken and stir until heated through. At this point season, but be very careful with the salt as sometimes the stock contains enough. Set to one side.
  6. Line the base of your pie dish with one sheet of the pastry and prong it all over with a fork to prevent it rising. Bake in a 180 degree oven until par-cooked (about 10 minutes).
  7. Push down any risen puffed bits on the base and add the pie filling.
  8. Cover with remaining sheet of puff pastry and seal by pinching the edges together all the way around. Lightly score the top of the pastry with a sharp knife and brush with milk. Put the pie back into the oven for a further 20 minutes or until well browned. Serve.

chicken and leek pie filling

Postscript: Don’t forget, if you have a spare moment, post chicken pie, join me over here at the new Plain and Simple Facebook page.

craft · family · gardening · health and wellbeing · homemaking · personal style · recipes

Facebook

20130321-222359.jpg


If you have been enjoying the flow of this blog and would like to indulge further, feel free to join us on Facebook.

You can also click the link below (next to the daisy!)

craft

Tote

Barkcloth Dancing

We’re doing a happy dance here, and while it may not be accompanied by a farmer on a bass fiddle, it has been triggered by the satisfaction of making a new bag for the season.

When a piece of fabric as evocative as this one comes my way, it would be ‘downright unneighbourly’ to fold it away in a dark cupboard for posterity. These farm folk need to be on show, and having filled every conceivable space in our home with artsy scatter cushions, a tote bag was the obvious solution. In fact, for that awkward 20 minutes, too scant to devote to a book and too lengthy to eat cake, this project is just the ticket.

Not one to reinvent the wheel, I am directing you promptly to this tutorial, where, if you can sew a straight line on a sewing machine, you’ll also have reason to trip the light fantastic!

Gather your supplies:

tote materials

and cut them out like this – front and back 16 x 14 inches, handles 22.5 inches each.

cutting out the tote

You’ll also notice two pieces of rope, which are my tweak on the original, because I like the security of a closed-up bag. Just slip each piece under the centre of each top fold before you sew your two straight lines. (If this is not making sense it is because you haven’t gone and visited the Purl Bee 20 minute tote tutorial that I directed you to earlier).

inner tie

Should you be a rail commuter, uni student, incidental shopper or an iPad, keys, make-up bag, wallet kind of gal, then this tote is going to cut it.

finished barkcloth tote

Postscript: and while a hoedown-style jig may not be your preference, I’m sure you can execute a quick Harlem Shake to celebrate instead.

craft

Patch

freeform patches

If for no apparent reason, the desire to combine colour takes hold, then patches are an ideal way to express this –  from both a time and cost-effective viewpoint.

As one season merges into the next, so does the desire to take on a different set of activities. What was viewed only a matter of weeks ago through a blaze of brilliant heat as an onerous task, now in the crisp morning freshness appears as one to be harnessed with relish. As our Autumn days are settling into place, energy once depleted by soaring temperatures has been restored. I am moving into my inventive phase right now, which I feel certain is triggered by this seasonal change. The desire to create has once again taken hold, and so a series of patches have been born.

patch on the back of the jacket

Layering colours and securing them with thread that introduces a further hue, is a very satisfying way of passing time. As you cut and match, compare and contrast, a multitude of impressions pass through the mind – and none of them relate to shopping lists, drycleaners or dishwashing liquid.

Patches are simple to build:

  • cut a freeform shape from felt
  • cut a smaller freeform shape from a printed fabric scrap that will fit within the felt shape.
  • overstitch the printed fabric onto the felt shape.
  • blanket stitch around the edge of your felt piece.

Once your patch is complete, the decision to be made is where it will reside. Mine spend time on my denim jackets, sometimes on a satchel and once on a cushion. (Small stitches with fine cotton are best to attach with).

Why should the trees have all the fun with colour?

bird on my jacket