recipes

Solla Sollew

pavlova

There are spells of time frequently described these days as ‘the zone’. Living in a delightful, even exhilarating parallel universe, is often cited as ‘being in the zone’. Runners coin it and psychologists advise of its pursuit during times of anxiety. Many shake their heads despondently, thinking it unachievable. Not so, every one of us has been there, long before it held its modern-psycho title and simply didn’t recognise it for what it was.

As you sat as a child before a reader, who filled your auditory canals with text, and your visuals with correlating  illustration, your very being travelled to another realm. Objects in the room around you dissolved like Max’s bedroom, where vines grew in it’s place. The reader no longer visible, only fascinating words and intriguing pictures feeding a hungry imagination. And once the story reached its conclusion, only then did you become aware of your delicious absence – some glorious time away like the Pevensie children’s journey to Narnia via the wardrobe’s rear. You were lost (happily) in a book.

Even now, as grown beings, we still disappear into narrative, and how wonderful it is not only to make the excursion, but to reflect on it afterward and will others to do the same, pressing your copy urgently into their hands.

I recall with great clarity, the post-lunch summer afternoon I sat cross-legged as a six-year-old, on a timber classroom floor and made the tumultuous journey to ‘the City of Solla Sollew, on the banks of the beautiful River Wah-Hoo, where they never have troubles! At least, very few’.

Solla Sollew

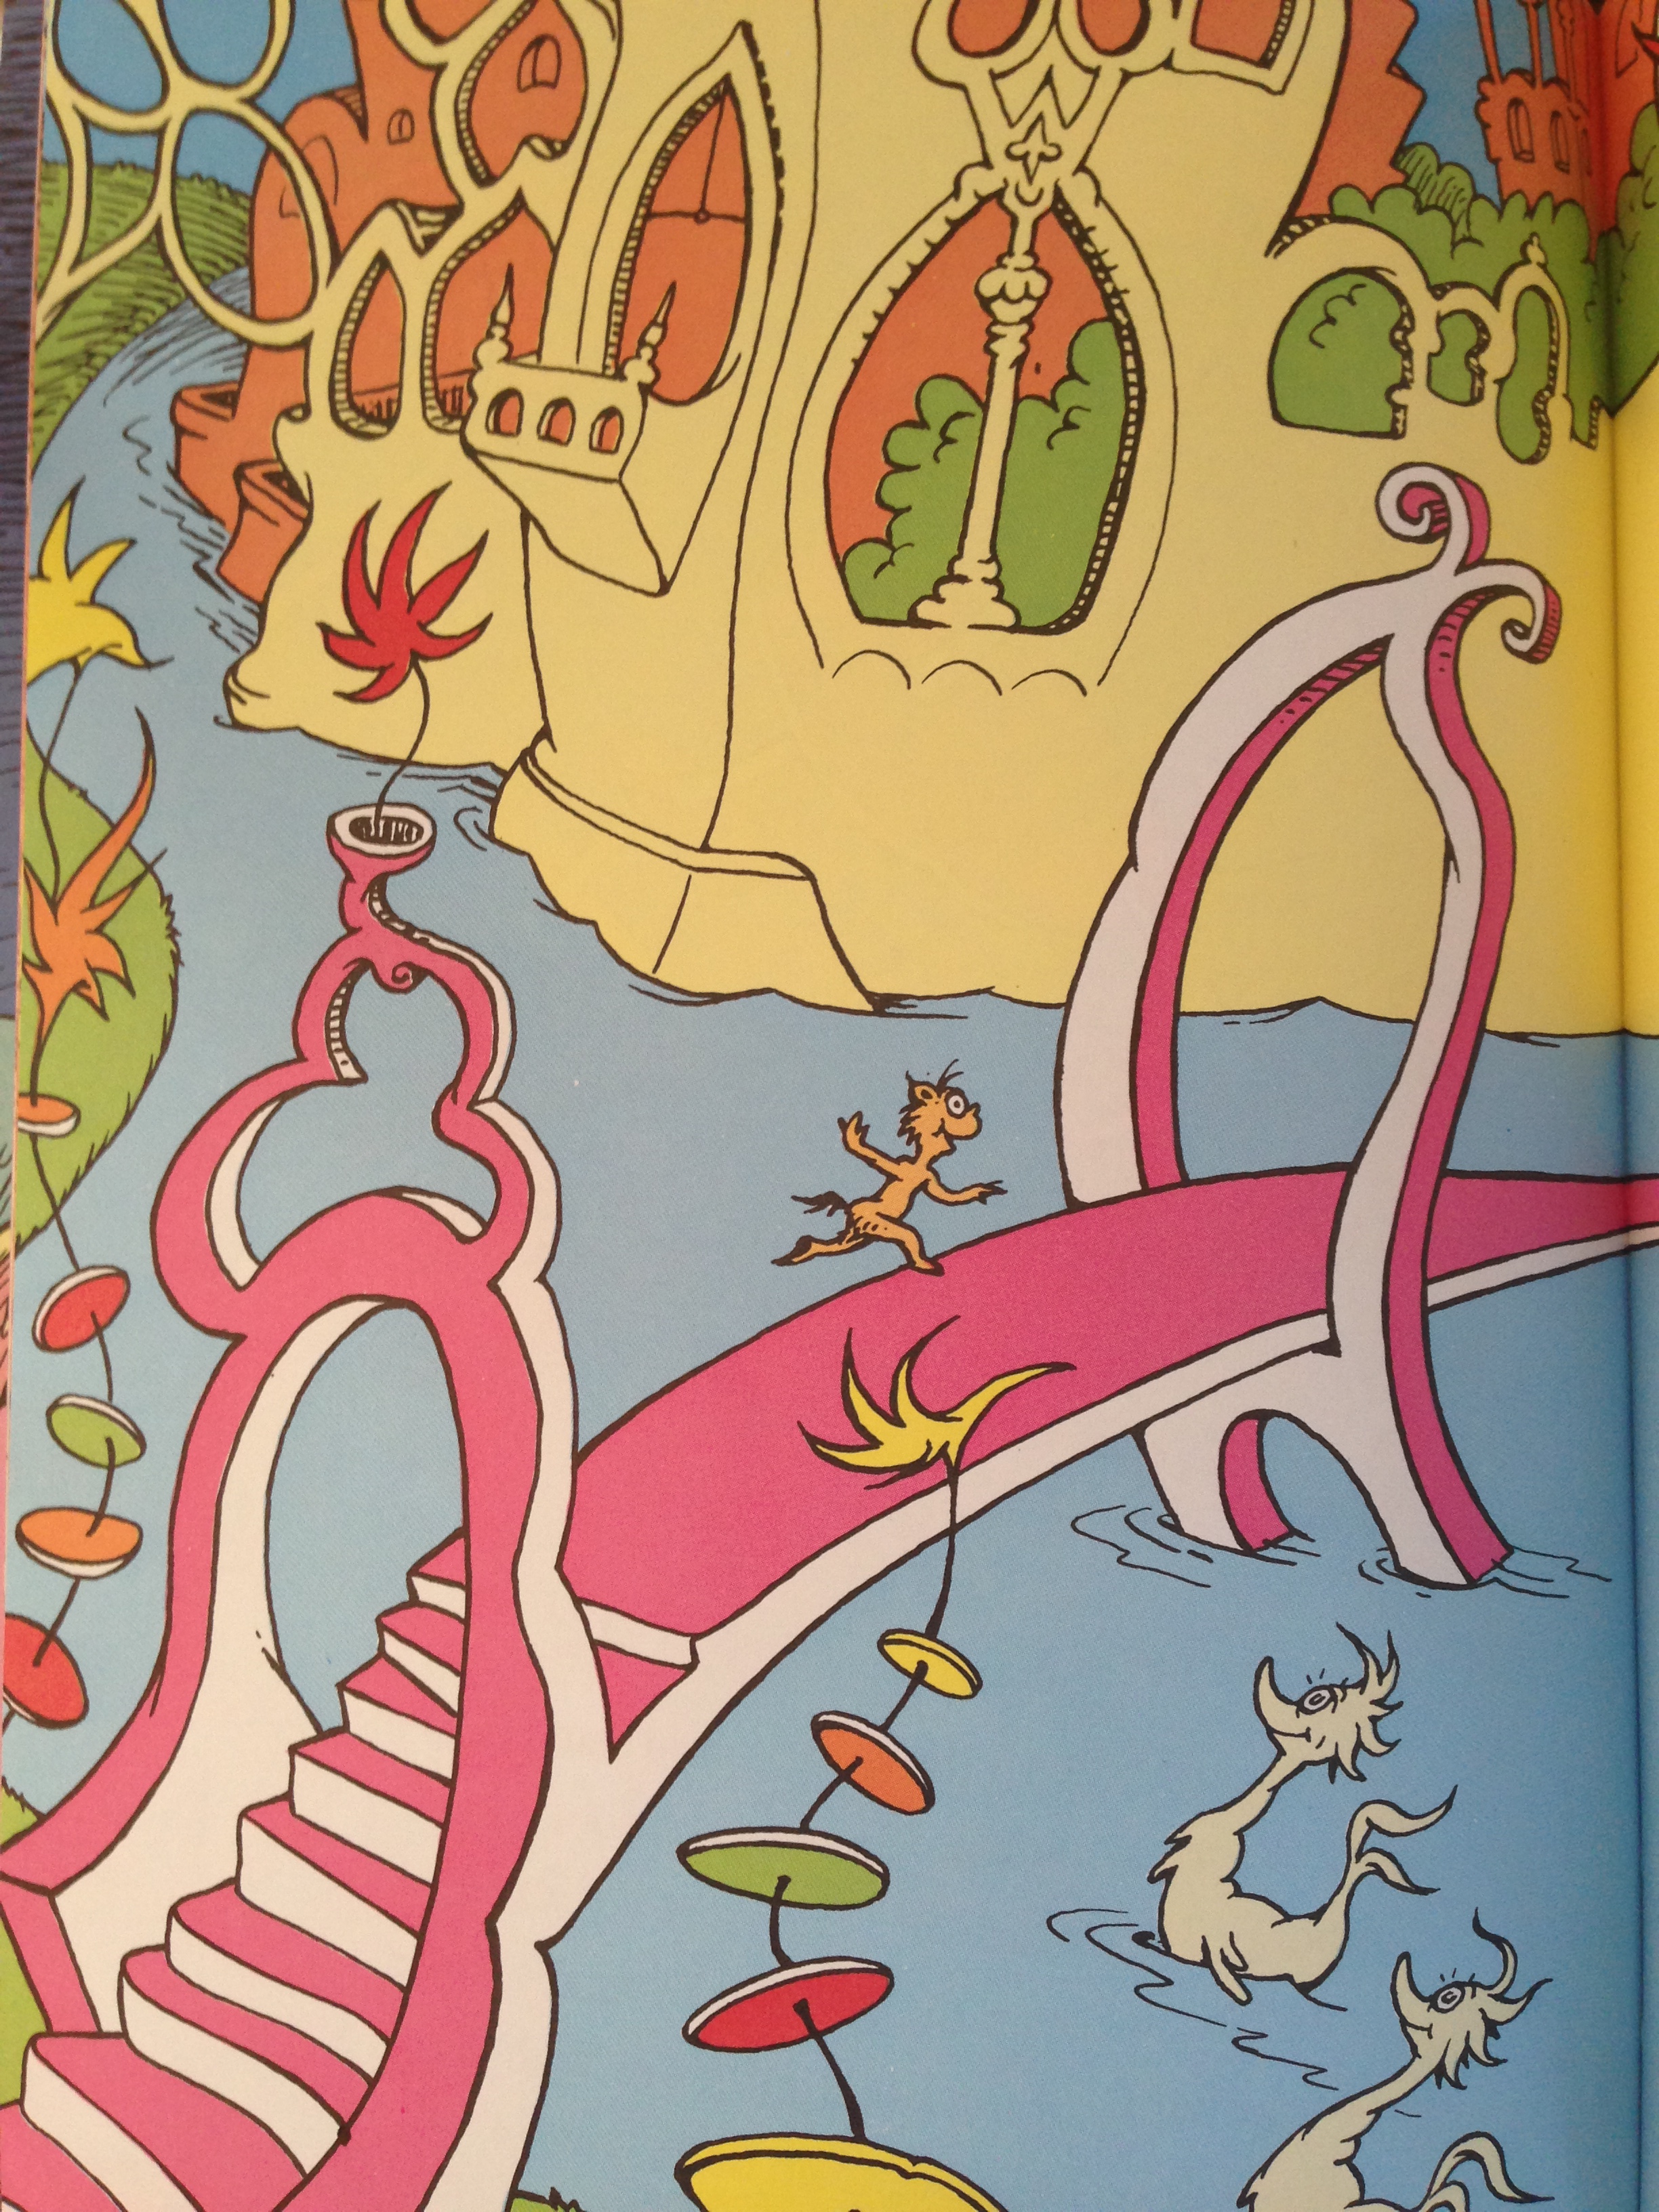
So absorbed was I by the magic of this tale, that when the teacher closed the covers, I could swear I had just scampered across that exquisite pink bridge and onward to that place of wonder. Even now, when I recall that tale, my memory of Solla Sollew is one of delight. Living in a land of sunshine and colour, smiles and sweetness. And of course snoozing on those billowy pillows …

billowy pillows

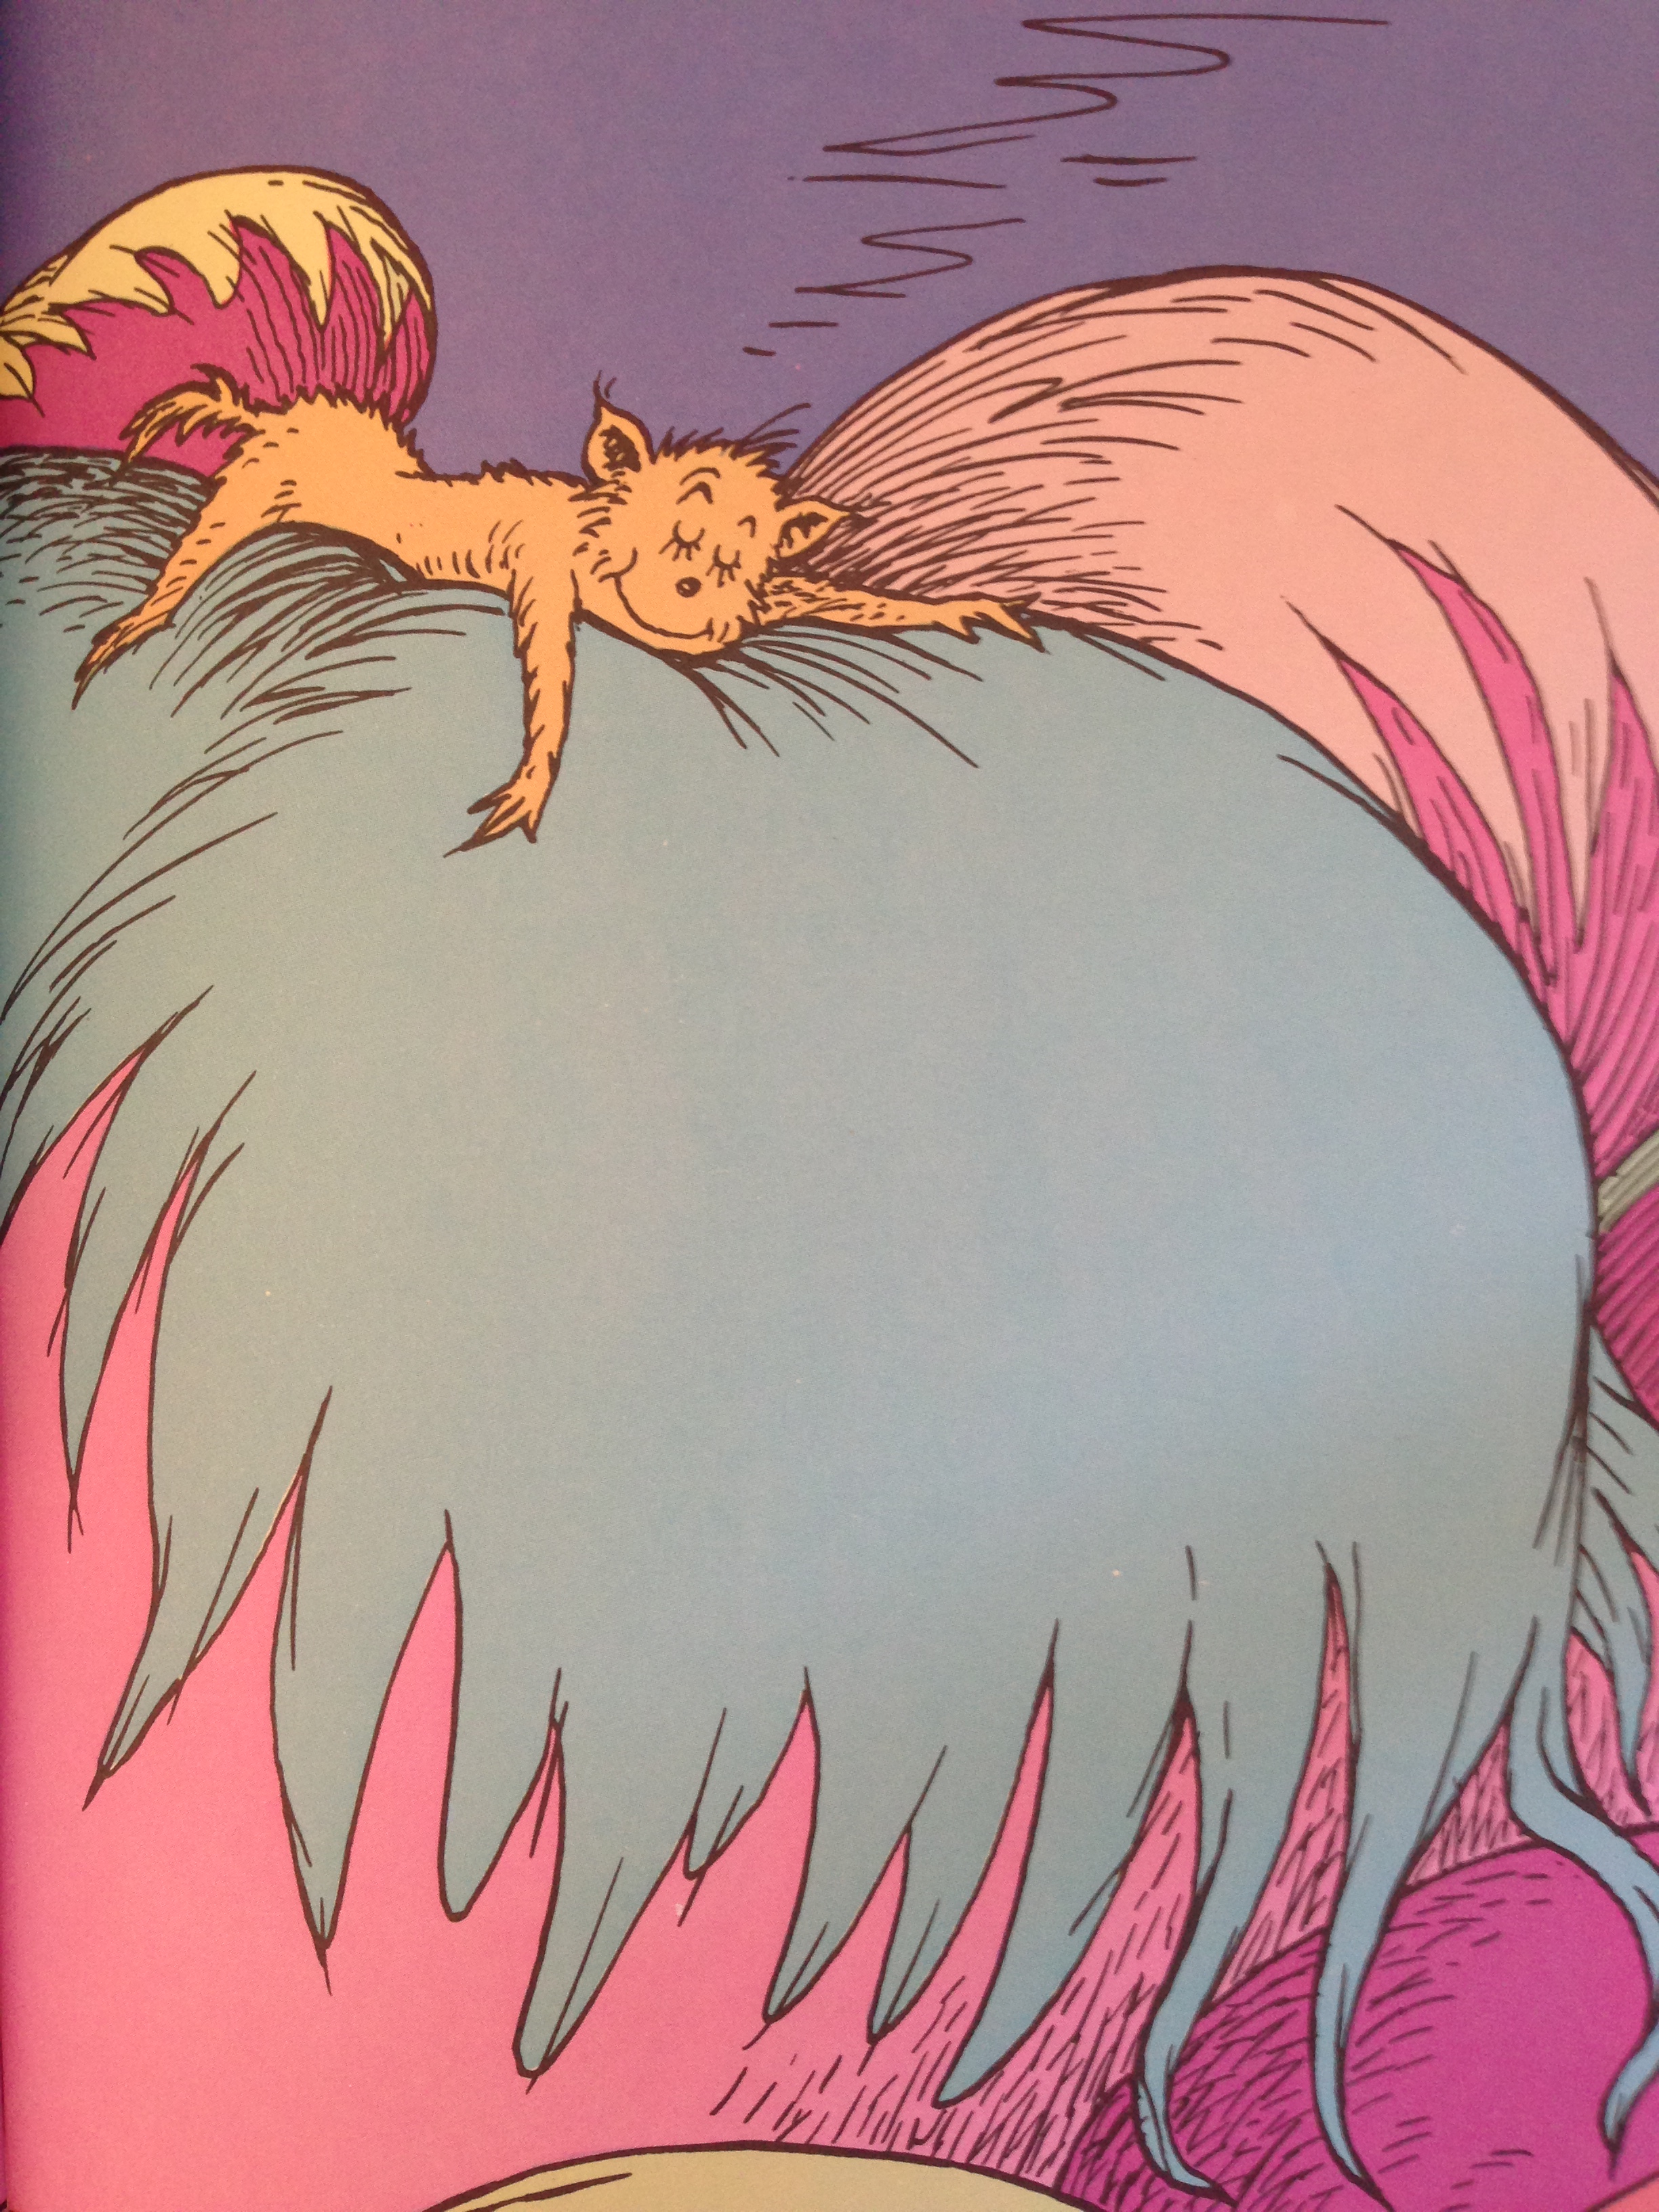
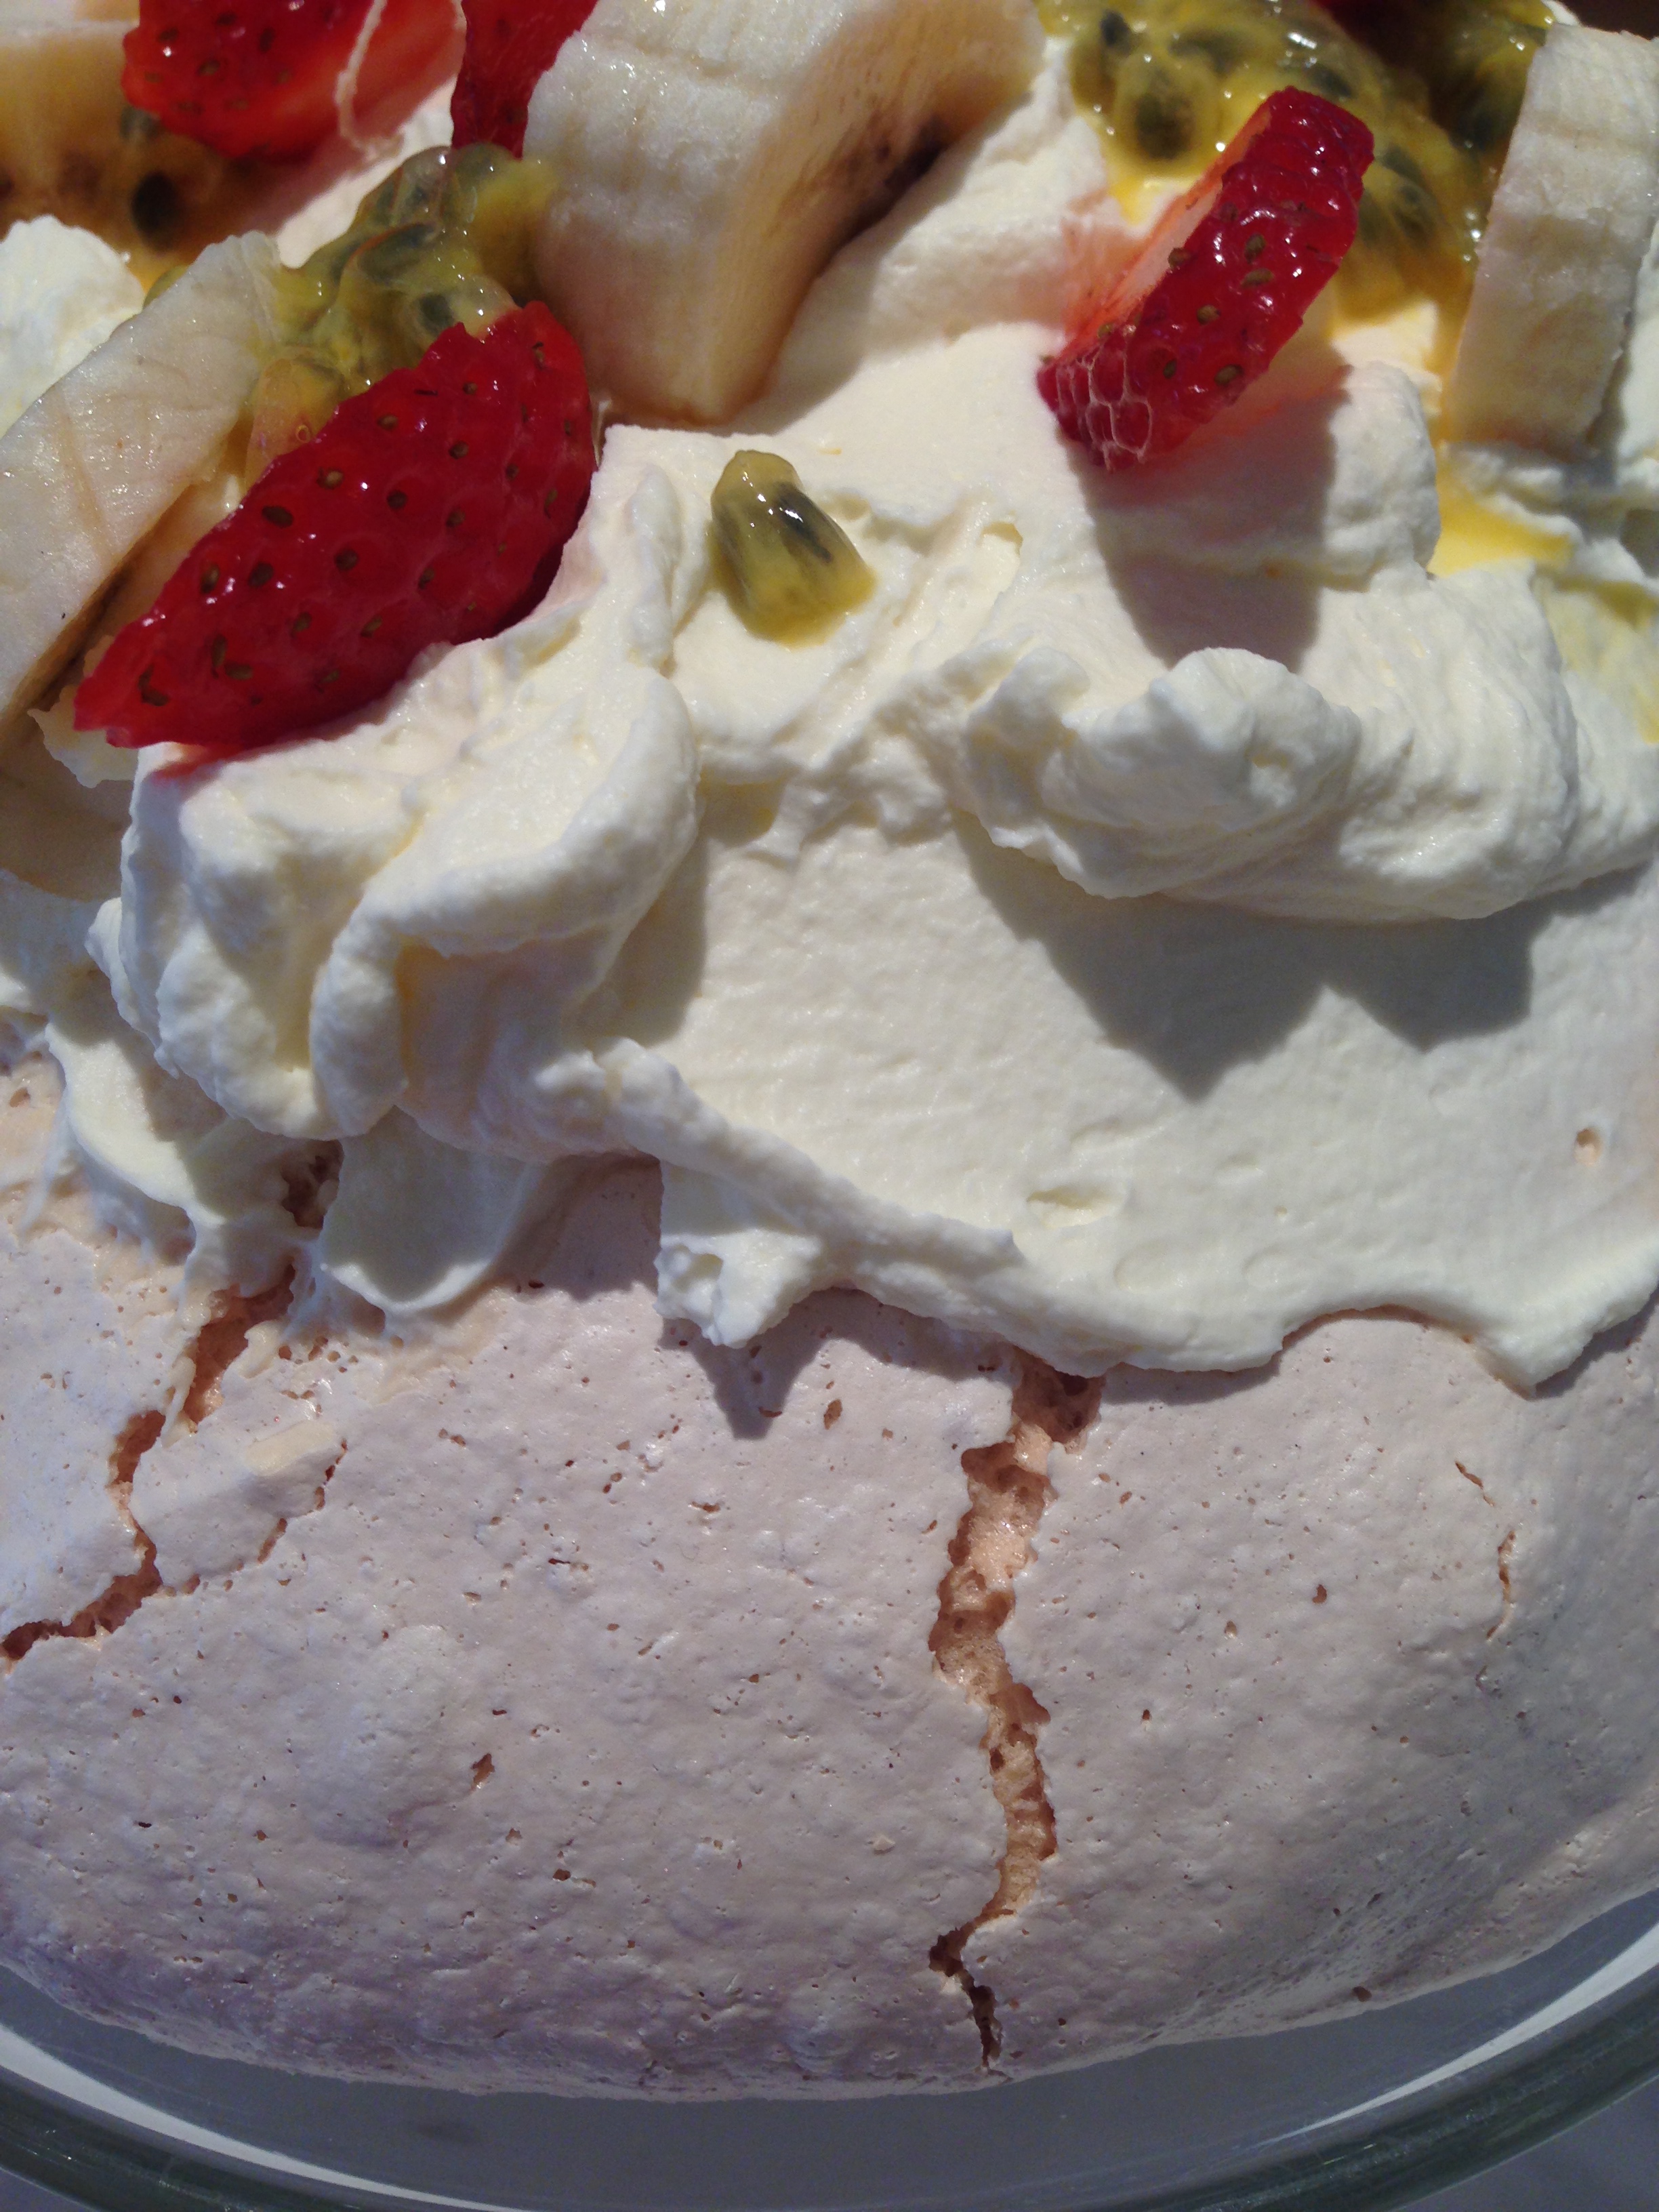
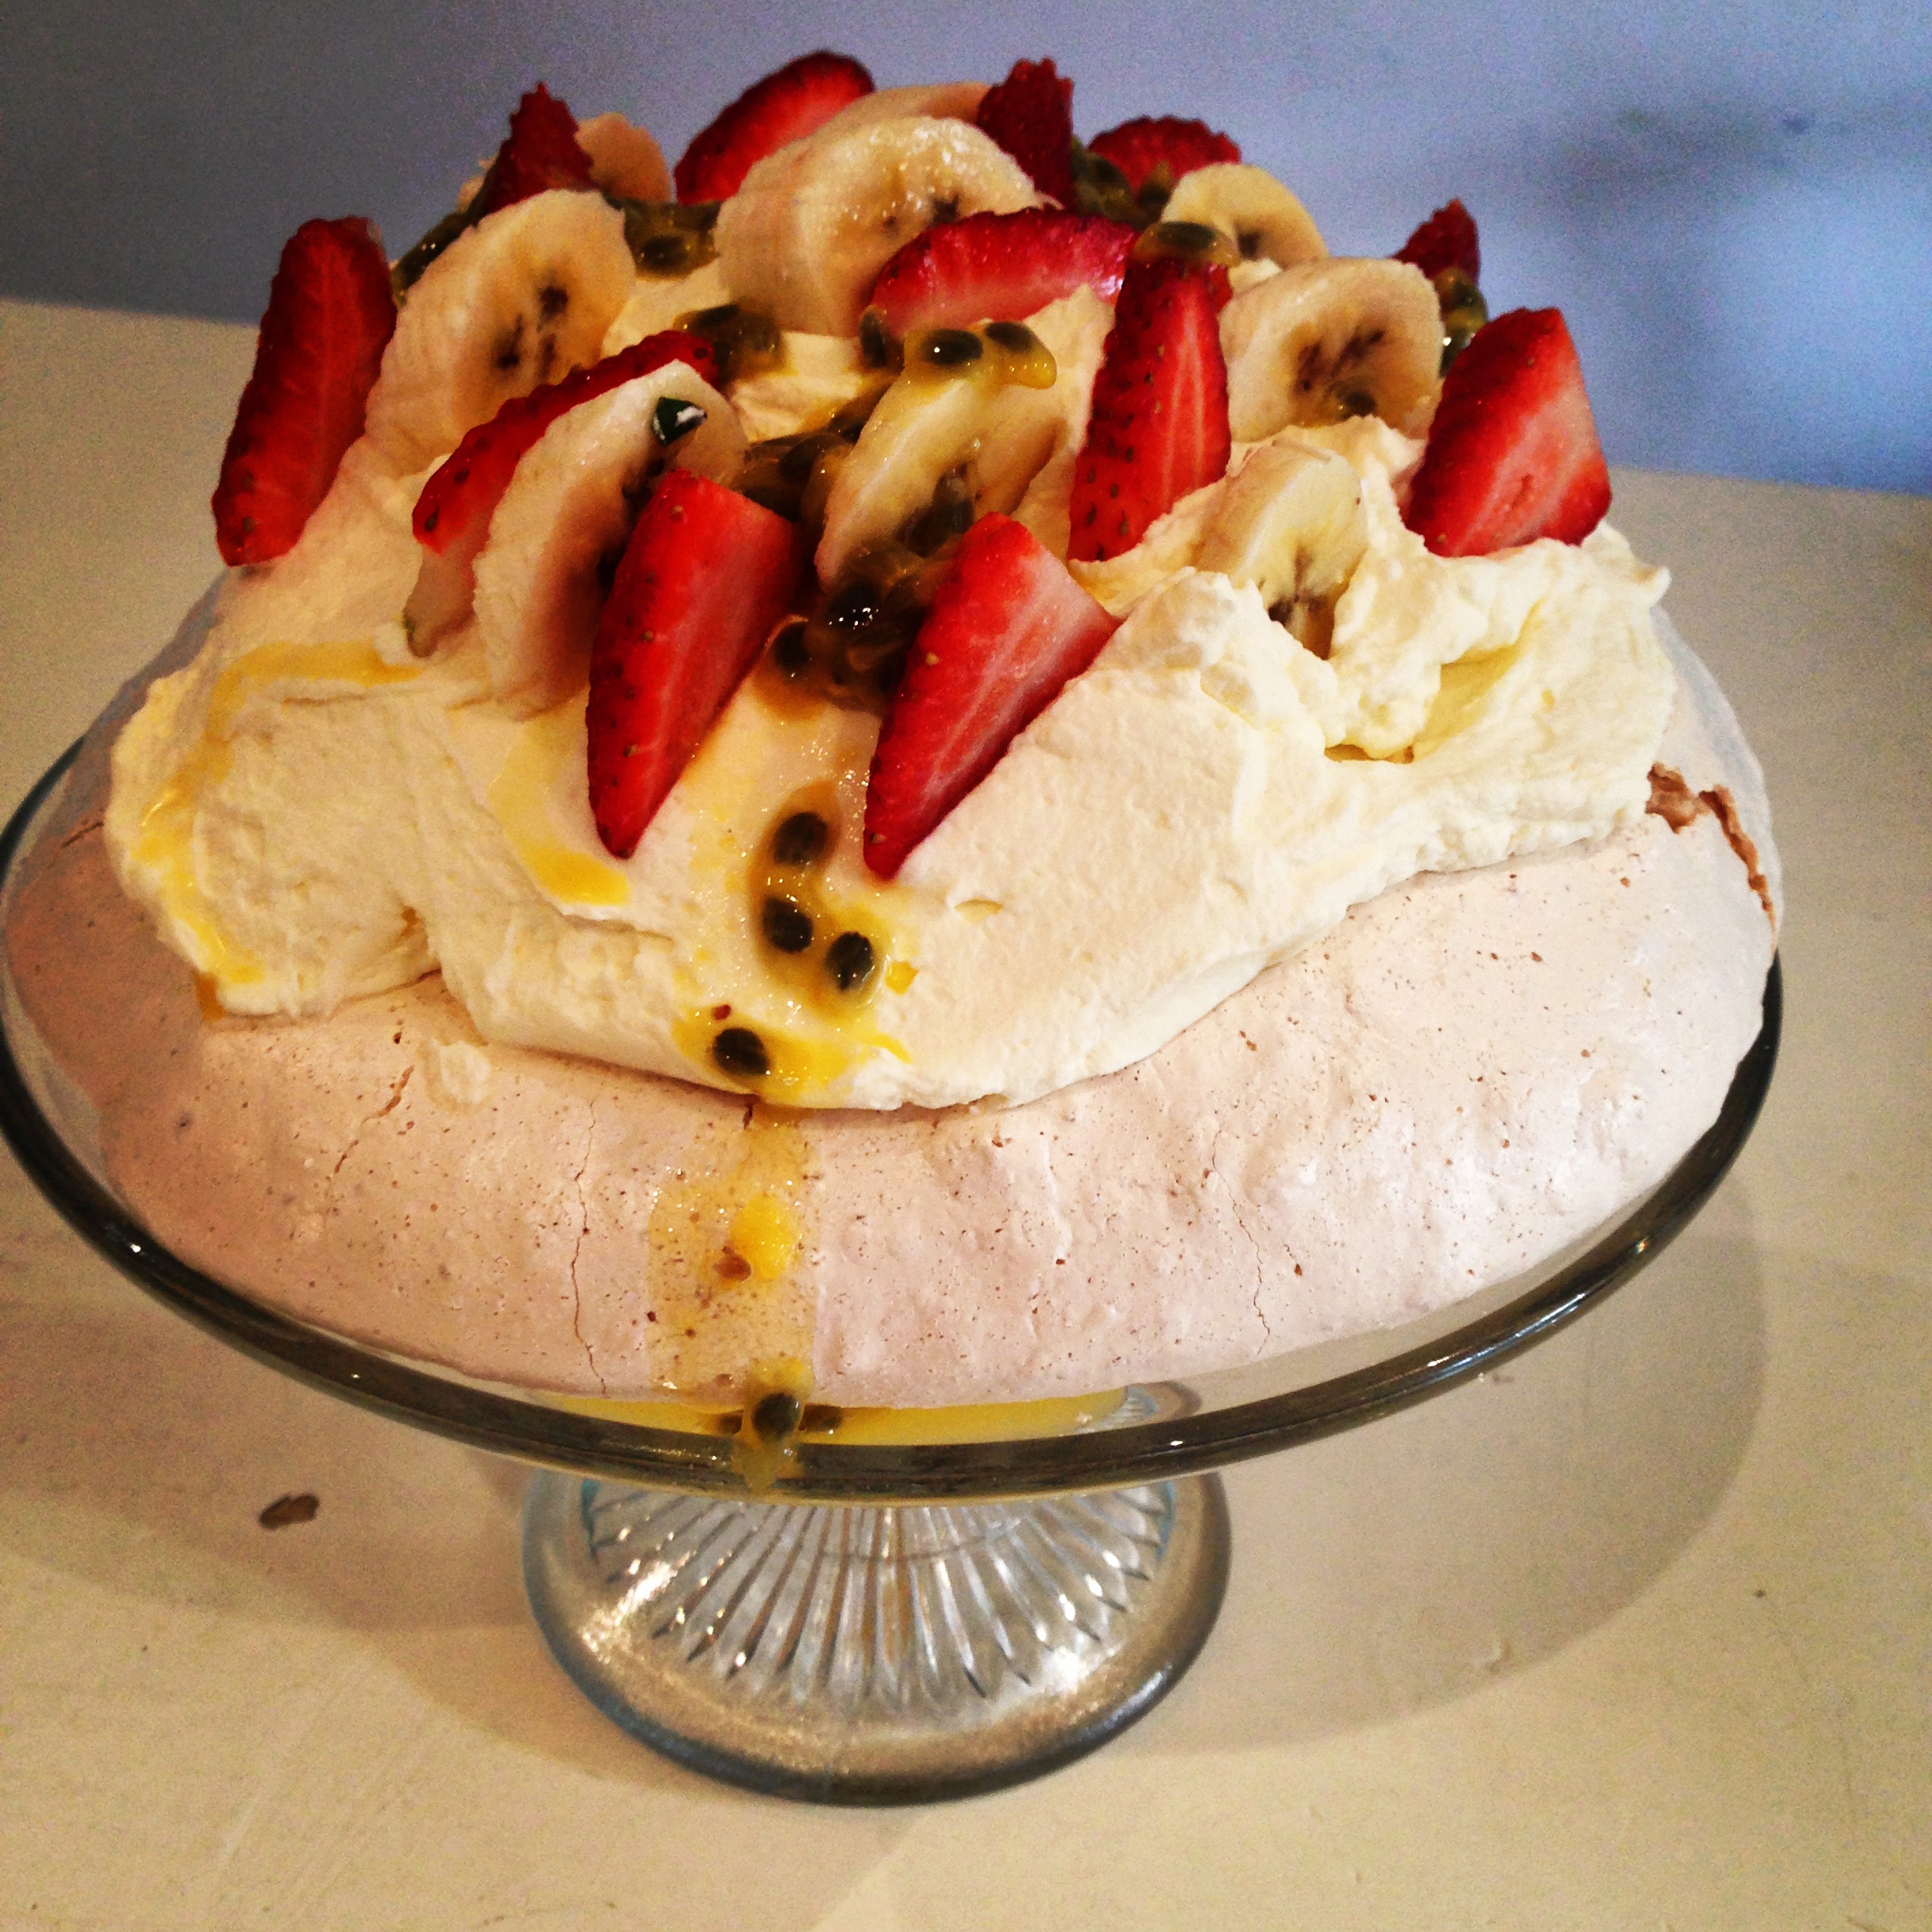
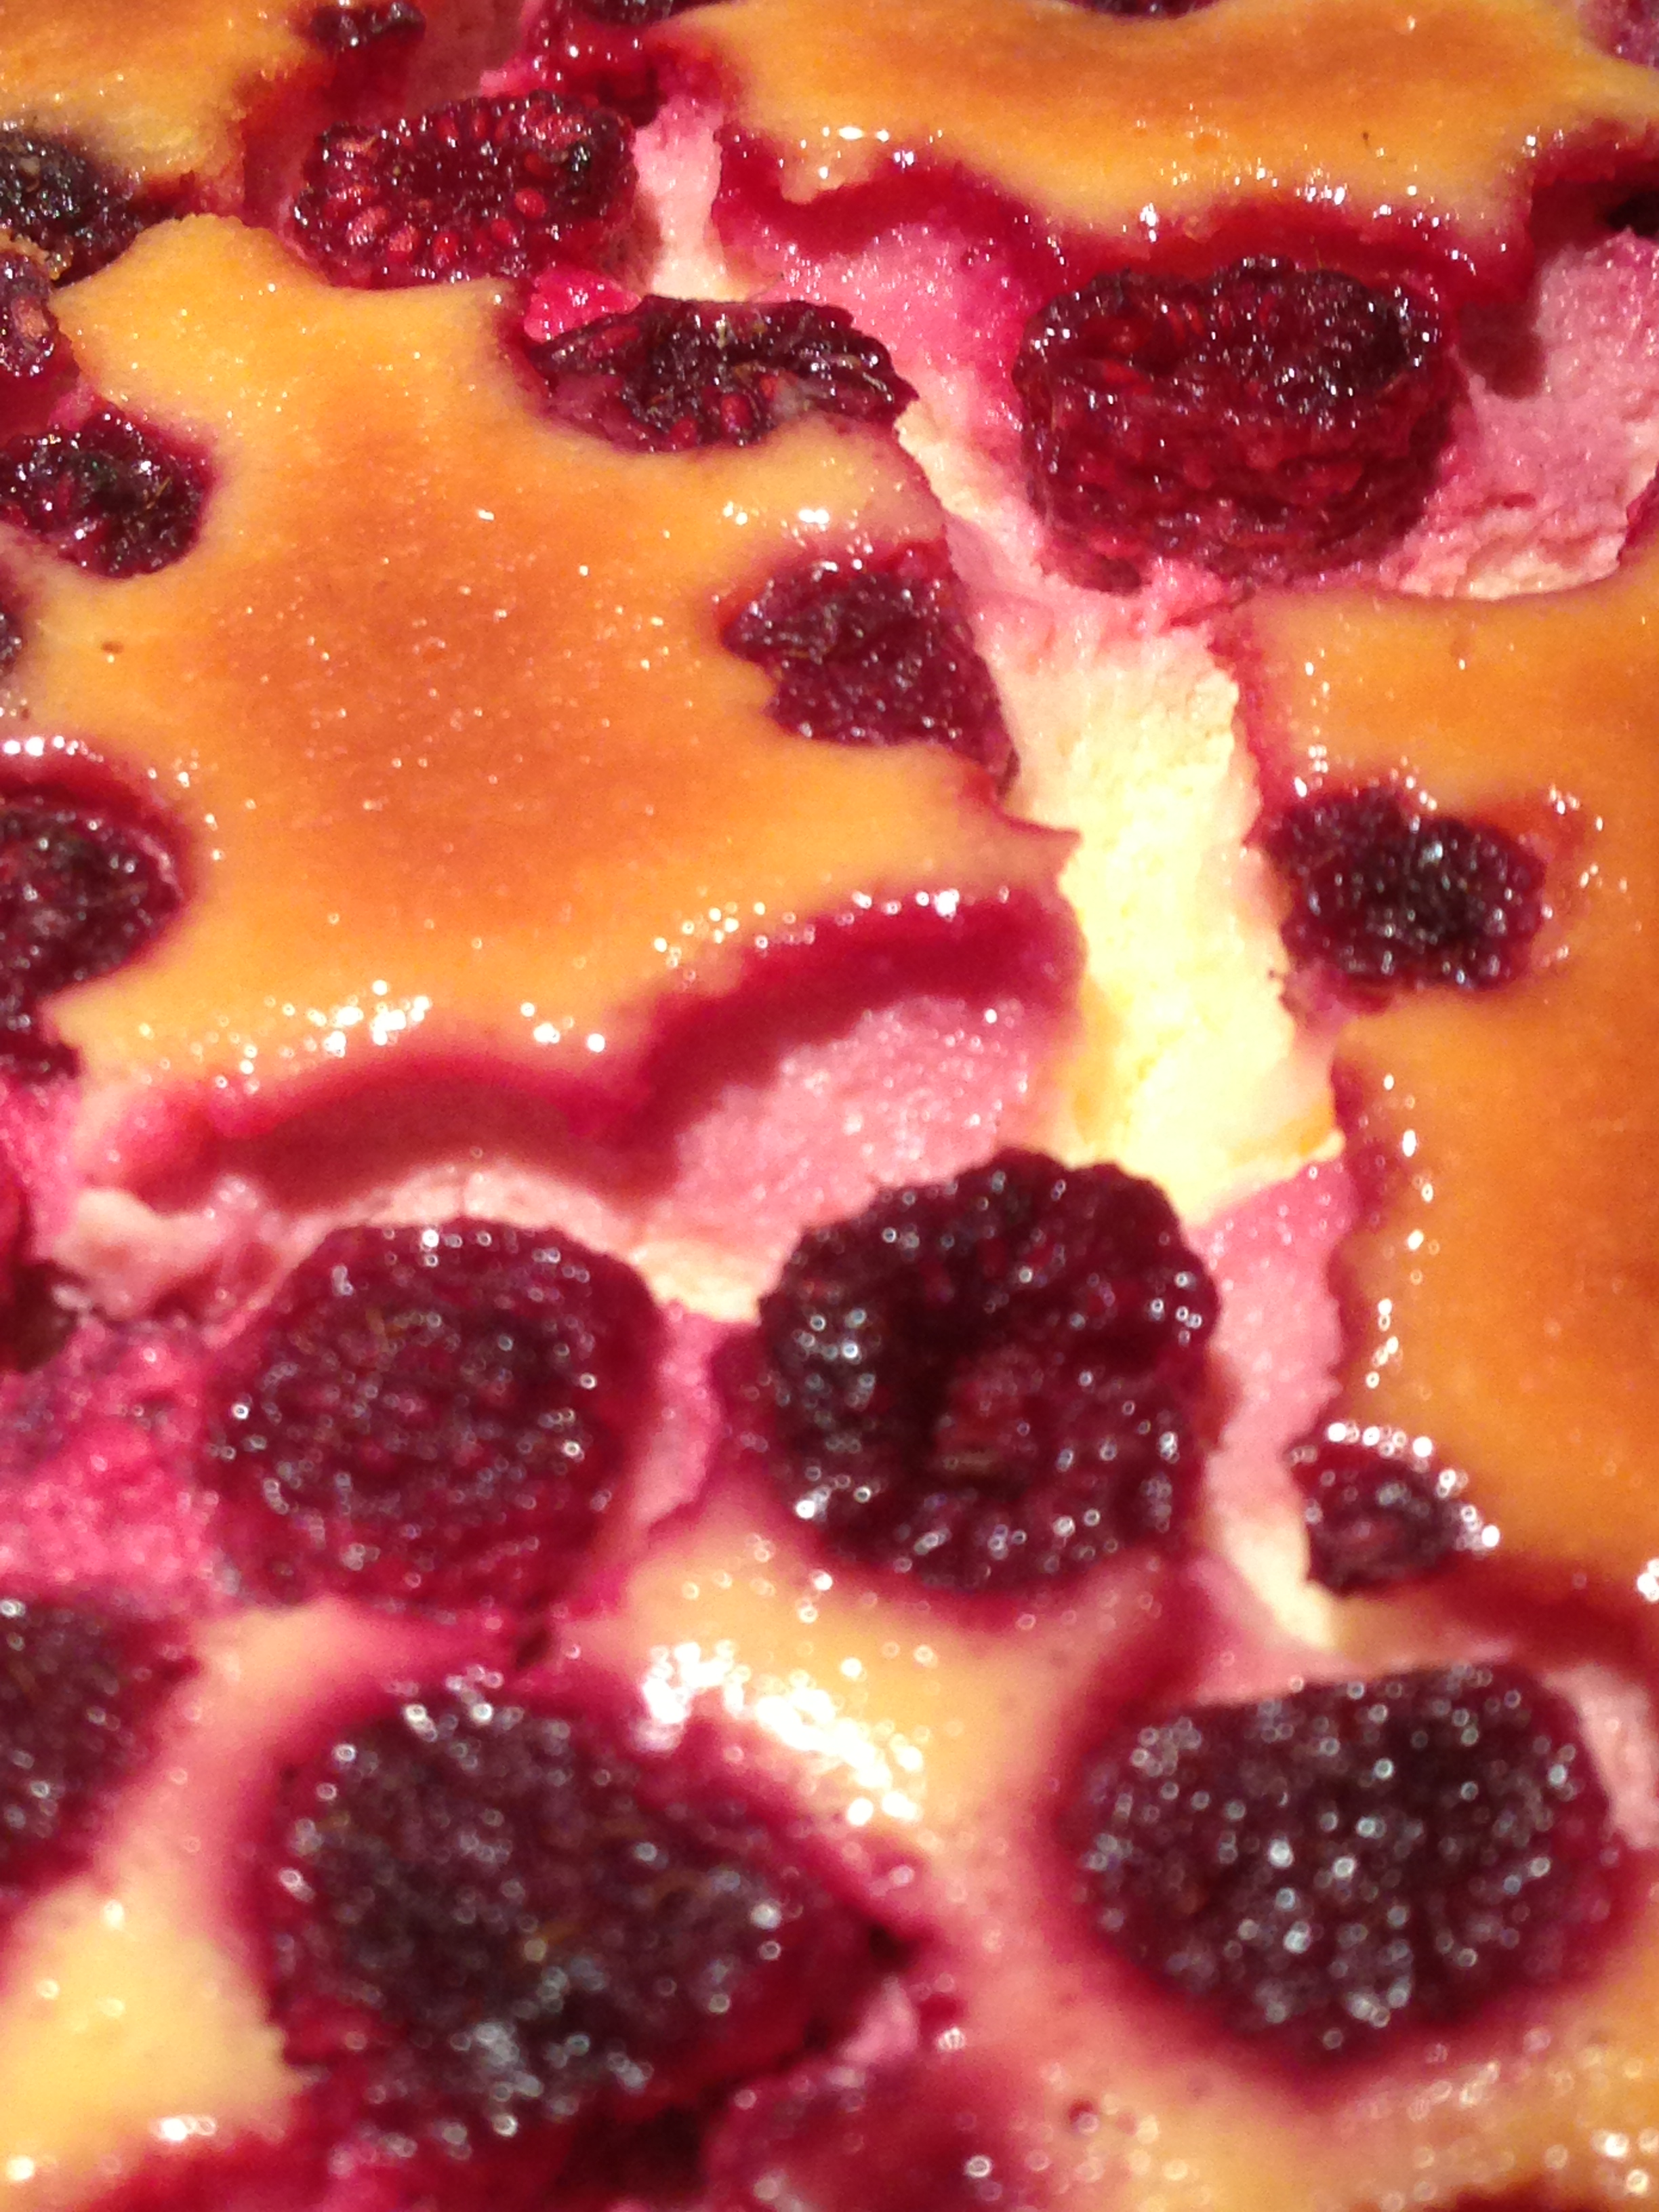
Quite marshmallowey don’t you think? Yes, this utopian land I am convinced, is inhabited by Solla Sollewians who dine exclusively on pavlova. What more fitting a dish for this decadent town could there be? Brittle shards of crispy meringue offset with the spongy sweet centre. Topped with rich fresh cream, fragrant banana,  strawberries and a passionfruit tang following through. Make yours on a day when time needs no measure – there is plenty of beating and mixing to be done and of course with the mix-master whirring and the sugar sprinkling definitely an opportunity to get into the zone.

4-5 egg whites at room temperature (or enough to reach 150ml)
1 cup caster sugar
1 tspn white vinegar
small container of thickened cream
1 small banana
2 passionfruit
approx 6 strawberries

  1. Preheat the oven to 160 degrees celsius.
  2. Beat the egg whites until stiff peaks form.
  3. Beat the sugar in, 1 tablespoonful at a time and beat well between each addition to ensure it dissolves into the egg whites.
  4. Scrape down the sides of the bowl and beat for 6 minutes.
  5. Add the vinegar and beat for a further 2 minutes.
  6. Draw an 18 cm circle on baking paper and lay on a flat tray.
  7. Pile the meringue mixture inside the circle – heap it up.
  8. Place in the oven and reduce temperature to 120 degrees celsius.
  9. Bake for 1 1/2 hours.
  10. Leave in the oven to cool with the door open.
  11. When cold top the meringue shell with cream, thinly sliced banana and strawberries, then drizzle passionfruit across it all.

fruit topped pavlova

Postscript: Pavlovas and Solla Sollewians aside, I owe a great deal to Dr Seuss for the enchanting itineraries he devised for me through his pen.

Advertisement
recipes

Sundae

chocolate fudge sundae

Washing flapping in the breeze, windows thrown open, lush green grass, blue skies and sunshine – time to move the heavy pudding basins to the rear and bring forward the delicate glassware. Lavishly topped ice-cream – a visual as well as a culinary feast. How could anyone spy an ice-cream sundae and not be transported to jubilant times? Springtime, term break and ice-cream – the holy trinity in our household.

The simplicity of a sundae – when these were made I couldn’t help but wonder why we don’t make them more often. Within ten minutes, everyone is digging furiously into lava topped vanilla mountains, enjoying shards of toasted nuts and sticky cherries in the process. Not only this, but with the lure of a sundae, all manner of promised household chores are miraculously completed.

For the maker, the ultimate comfort comes from the security of owning a shiny jar full of fudgy sauce, that at a moment’s notice can be warmed and poured.

chocolate fudge sauce

If you seek similar reassurance, this glossy rich chocolate sauce is easily blended and not only makes winning ice-cream sundaes but is perfect to dig a spoon into after everyone has gone to bed.

1 cup cream
3/4 cup condensed milk
1/2 cup brown sugar
1/4 cup cocoa, sifted
180g dark chocolate, chopped
50g butter
vanilla ice-cream
crushed nuts (toasted if you have the time and inclination)
maraschino cherries (or tinned, bottled or fresh)

  1. Combine cream, condensed milk, sugar and cocoa in a medium saucepan and stir over low heat until sugar dissolves and mixture is smooth.
  2. Increase heat to medium so that mixture is simmering and cook for 3-4 minutes, stirring.
  3. Remove from heat and add chocolate and butter, stirring until melted and smooth.
  4. Scoop ice-cream into individual dishes, pour over sauce and top with crushed nuts and cherries.

This lovely rich fudgy sauce goes a long way, so store in a glass jar in the refrigerator, and warm gently in the microwave when required.

fudge sundaes

Postscript: sundae dishes, relics of simpler times, are a dime a dozen in thrift shops. Pick up a matching set, or make up a mis-matched crazy collection. Should you tire of sundaes (unlikely) these dishes make great tapas, taco or antipasto accoutrement.

recipes

Succor

Chocolate self-saucing pudding

As Winter bares its ugly teeth there is little other recourse than to seek refuge in a huge helping of chocolate self-saucing pudding. Rising from a deep pool of steaming rich sauce, this robust pudding is so densely fortified with chocolate, cocoa and goodwill, it can ward off any biting chill in a single serve.

 To beat wolves from our door, we unleash this devilish dark pudding. As the rain beats against glass and wind buffets the external, all members of the clan dig in (and often two or three times). So, if ever there is a time to unearth the cherished pudding manuals, is doesn’t get any better than this.

And to flood your heavily shrouded home with the smell of baked chocolate, well after darkness has descended, is the very essence of how treasured olfactory memories begin.

If you have similar villainous elements that need to be kept at bay, this pudding is a magnificent way to armour your troops.

50g dark chocolate (I used Lindt 70% cocoa), chopped
50g butter, chopped
2 tbsp cocoa powder
2/3 cup milk
1 cup SR flour
1/2 cup caster sugar
1/2 cup brown sugar
1 egg, beaten

fudge sauce
1 1/2 cups water
50g butter chopped
1/2 cup brown sugar
1/4 cup cocoa

icing sugar to dust the top

  1. Preheat oven to 180 degrees celsius and grease a 6 cup capacity oven proof dish.
  2. Combine chocolate, butter, sifted cocoa and milk in a saucepan and stir over low heat until chocolate has melted.
  3. Sift flour into a large bowl and stir in the sugars. Add the chocolate mixture and egg – mix well.
  4. Pour mixture into baking dish.
  5. To make the sauce, combine the water, butter, sugar and sifted cocoa in a saucepan and stir over low heat until combined.
  6. Pour the sauce over the back of a spoon across the surface of the pudding mix.
  7. Bake for approximately 45 minutes or until firm.
  8. Serve dusted with icing sugar and cream or vanilla ice cream on the side.

dusted chocolate pudding

Postscript: and perhaps had the Starks (of Game of Thrones notoriety) been aware of the properties of the humble chocolate pudding,  the threat that ”Winter is Coming” may have been nullified.

recipes

Medley

Fruit salad

We load our crispers enthusiastically as the week opens with good intention, virtuous feelings of nurturing and nutritional piety – and abundance of fruit. By mid-week, health promises and resolutions lay broken like pie crust and the crispers are still groaning. As you stare down the barrel of the coming week-end, with fruit in quantities far too excessive to clear out into unsuspecting lunchboxes, it’s time for fruit salad.

And this week, we did just that. An assembly of refrigerator pickings gathered on the chopping board. After the halcyon days of summer stone fruit, what now remained was a fairly pedestrian selection. However, once the ‘pedestrians’ were chopped and a few early winter newcomers were included, we had quite a sunny bowl before us. Topped with a delicious orange syrup, helpings disappeared in record time.

As a result, the crispers were cleared, nutritional equilibrium was restored and children retired to their beds on bowls of fruit rather than ice-cream. I’d say some self-righteousness was in order.

But before I topple off the edge of this moral high ground, here is how to produce the lovely, sweet orange syrup that covered it all…..

1 cup sugar
1 cup water
1 tsp vanilla essence
finely grated rind of one orange
juice of one orange

  1. Place all of the ingredients into a medium saucepan, and mix together.
  2. Place over medium heat and stir until sugar has dissolved and the mixture comes to the boil.
  3. Reduce heat and simmer for approximately 15-20 minutes or until the liquid has become syrupy.
  4. Chill well before pouring over large serving bowl of fruit salad.

fruit salad with orange syrup

Postscript: As we prepare to undergo the next season of Masterchef where no doubt we shall be encrusted, caramelised, deglazed and trussed, at least we know that performing the ‘chop, mix and pour’ trilogy will have us savouring fresh produce at its simplest and best.

recipes

Miss Drake

Miss Drake's Home Cookery

How wonderful it was for newly married women of the 1950’s (and decades prior) to have the wisdom of Miss Lucy Drake to see them through any cookery challenge that may have presented. Armed with her Diploma of Domestic Economy and a Trained Teacher of Domestic Arts, (awarded in Melbourne no less), this accomplished domestic champion was qualified to see these lasses through any boiled fowl in egg sauce, diplomatic pudding or jellied rabbit situation that may have arisen, without even having to refresh the lipstick. As it happened, my mother was one of those fortunate brides, as evidenced by our well-worn copy of The Original and Only Miss Drake’s Home Cookery, ever at the ready in the kitchen of my upbringing.

I guess then, it was no accident that Miss Drake had a hand in my early cookery development. With Miss D’s guiding hand, I learned the art of the Lemon Meringue Pie, so often in fact that the book would fall open to the spattered page. So for old time’s sake, this millennium family was treated to one this evening. Here is how Miss Drake directs one:

”LEMON TART. This quantity for big sandwich tin; half this for small tin. I lb. plain or good short crust (page 120). Interior for Tart.—2 lemons, 2 eggs, 5 tablespoons sugar, 5 tablespoons cold water, 2 dessertspoons butter, 1 dessertspoon arrowroot blended with 2 dessertspoons cold water. Reserve the whites of eggs to whip stiffly for the top; then fold 3 dessertspoons castor sugar into stiff whites, 1 cherry and little angelica. If eggs and butter are dear, half this quantity of interior is sufficient. Method— 1. Light oven. Make short crust. 2. Shape tart. Whilst it is cooking, get ingredients for interior. Put water, egg yolks, sugar, butter, blended cornflour, grated lemon rind and juice all into a small saucepan. Stir over fire till it boils and thickens. When tart is cold put in the mixture. Whip whites stiffly, fold the castor sugar in. Decorate the top like icebergs. Return to oven just to tint. Decorate with cherry and angelica.”

Miss Drake's Lemon Meringue Pie

For me, following Miss Drake’s directions was an indulgent exercise in nostalgia, but you may not find the vintage terminology as endearing. Therefore, here is a Lemon Meringue Pie in modern terms (from another domestic matriarch, Margaret Fulton), that you may be more comfortable with.

Shortcrust Pastry (frozen sheet)
3 egg yolks
1/2 cup caster sugar
2 tbsp Plain flour
grated rind and juice of two lemons
4 tbsp water
3 egg whites
pinch cream of tartar
1/4 cup caster sugar

  1. Line your pie dish with shortcrust pastry sheet and pinch the edges for decoration. Weight down with rice or dried beans and bake for 15 mins at 180 degrees celsius. Remove weight and bake for a further 5-10 minutes or until golden.
  2. Make filling by mixing the egg yolks, sugar , flour and lemon rind in a heavy based saucepan and gradually stir in the lemon juice and water.
  3. Cook, stirring constantly, over medium heat until the mixture is smooth and thick. Cool, then pour into cooled pastry shell.
  4. To make meringue, beat the egg whites with the cream of tartar until thick. Gradually add the sugar, 2 tablespoons at a time, beating until the mixture is thick and glossy and the sugar is dissolved.
  5. Spread over the filling in the pie shell, sealing it completely with the meringue.
  6. Bake in a 180 degrees celsius oven for 8-10 minutes or until meringue is golden. Serve cold.

Lemon Meringue Pie

Postscript: I would love to be able to tell you our old ”Miss Drake”‘ lives on in my kitchen, but alas not. All is not lost however, as I have recently discovered that some wonderful people at Swinburne University, have archived this book within their image bank and have made the entire publication available as a downloadable PDF – so Miss Drake can assist you too, with your next Boiled Jam Roly.

recipes

Baked

baked raspberry cheesecake

If you can measure, mix, pour and bake, then there’s no reason why this delicious specimen can’t be cooling on your benchtop, as this one did on mine recently.

I have no ability to take in the intricacies of an intriguing story or keep track of a workplace crisis and cook simultaneously – something must be ignored, usually the food. For that very reason, when friends are dining, I need to make sure as little attention as possible needs to be given to food after the gathering arrives.  A baked cheesecake is a clever culinary solution, as it can sit cooling its heels in the refrigerator from the day prior – its flavours rounding out beautifully by serving time. That being, not a thread or mere detail of the latest goss is lost, when all that is required is to slice and pass.

And as this recipe yields such a generous cake, there is plenty left over for neighbourhood coffee banter the following morning.

To ensure you miss nothing either at your next do, get this simple Baked Raspberry Cheesecake happening in your oven well in advance.

250g packet of Granita or other sweet biscuits
125g melted butter
250g softened cream cheese
250g ricotta cheese
3 eggs
1 cup sugar
1 cup sour cream
1 tbsp grated lemon rind
3 tbsp lemon juice
1 tbsp cornflour blended into 1 tbsp water
a generous handful or so of fresh or frozen raspberries

  1. Process biscuits to crumbs and then add melted butter. Process briefly until combined.
  2. Press this mix into the base of a large greased springform cake tin and place in the refrigerator.
  3. Process all of the remaining ingredients EXCEPT the raspberries until smooth.
  4. Pour this mix over chilled base. Sprinkle raspberries evenly over the top.
  5. Bake in a preheated 150 degree celsius oven for approximately 50 minutes or until cheesecake has set.
  6. Chill in the refrigerator until firm. Serve with thick cream.

raspberry cheesecake

Postscript: should you not be in possession of a food processor, don’t walk away. The biscuits can be crushed with a rolling pin and the filling beaten with a hand mixer.

recipes

Vintage

Chocolate Ripple Log

As a child of the 70’s, any mother who produced a chocolate ripple cake for the ”sweets table” at a local function, won my everlasting respect.

Not sure if it’s the fact that its made from my favourite childhood biscuit, it’s delicious on a hot day straight from the fridge Nigella style, or it’s sheer simplicity, but this would be one childhood dessert that has carried over into adulthood for me, without skipping a beat. Sandwiching biscuits together with cream and making a log – it doesn’t come much simpler than that.

So with temperatures currently in the high 30’s, I could think of nothing nicer than opening the refrigerator to a chilled chocolately log at sunset. Extended setting time is required to allow the cream to seep into the biscuits and become all cakey. So, first thing in the morning, once everyone has vacated, pour yourself a coffee and trowel yourself a creamy log. The sense of accomplishment you’ll radiate by 9.30am will astound.

To get your chocolate ripple cake up and running, here is the recipe, straight from the crinkly pack – and if you feel the need to slip on a kaftan before you begin, by all means do.

1 x 250g packet Arnott’s Choc Ripple biscuits
500ml thickened cream
1 tsp caster sugar
1 tsp vanilla essence
cocoa powder

  1. Using an electric mixer, whip together cream, sugar and vanilla until stiff.
  2. Spread a little of the cream along a long serving plate to make a base. Spread one biscuit with 1 ½ teaspoons of cream then top with another biscuit. Top with another 1 ½ teaspoons cream then place biscuits on their side onto the cream base on the serving plate. Repeat until all biscuits have been used to form a log.
  3. Spread remaining cream over entire log. Cover loosely with foil then refrigerate for a minimum of 6 hours to set. Just before serving, dust log with cocoa or sprinkle with grated chocolate if desired. Cut cake diagonally to serve. Serve with seasonal berries.

chocolate ripple sliced

Postscript: A friend will routinely pulverise a packet of chocolate ripples into powder, scoop the resulting crumbles into individual containers, throw in a scattering of sour worm lollies, and market them at fetes and cake stalls as ”Worms in Dirt'” …. just so you know.

recipes

Luscious

If you are ever unsure of the whereabouts of family members, you can guarantee that the wafts of  warm chocolately baking emitting from an oven of brownies will unearth them from locations near and far.

As if by sorcery, individuals within close proximity, who 15 minutes previously, could not hear you when you called for assistance with dish washing, suddenly appear in the kitchen with an interest to assist. Even those, riding bikes, at remote parts of the property, are lured in by the heady aroma of baked chocolate. No one is disappointed.

Taking inspiration from Frugal Feeding, who ingeniously added blueberries to his latest batch, I was prompted to defrost my much-loved raspberries and turn out yet another version of this irresistible treat – raspberry brownies. To ‘rattle out’ your own tray, follow this recipe (which is basically a brownie that I have made many times, with the addition of 150g of raspberries). If you have your own trusty standby, use it and add the same quantity of berries.

200g dark chocolate
150g butter
3 eggs, lightly beaten
175g brown sugar
75g plain flour
150g raspberries (if using frozen, thaw them well)

  1. Preheat oven to 180 degrees celsius. Grease and line a 20cm square pan with baking paper or you can use a rectangular pan of similar dimensions.
  2. Melt chocolate and butter in a saucepan over low heat until smooth. Cool for 5 minutes.
  3. In a mixing bowl, combine eggs, sugar and sifted flour. Mix well.
  4. Fold in the chocolate mixture and then stir through the raspberries.
  5. Pour into prepared pan and bake for 30-35 mins. Check earlier as all ovens cook at different speeds!
  6. Cool in the pan before cutting into approximately 12 squares. Delicious served just warm.

The more patient individuals in this household were able to enjoy their brownies for dessert, accompanied by vanilla ice-cream – in a bowl. Others gorged themselves straight from the cooling tray…

Postscript: I can’t help thinking, that Darby and Joan would have been much happier by their fireplace if they too could share in a piece of this brownie.