book reviews · recipes

Sophie

It is with barely contained glee that I can announce, we saw the trailer for Spring 2015 here today!

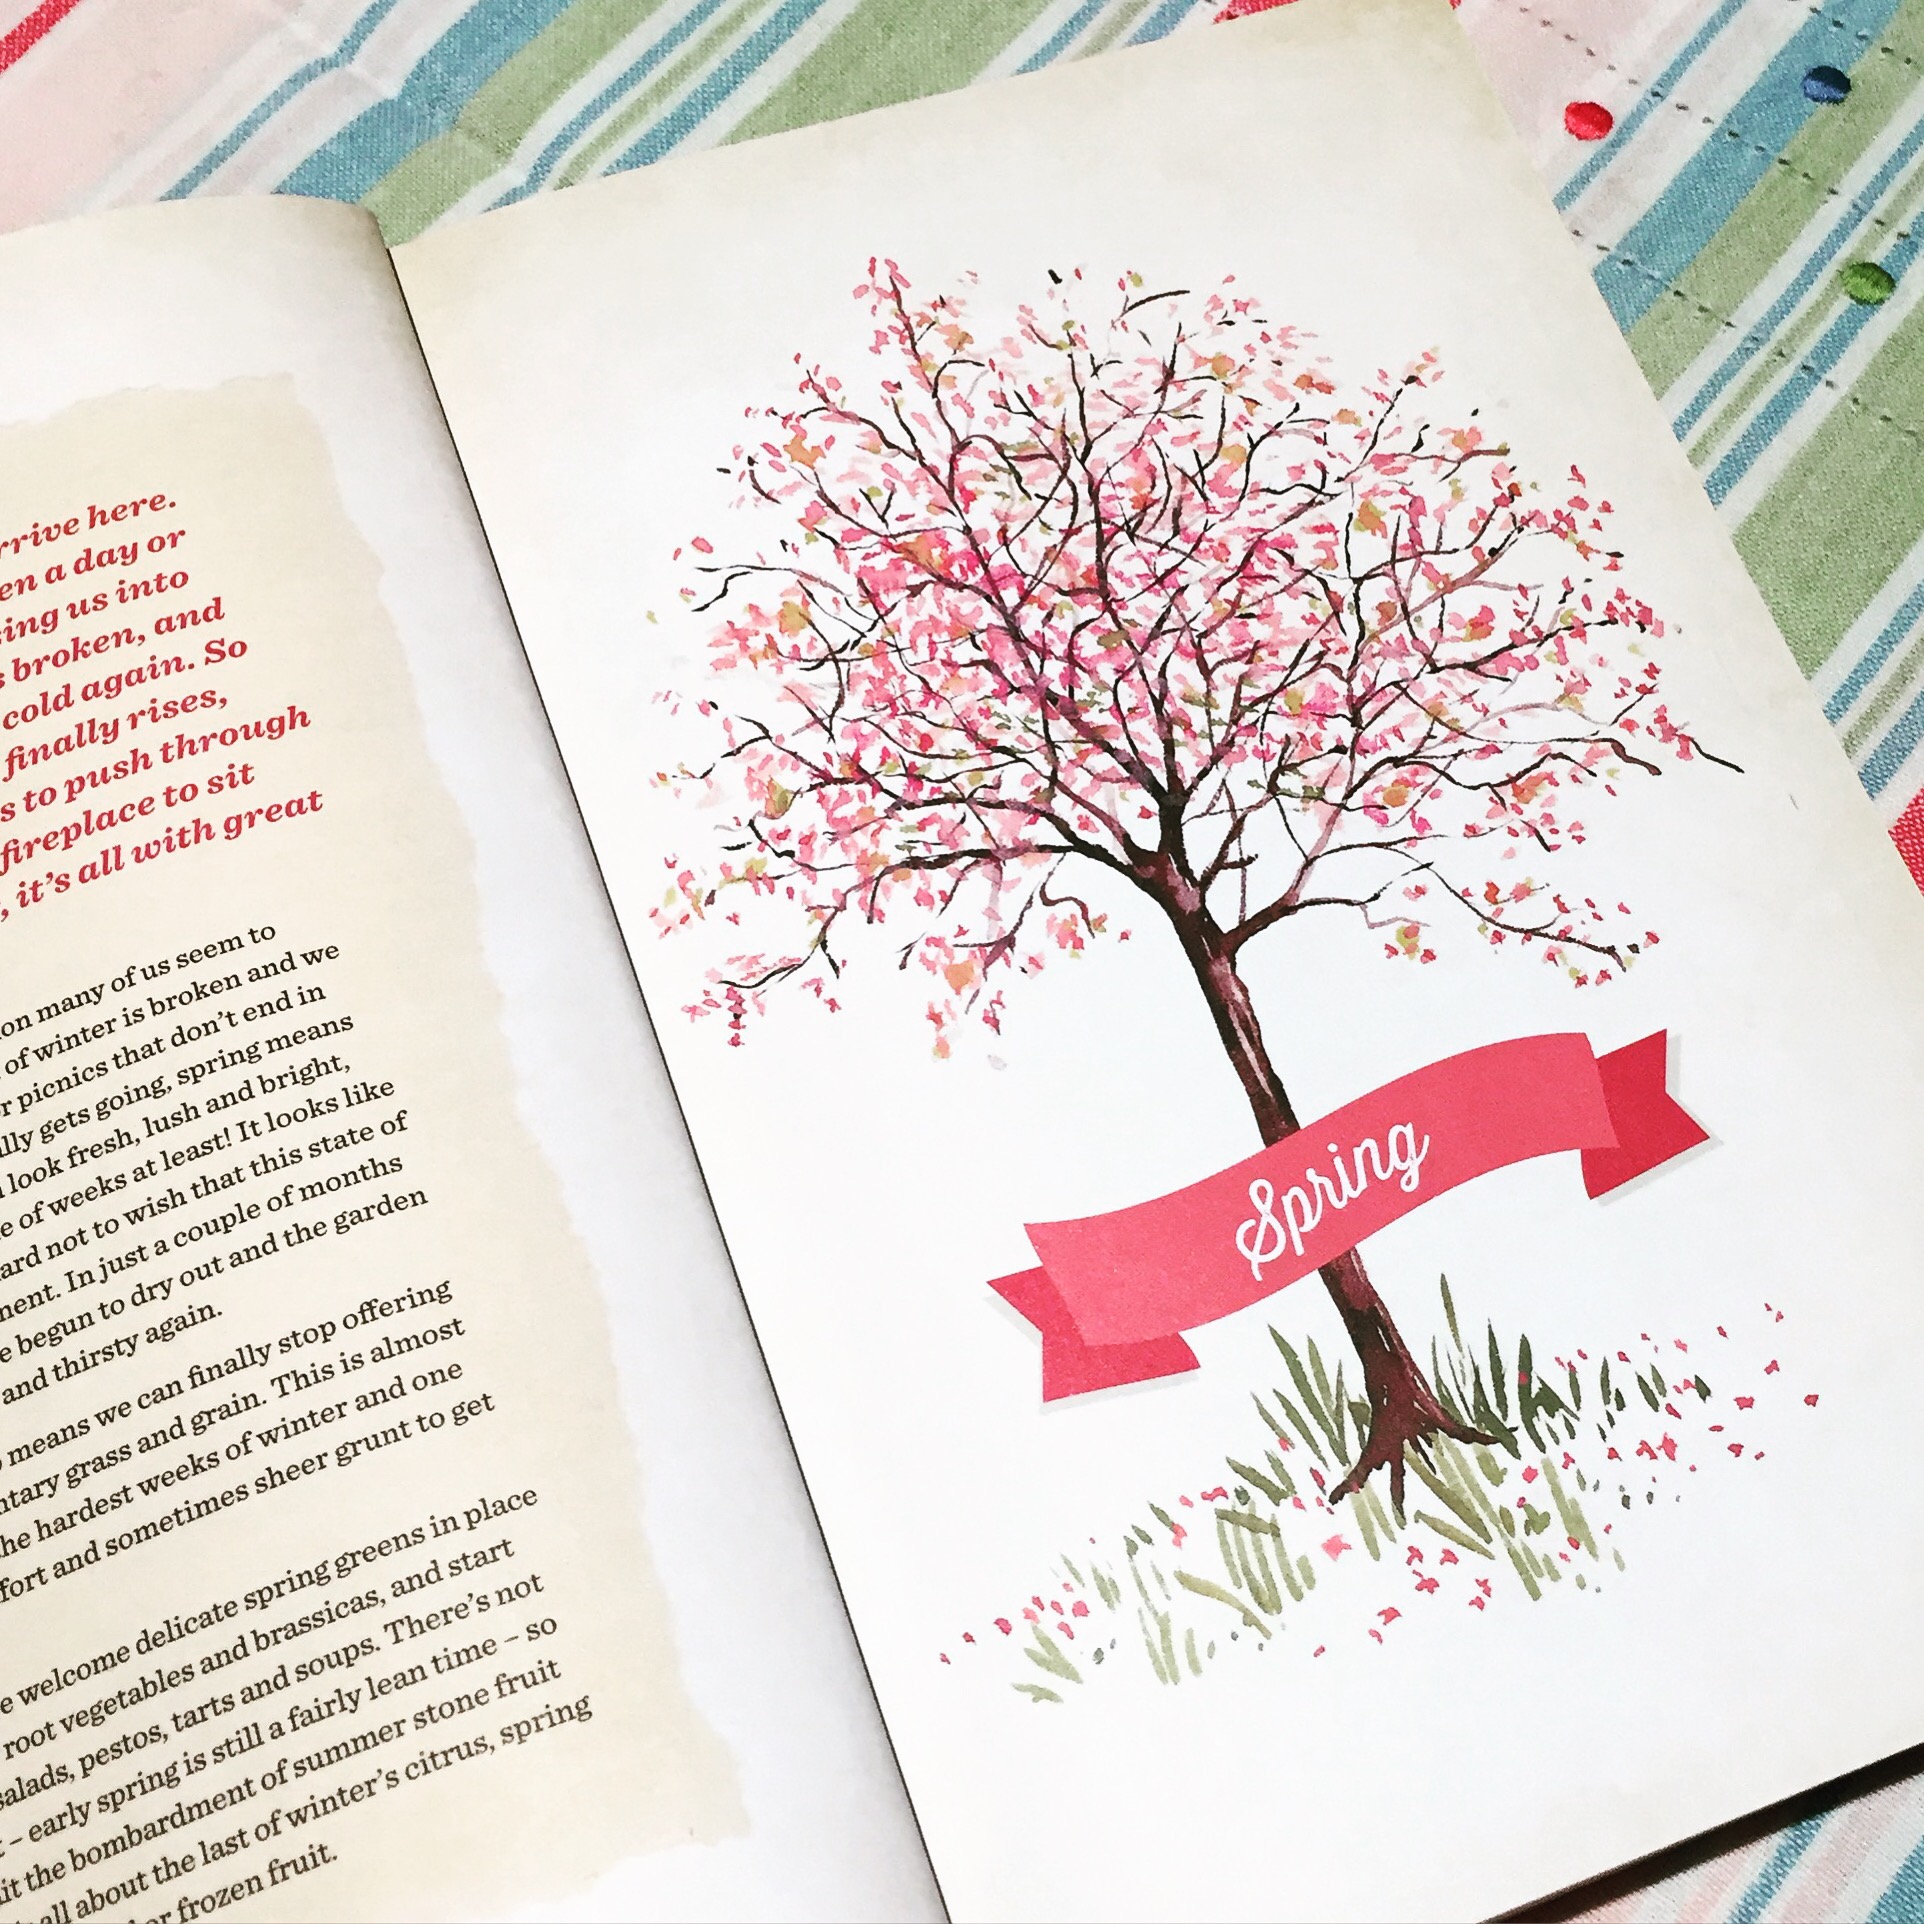
Yes, all of the highlights – bird twittering, daffodil nodding, lawn mowing, cat sprawling and of course sun drenching – were condensed into the happy daylight hours of this late winter Saturday. And if the coming season is anything close to what this trailer alluded to, it’s going to be a cracker! So, inspired by this exciting preview, I thought it fitting that the opening image to this post about Sophie Hansen be the spring illustration from her book, Local is Lovely.

But before I continue, I just need to take a quick side-step up to a soap box, and restate my passionate belief yet again – we all need to continue to cook. We need to take produce from around us, where possible, in it’s simplest form and slice it, mix it, bake it, steam it, roast it, mash it or whatever needs to be done to it to produce nourishing, appealing food to fuel healthy lives. And most vitally, our children need to see this happening. They need to be exposed to basic raw materials being crafted into meals so that when their time comes to take responsibility for their own nutrition and/or the nurture of others, this will be their default. Because it’s what they saw.

They need not have seen elaborate haute cuisine, but simply, basic combinations of fruit, vegetables, proteins and grains with a measure of fats and oils keeping things balanced and delicious. If that means thick slabs of bread loaded with generous slices of tomato, fresh cheese and garden herbs, topped with some pan-crisped salami, then the job is done. And if it can’t happen this way each day because the pace of life takes precedence, then that’s ok – just so long as there are times when it does.

So this now brings me to Sophie, a food writer and one-woman cheersquad for the local farmers/producers in her neighbourhood, within which, her farm in Orange, four hours west of Sydney is located. She is a strong advocate for sourcing food locally not only for the deliciousness of it but also to support the local growers, whom she believes are the heroes of our land. In her beautifully laid out read, you will be taken through the seasons, inspired by earthy delicious cooking using seasonal produce and intrigued by a sprinkling of profiles of her local farmers.

local is love

As well a being just a pleasurable, inspiring read, Sophie’s message within these pages is clear, to source locally, cook seasonally and enjoy the process.

Now I realise that most of us may not be located bang smack in the centre of a regional food bowl, and the local supermarket may be as close as it gets to sourcing our produce, and that’s fine too. It is amazing though, if you attempt to sniff it out, there are sources of locally grown staples, even in inner urban areas that can be drawn upon. I have a free-range egg farm close by and I imagine that many of you have a monthly farmer’s market in your vicinity. Some of us have neighbours with fruit trees whilst others are making it their business to learn the art of foraging and finding wild delights ripe for the taking. My point is, use what is available to you when you can and become aware. It’s not about making sweeping overnight changes, but gradual shifts toward a healthier and therefore more enriched lifetime.

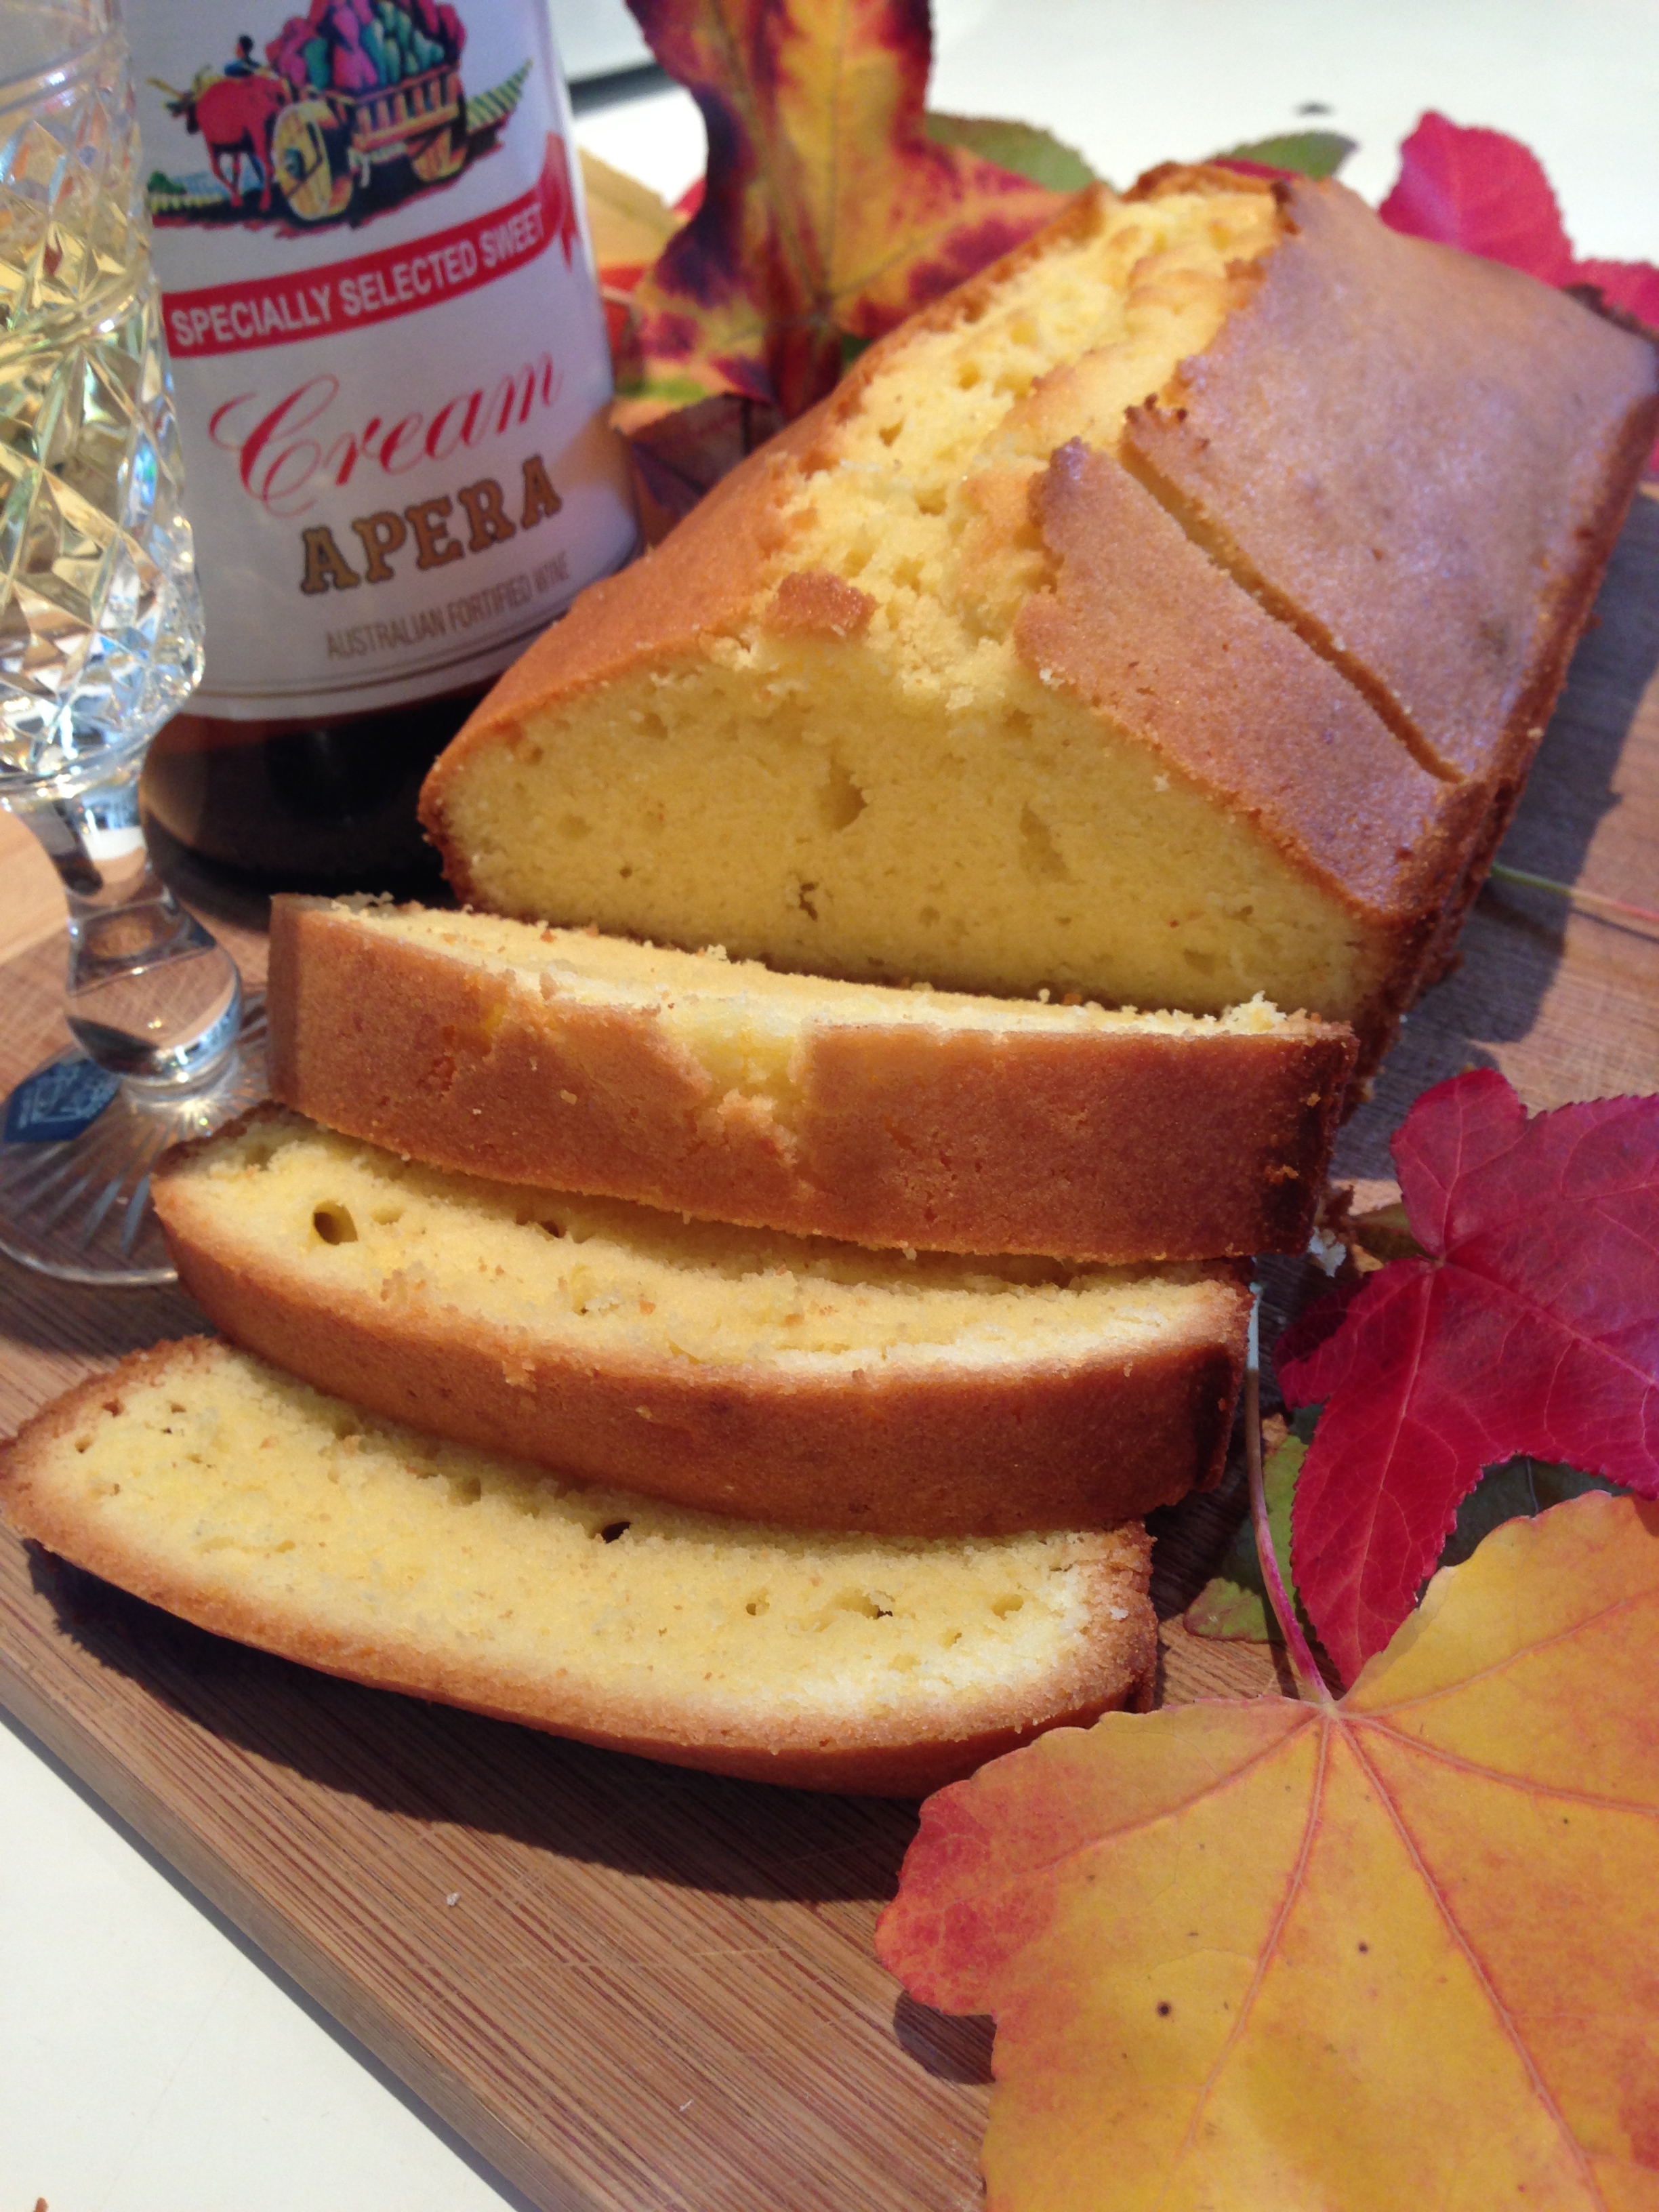
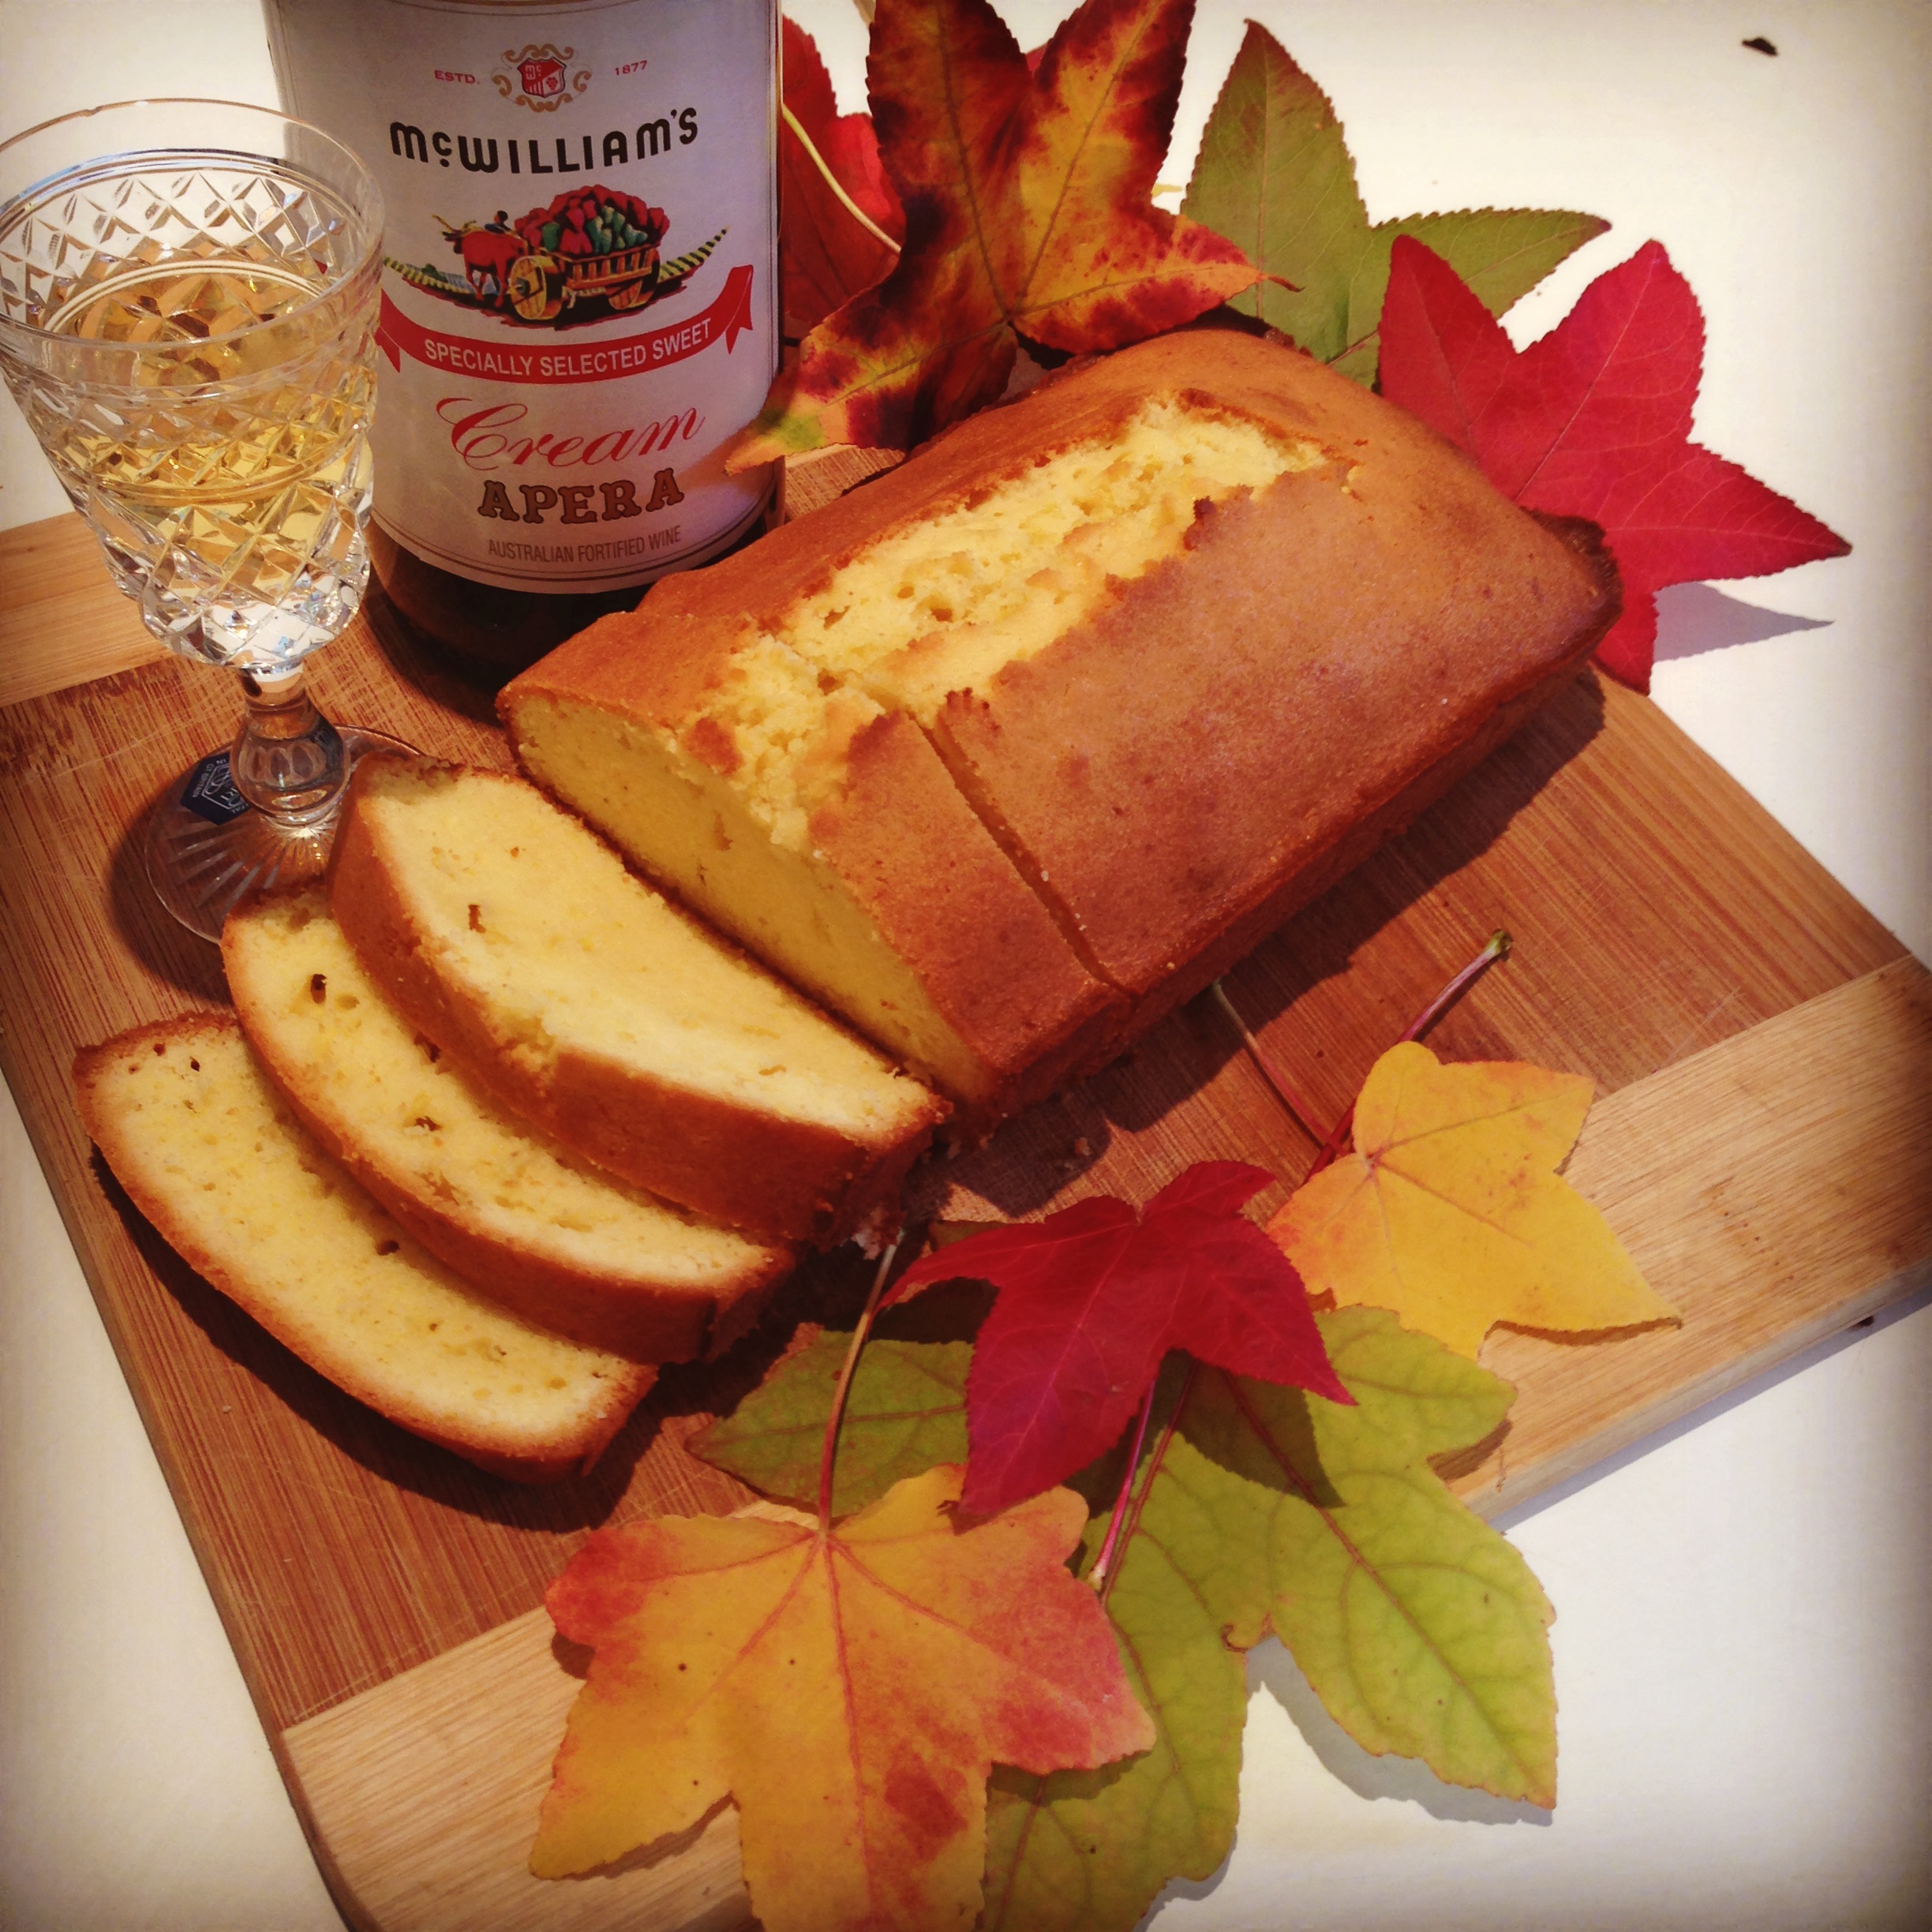
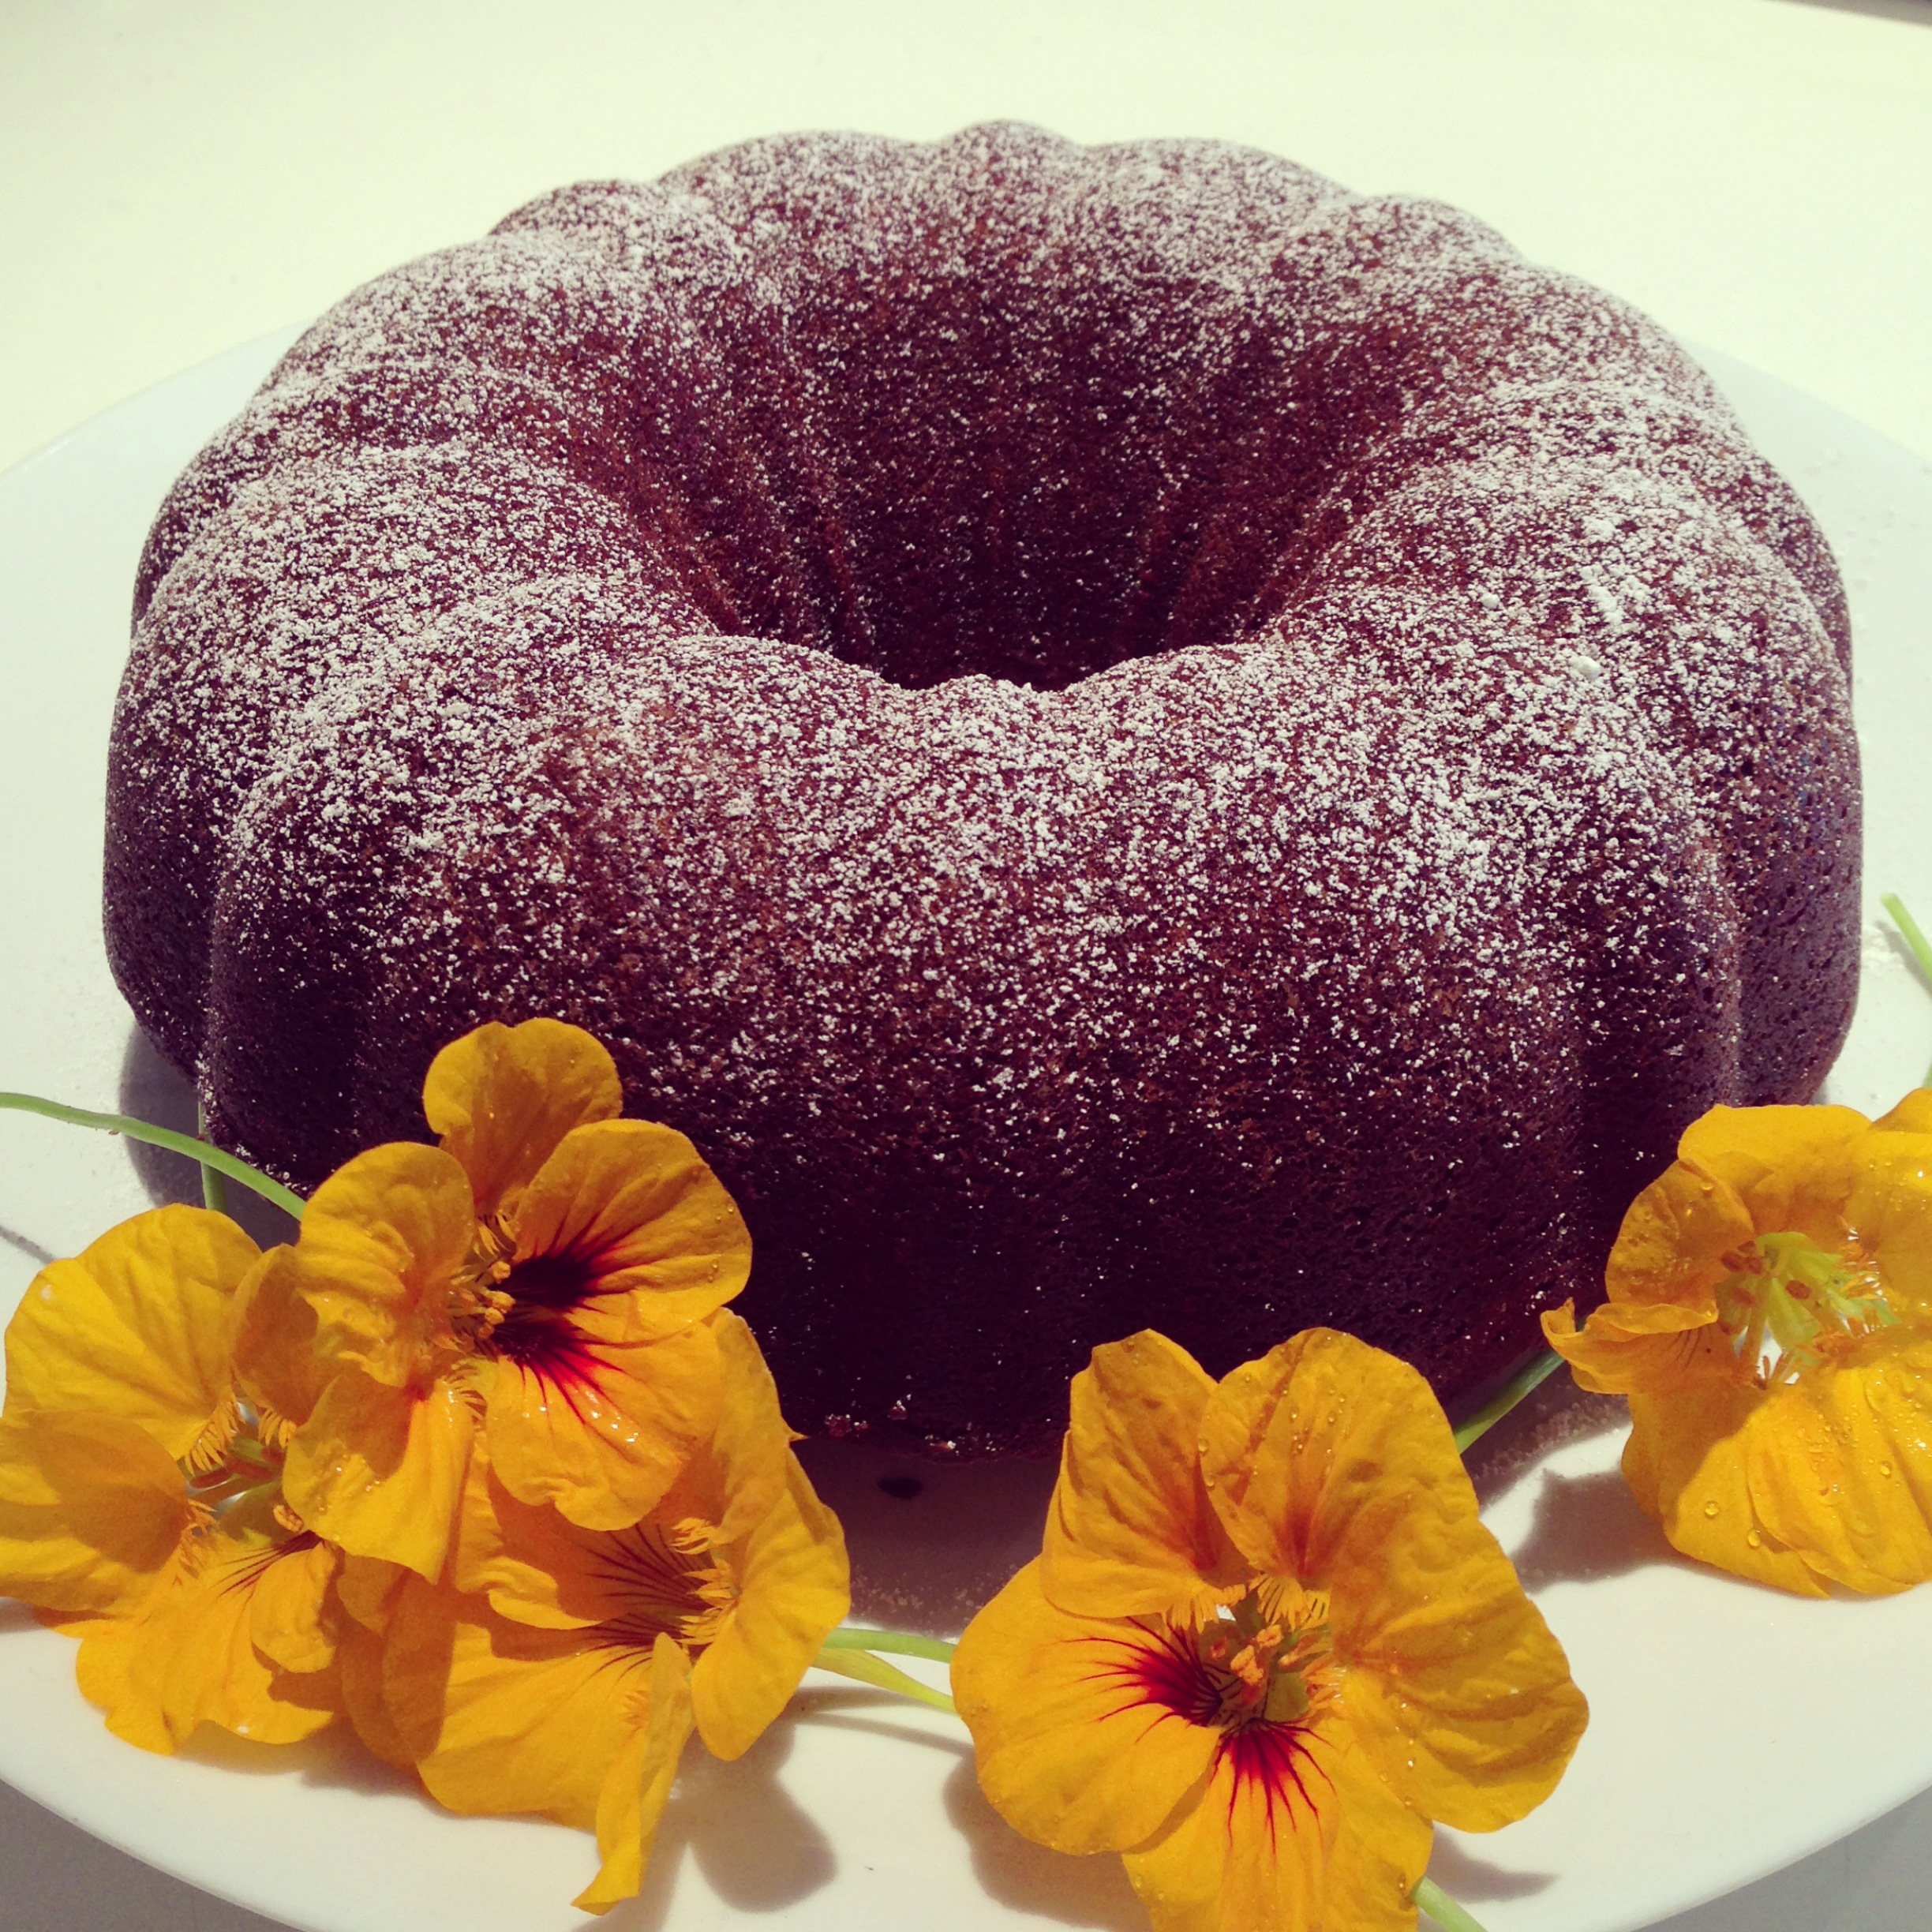
So while you ponder this, here is a Chocolate Blackberry Loaf, one of Sophie’s Winter Baking recipes (that you can receive in a free ebook that can be downloaded when you visit her and sign up for her newsletter) to enjoy.

1 cup plain flour
5 tbsp cocoa powder
1 tsp baking powder
1/2 tsp bicarb soda
good pinch salt
1/4 cup espresso coffee (I used one shot from our little machine at home but you could also make a really strong plunger coffee and use 1/4 cup of that)
1/2 cup natural yogurt
1 tsp vanilla paste
150g unsalted butter, softened
1 cup caster sugar
3 eggs
1 cup blackberries (raspberries or blueberries would also be good)

Preheat oven to 180C and grease and line a large loaf tin. Sift together the flour, cocoa powder, baking powder, bicarb and a good pinch of salt and set aside. In another bowl, combine the coffee, yogurt and vanilla and stir well. Now cream the butter and sugar together in an electric mixer, until pale and fluffy.
Add the eggs, one at a time, beating well between each addition. Add the yogurt mixture and mix in on low speed. Then, by hand, fold in the flour mixture and finally fold through the blackberries.
Spoon batter into the tin and bake for 45 minutes or until the cake is just pulling away from the tin’s sides and it feels firm to touch

Chocolate Blackberry Loaf

Postscript: and apart from the ethical, nutritional, sustainable and economic values Local is Lovely expounds, anyone who creates a cake recipe combining chocolate, coffee, blackberries and greek yogurt ought to be worth paying attention to.

Advertisement
homemaking · recipes

Stash

chocolate cherry nut refrigerator cake

At any time you care to name, there can be at least five of these chocolate biscuit slab cakes under our roof. As odd as that sounds, it is the plain truth, and if you would like this to be your reality, read further.

Once upon a time we had a dishwasher. Alas, on one dark and stormy night, to my horror it leaked everywhere and was certified beyond repair. My greatest fear was that we would never survive the interval of time that would elapse whilst a replacement was sourced and installed. It may be, that we would have to (gulp) wash dishes. In the kitchen sink. By hand.

As today’s therapists will purport, exposure therapy is the most effective treatment for eradicating irrational fear. Accordingly, we exposed ourselves to dirty crockery, soapy liquid and hot water and within a week I realised that not only did we survive without a dishwasher, life had become less complicated. Suddenly there was nothing to unpack, load or maintain. Our dishes were always ready to use, not backed-up waiting for a ”full load” and plunging hands into warm water whilst gazing into the garden through the kitchen window, was indeed pleasant. So the decision was made, family life would continue on without a dishwasher.

A simple enough solution but now, what to do about the gaping underbench void left by the departed.

Well this is what I did – I created a stockpile storage solution or as the children affectionately term it, the ”Doomsday Preppers Cupboard”. I simply fit out the space with an Ikea storage drawer system and concealed it with a pull across curtain. These drawers are filled with wonderful supermarket buys. Multiple purchases of nuts, canned food, pasta, dried fruit, cereals, and other assorted weekly staples, when the prices are really low. Having a healthy supply of all of the essentials without the pantry clutter is an effective way to operate in the kitchen.A stockpile to draw upon not only saves a considerable amount of money spent on the yearly grocery bill but enables you to pull together a Chocolate Biscuit Refrigerator cake at a moment’s notice. All of the ingredients for this recipe can be plucked from the stockpile, with the exception of eggs and butter, which are basics I always have on hand.

chocolate refrigerator cake 150g butter
100g golden syrup
200g dark chocolate ,chopped
1 beaten egg 350g plain sweet biscuits (Marie, Milk Coffee, Digestives etc), broken into chunks
60g walnuts
60g sultanas
100g glacé cherries
75g pecan nuts

  1. Line a square or rectangle baking tin with baking paper.
  2. Melt the butter and golden syrup together in a saucepan and bring to the boil.
  3. Add the chocolate, reduce the heat to its lowest setting and stir until the chocolate has melted.
  4. Gradually add the beaten egg and continue to stir until the mixture has thickened a little.
  5. Remove from the heat.
  6. Combine biscuits, walnuts, sultanas and half the glacé cherries in a bowl. Pour the hot chocolate mix over this dry blend and mix together.
  7. Spoon  the mixture into the prepared tin, pressing it down firmly.
  8. Put the pecan nuts in the bowl that contained the chocolate mixture and stir them around to coat them in the chocolate.
  9. Scatter the pecans and the remaining glace cherries over the cake,
  10. Refrigerate for three hours or until set, then cut into slices of the desired length,

Wash up your dishes – by hand.

a piece of chocolate refrigerator cakePostscript: Not only will your stockpile hold the constituents of a Chocolate Biscuit Refrigerator cake, but also the foundations of most week night family meals.

recipes

Honest

autumn leaves

And so it is once again we make our seasonal transition, and as is customary, our greeting from Autumn is one of welcome and warmth. Rich jewel-hued foliage and mellow sunshine provide a glorious backdrop for days spent digging over soil for winter, industrious pegging at washing lines or simply enjoying the treat of coffee-dipped biscuits on a terrace.

The latter is my preference, soaking up sunshine as eagerly as the scotch fingers fill with steaming coffee – I’m grateful to absorb them both! I encourage you to make this practice yours as well, as there are no finer moments in your garden than those spent basking in the warmth of sunshine, coffee and golden thoughts of promising plans. The velvety swish around your legs of a feline who discovers your presence only adds to the affability of the occasion.

There is nothing complex or intricate of Autumn. A season of robust honesty – rich color, decent rain, enduring sunshine and crisp nights. It’s reduced temperatures call for hearty, earthy food. Plain and simple. Plain cake. Gather your faithful core ingredients: butter, sugar, eggs, flour and set about this reliable, dense Madeira cake – nothing fluffy or fly-away about this one. Your kitchen will fill with the scent of baked goodness, and should ‘the sun be over the yard arm’ bring out your finest fortified (madeira if you have it), adjourn to the terrace and dip away.

madeira cake

175g softened butter
175g caster sugar
250g plain flour
3/4 tsp baking powder
finely grated lemon zest of 1/2 a lemon
4 eggs

  1. Pre-heat the oven to 160 degrees celcius and grease and line a loaf tin.
  2. Cream the butter and sugar in a mixing bowl until light and pale.
  3. Sift together the flour and baking powder, then stir through the lemon zest.
  4. Beat the eggs into the butter and sugar mixture, one at a time,beating thoroughly between each one.
  5. Using a metal spoon, swiftly but thoroughly, fold through the flour mix.
  6. Spoon the mixture into the prepared tin, smooth the top and bake for 55-60 mins or until a skewer inserted into the centre comes out clean.
  7. Cool in the tin for 10 minutes and then turn out.


McWilliam's sherry

I couldn’t help noticing the driver of the bullock cart laden with grapes, decorating the sherry bottle. Maybe he was returning to his rustic verandah. After such a productive day, perhaps to kick off his boots, dunk a big chunk of cake into his sherry and survey the beauty of the harvest vineyard before him- who knows?

madeira display

Postscript: I must give credit to the Liquidambar for supplying such a stunning array of delicious colour to set off the madeira. This tree personifies Autumn in our garden.

family · recipes

Blurred Line

Chocolate Yoghurt Birthday Cake

Whoever drew the dividing line between girlhood and womanhood must have brushed across the ink before it had time to dry, making this transitional time of life is so indistinct. Nothing could illustrate this more clearly for me than when a significant teen-age (17) was celebrated at our home this week.

The media darkly cautions us of the increasing ‘sophistication’ of our young girls. Accordingly, contemporary parents hold their breath when the question of a ‘party’ is raised, fearing the worst. Before I had the opportunity to exhale, our impending event was carefully mapped out before me – a sleepover for eleven, pyjamas, DVDs, pizzas and a pancake breakfast. Could it be that simple?

As I mentally prepared for sly grog, inappropriate footage and complex sleeping arrangements, the party-goers minds’ were elsewhere. They instead were busily packing onesies, sleeping mats and wait for it – The Lion King.

Upon arrival, as I stood superfluously to one side, mats were unfurled and arranged tetris-like in our living area so one and all could reach for the lolly snakes, take a swig of orange-fizz and most importantly, not miss a frame of Simba’s struggle against the hyenas to restore peace in the Pride Lands…

So, as I had been relieved of my duties of bag searching, door security or police dialling, there was nothing else left to do other than tie the bow around the cake, position the lawn daisies into the slowly setting icing, and dip a leftover party pie into an abandoned bowl of tomato sauce.

1 1/2 cups SR flour
1/2 cup cocoa
1 cup brown sugar
1/4 cup raspberry jam
1/2 cup natural yoghurt
3 eggs
200g melted butter
50g dark chocolate
40g butter

  1. Preheat oven to 160°C. Grease and line a 20cm round cake pan.
  2. Combine self-raising flour, cocoa and brown sugar.
  3. Stir in raspberry jam, yoghurt, eggs and melted butter.
  4. Pour the mixture into the pan and smooth the surface. Bake for 1 hour 10 minutes or until a skewer comes out clean when inserted.
  5. Melt dark chocolate and 40g butter in a bowl over hot water until smooth. Set aside to thicken slightly. Pour the icing over the cake and leave to set.
  6. Raid your sewing box and garden for decorative pieces.

Fairy Bread

Postscript: and of all provisions supplied, guess which two plates were the first to vanish?

recipes

Enid

Cherry Almond cake

Oh for the days when you could pack the children off to a nearby forest with jam sandwiches and ginger beer for sustenance, only for them to return famished at dusk, to scoff drop-scones and cocoa before falling into bed to dream wonderous dreams of their adventure-filled day. How simple the meal plans, grocery shop and cooking would have been, not mention all that independent time to be had whilst they were up the Faraway tree somewhere or other.

I am of course, referring to the fantasy tales created by Enid Blyton – the ones that shaped my childhood from The Enchanted Wood through to The Secret Seven. I always longed to have midnight feasts of homemade chocolate cake and toffees in boarding schools, picnics of orange aid and macaroons in tree-houses or returning home to a ‘tremendous steamed pudding, with lashings of treacle’.

It seems another much respected writer of mine, Angela Mollard, has also been touched by Enid’s writing. Angela is equally fascinated with the food depicted in Blyton’s novels. She states, “It’s all “great slices of cherry cake”, melt-in-your-mouth shortbread and gingerbread described as “dark brown and sticky to eat”. Indeed, it’s a measure of Ms Blyton’s talent that she even makes “potted meat”, “tongue sandwiches” and “lashings of hard-boiled eggs” sound like lovely picnic fare.”

Upon reading that phrase “great slices of cherry cake”, I knew what would be coming out of my oven on the next available baking day….

And just so you know, this Cherry Almond cake really is scrumptious – with or without the lashings of ginger beer.

185g butter, room temperature, chopped
3/4 cup castor sugar
3 eggs
2 cups SR flour
2 tbspn almond meal
1/4 cup milk
200g glace cherries

  1. Preheat oven to 180 degrees celcius and grease a loaf tin.
  2. Place all ingredients, EXCEPT cherries in a mixing bowl and using an electric mixer, beat on low speed until all ingredients are combined.
  3. Increase speed to medium and beat until mixture is smooth and changed in color. Stir in cherries.
  4. Spread mixture into tin and bake for 50-60 minutes.
  5. Cool and dust generously with icing sugar.

cherry cake and Secret Seven

Postscript: and being that this is the 100th post for Plain and Simple Blog, it seemed fitting to reference such a magical and prolific writer as Enid Blyton (some sources quote her published tales were in excess of 7500!) Since October last, this blog has catalogued one hundred examples of the plain and simple elements of living – Enid has certainly set the bar high.

recipes

Earl

Earl Grey Chocolate Cake

Certain days call for sophistication. Heels above trainers, straighteners in place of hair ties and tailored rather than swathed. Life may not be taking you anywhere special but sometimes you need to feel as though it is (and you are). When these days are upon us, not a detail should be overlooked, right down to the cuppa. This is the day to politely decline the everyday leaf – an Earl Grey will do very nicely thank you.

Opening a Twinings tea sachet always feels a bit luxurious. It seems to create a sense of occasion as a newly opened selection box of chocolates or a gift tin of biscuits will do. Perhaps this harks back to a long past era when these everyday indulgences were ‘special treats’ and like Pavlov’s dogs, our automated response of pleasure is ignited at the break of the seal. Whatever the precursor, it’s lovely to have a small collection of these packages sequestered in the pantry when the need for a little spoiling arises. On occasions such as these, a fragrant Earl Grey is my (and Nigella’s I believe) sachet of choice.

And as the glamorous assistants on the Chanel counter will advise, for maximum effect,  it is always best to layer your fragrances (ie purchase the entire range). So, in keeping with this prestigious advice, you can ‘layer up’ the Earl experience by baking one of these divine Earl Grey chocolate cakes to accompany your next EG brew. A lovely fudgey chocolate cake with the infusion of tea adding another dimension altogether.

With this powerhouse of an international ingredient list collaboration: (Swiss Lindt chocolate, British Twinings tea, Greek yoghurt, Danish Lurpak butter and Melburnian boiling water), how could this cake possibly fail to deliver anything other than the height of baked sophistication?

6 Earl Grey tea bags
1 cup boiling water
120g butter, softened
3 eggs
2 cups sugar
100 dark chocolate, melted & cooled
2 cups plain flour
1 tsp bicarbonate of soda
1 tsp baking powder
pinch of salt
1/2 cup plain yogurt
icing sugar for dusting

  1. Preheat oven to 180° C. Grease a bundt tin or large cake pan (this makes a generous cake).
  2. Brew the tea in the water 3 to 5 minutes. Remove the tea bags and set the tea aside.
  3. Cream the butter and sugar until fluffy and beat in the eggs, one at a time.
  4. Blend in the chocolate.
  5. Mix through the flour, bicarbonate of soda, baking powder and salt.
  6. Mix through the yogurt and tea alternately. Your batter will be light and fluffy. Pour into the pan.
  7. Bake for 50 minutes or until a skewer inserted into the cake comes out cleanly.
  8. Cool for  5 minutes, turn out of the pan and dust with icing sugar

a slice of earl grey chocolate cake

Postscript: And with the recent Gatsby mood infiltrating our consciousness, you can also pour a cup, cut a slice and channel your inner Daisy Buchanan.

recipes

Coffee

coffee and walnut cake

When was the last time you savoured a lovely slice of coffee cake? 1972? Yes, that’s very likely the same decade that I last had mine too. With its pseudo-European overtones and bordering-on-illicit focal ingredient, one could not help feeling just a little bit grown up being offered a slice.

With movement in time, so came improvement in coffee cake. Today’s are far superior to those gran-used-to-make, and I say this not because I’m gerontophobic, but because we now have access to authentic rich coffee – the essential ingredient that alluded our grandmothers. When I think of the talcum-style coffee products these early cooks had to rely on, it is a wonder that the coffee cake recipe was not forced to extinction. Instead of large screw top jars of dust-like powder, we now have the benefit of slick espresso machines to deliver a damn good shot on demand. (Just one more thing to be grateful for)

And with one shot in the batter and the other in the icing, this coffee and walnut cake is a wonderful way to cherish culinary evolution.

185g softened butter
3/4 cup caster sugar
2 eggs
2 cups plain flour
1 tsp baking powder
1/2 tsp bicarbonate of soda
1/4 tsp salt
1 cup sour cream
2 tbsp good coffee
1/2 cup of chopped walnuts and some extras to dot on the icing

  1. Preheat oven to 180 degrees celsius and grease a large round cake tin.
  2. Cream the butter and sugar until fluffy.
  3. Add eggs individually, beating well after each addition.
  4. Sift all of the dry ingredients together and fold them through the creamed mixture alternately with the sour cream.
  5. Add the coffee and gently mix through until well combined.
  6. Fold through the chopped walnuts.
  7. Spoon mixture into cake tin and bake for 45 to 50 minutes or until a skewer inserted into the centre comes out clean.
  8. After cake has cooled, ice with 1 1/2 cups of sifted icing sugar, with 1 to 2 tablespoons of good coffee mixed in until it is a firm spreading consistency.
  9. Scatter walnut halves across the top.

coffee and walnut cake sliced

Postscript: Now I’m sure our European friends are smirking quietly here, as never were they without the magic stuff.

recipes

Syrup

Lime and Pistachhio syrup cake

In the wake of the recent tsunami of chocolate, a citrusy slice of syrup cake is a welcome relief. Dipping a forkful into creamy yoghurt with some added pistachios for crunch, is a very satisfying way to doff your hat to the passing of another egg-laden seasonal celebration.

As a spacer to all of the chocolate that faced one at every turn in this house, I seized upon this cake recipe from Amber Rose to serve as an easter dessert. It is quite middle-eastern in its make-up – with its composition of pistachios, almonds, honey and orange blossom water. Being syrupy by nature, this cake makes a wonderful dessert – the moisture and sweetness yielding almost a pudding consistency.

Orange blossom water is available at continental delicatessens or if you live in a swish neighbourhood – your local supermarket! Once you have a bottle in your possession, this Lime Cake with orange blossom and pistachios, can be your easter antidote. (Don’t forget to snap off a small branch of your backyard citrus for a very authentic garnish)

225g plain flour, sifted
2 tsp baking powder
pinch of salt
80g almond meal
100g pistachio nuts, toasted in a pan and chopped
2 eggs
250g honey
250g greek style yoghurt
150ml olive oil
grated zest of 1/2 lemon
grated zest 1 lime

syrup
100g honey
juice of the lime
1 tbsp orange blossom water

  1. Preheat oven to 180 degrees celsius, and grease a fluted cake tin.
  2. Mix the first five dry ingredients in a bowl. In a separate bowl, mix together the remaining six ingredients.
  3. Make a well in the centre of the dry ingredients and pour in the wet ingredients. Mix until combined and then pour into the greased cake tin.
  4. Bake for 50 minutes or until an inserted skewer comes out clean. Cool in the tin.
  5. To make the syrup, boil 150ml water and the honey together for 5 minutes. Add lime juice and boil for another minute. Add the orange blossom water.
  6. Use the testing skewer to pierce holes all over the cake and gently pour the syrup over the cake.
  7. When the cake is completely cold, remove from the tin and serve with extra yoghurt and chopped pistachio nuts.

lime, orange blossom and pistachio cake

Postscript: should you still be wading through the aftermath of chocolate eggs, a friend of mine dispensed with hers ingeniously by making large batches of chocolate custard with them in her thermomix – just a thought.

recipes

Baked

baked raspberry cheesecake

If you can measure, mix, pour and bake, then there’s no reason why this delicious specimen can’t be cooling on your benchtop, as this one did on mine recently.

I have no ability to take in the intricacies of an intriguing story or keep track of a workplace crisis and cook simultaneously – something must be ignored, usually the food. For that very reason, when friends are dining, I need to make sure as little attention as possible needs to be given to food after the gathering arrives.  A baked cheesecake is a clever culinary solution, as it can sit cooling its heels in the refrigerator from the day prior – its flavours rounding out beautifully by serving time. That being, not a thread or mere detail of the latest goss is lost, when all that is required is to slice and pass.

And as this recipe yields such a generous cake, there is plenty left over for neighbourhood coffee banter the following morning.

To ensure you miss nothing either at your next do, get this simple Baked Raspberry Cheesecake happening in your oven well in advance.

250g packet of Granita or other sweet biscuits
125g melted butter
250g softened cream cheese
250g ricotta cheese
3 eggs
1 cup sugar
1 cup sour cream
1 tbsp grated lemon rind
3 tbsp lemon juice
1 tbsp cornflour blended into 1 tbsp water
a generous handful or so of fresh or frozen raspberries

  1. Process biscuits to crumbs and then add melted butter. Process briefly until combined.
  2. Press this mix into the base of a large greased springform cake tin and place in the refrigerator.
  3. Process all of the remaining ingredients EXCEPT the raspberries until smooth.
  4. Pour this mix over chilled base. Sprinkle raspberries evenly over the top.
  5. Bake in a preheated 150 degree celsius oven for approximately 50 minutes or until cheesecake has set.
  6. Chill in the refrigerator until firm. Serve with thick cream.

raspberry cheesecake

Postscript: should you not be in possession of a food processor, don’t walk away. The biscuits can be crushed with a rolling pin and the filling beaten with a hand mixer.